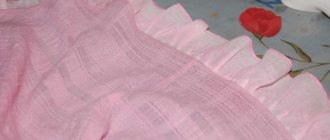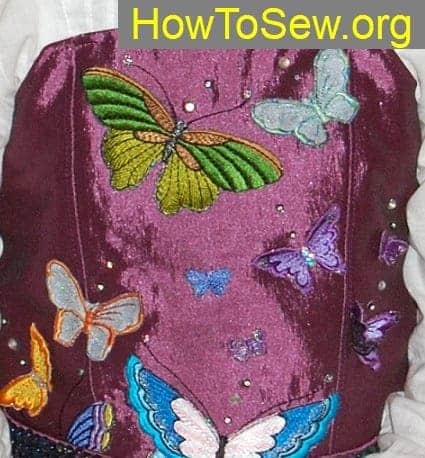
Today I want to tell how to sew a children’s corset. It can be used as the basis for the dress. I prepared detailed photos of how to sew such a corset. Our master class will consist of two main blocks: in the first – I will tell you how to sew a corset, and in the second – there will be part of the material, how to make decor on a corset.
So, let’s begin.
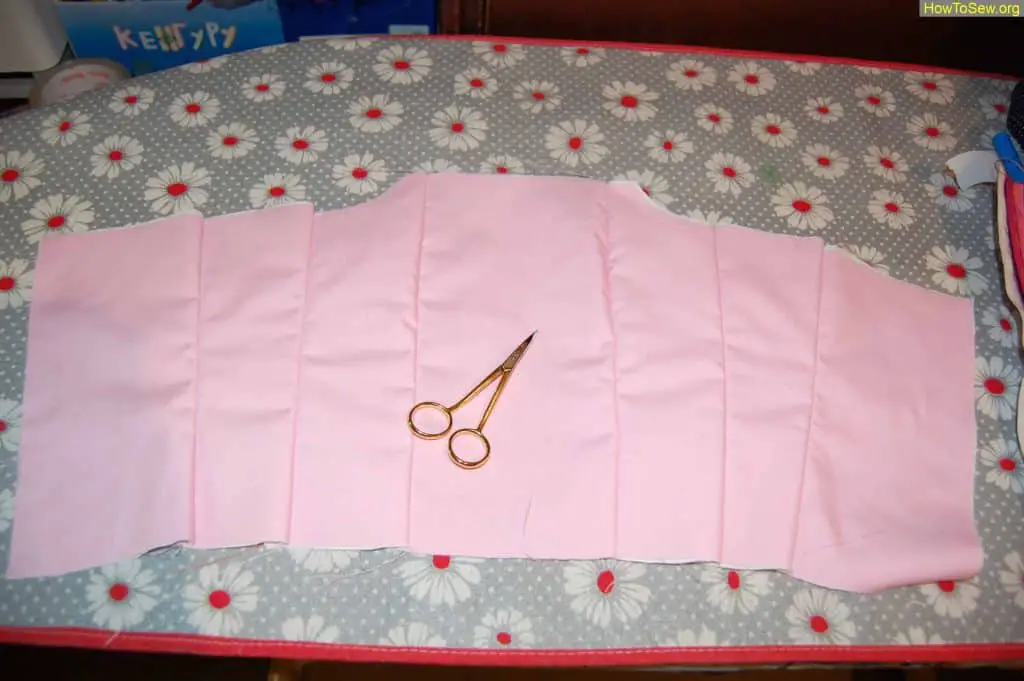
Firstly, a pattern of a children’s corset. We can take any dress with trimmed barrels, redraw the upper part, remove it in the neck, expand below and voila! The corset pattern is ready. We cut out a corset three times from such fabrics: the main fabric is the face, the lining is made of pink calico, and the lining is white linen (medium density)
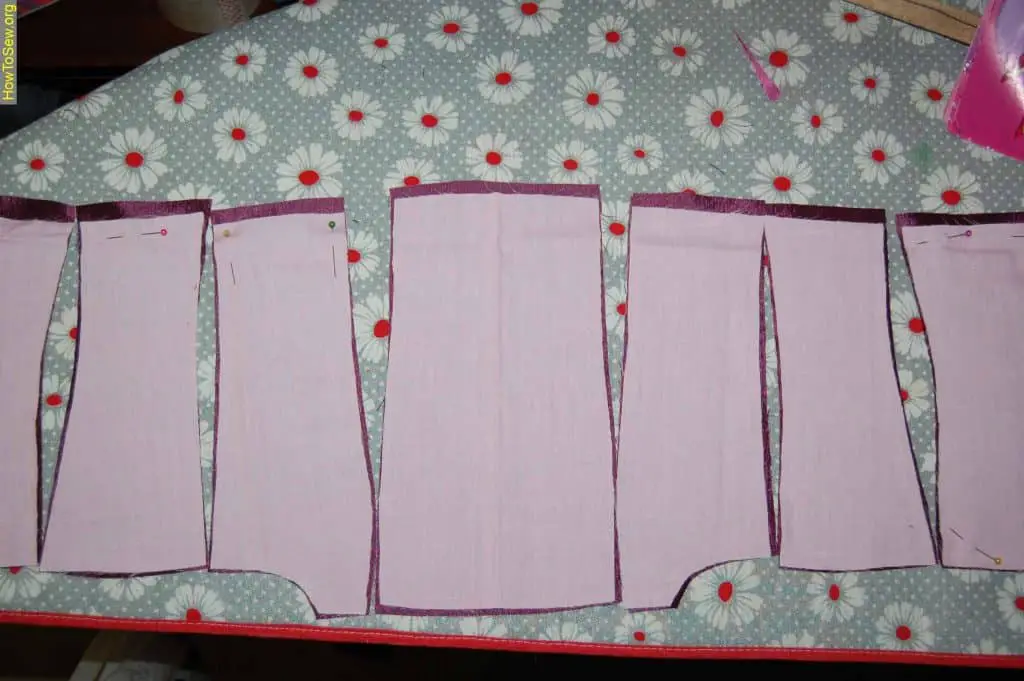
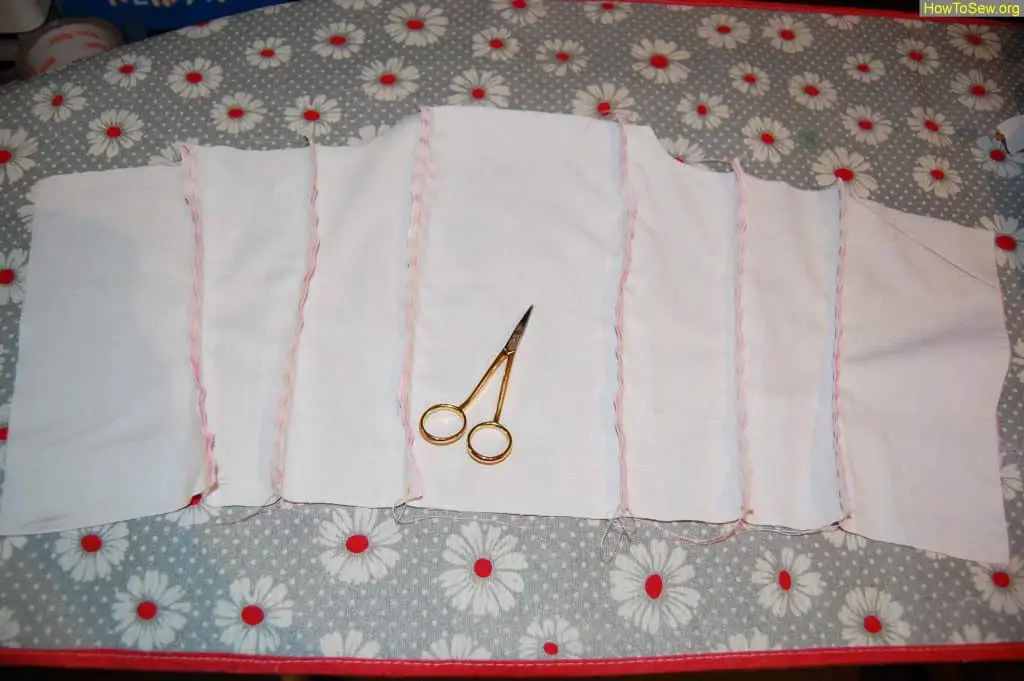
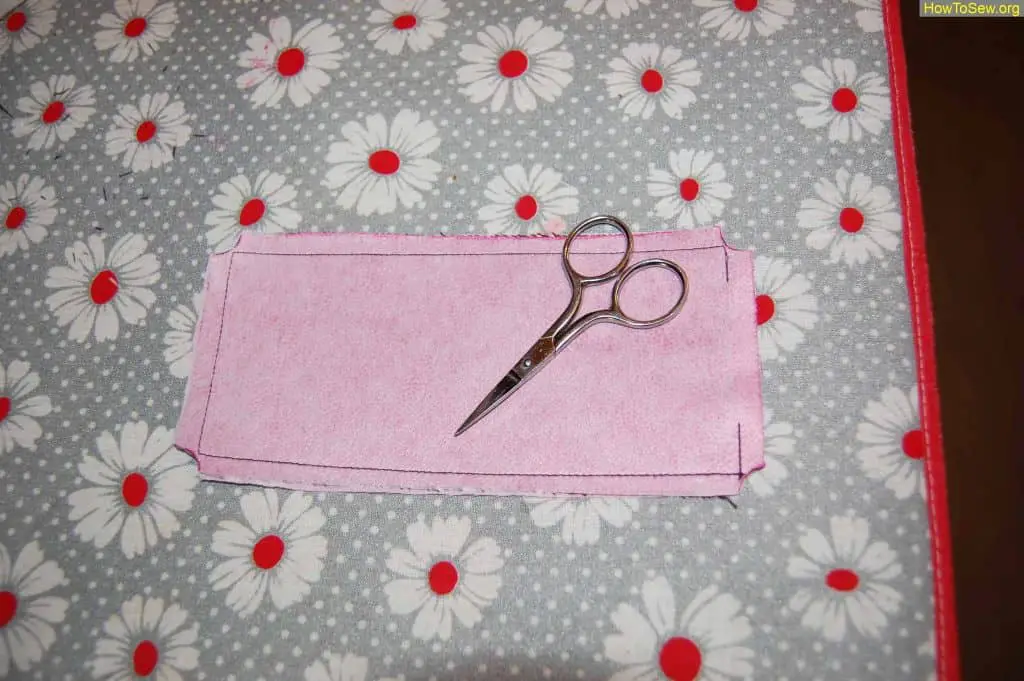
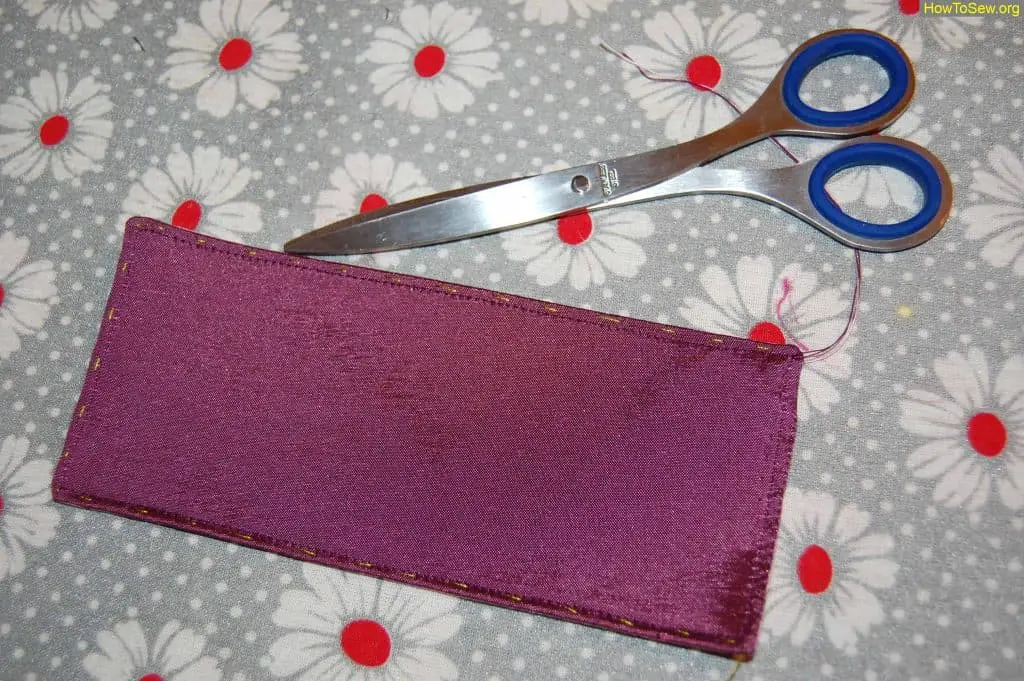
The second stage – we sew our main fabric. Do not forget to outline in the corset pattern where the bottom and where the top. It is very important to do !!! The lateral details of the children’s corset are very similar, then you will never guess what from what. Then I bast and sew on the machine, laying with paper (tracing paper, paper for the joints of wallpaper, sometimes just a newspaper (the worst option))
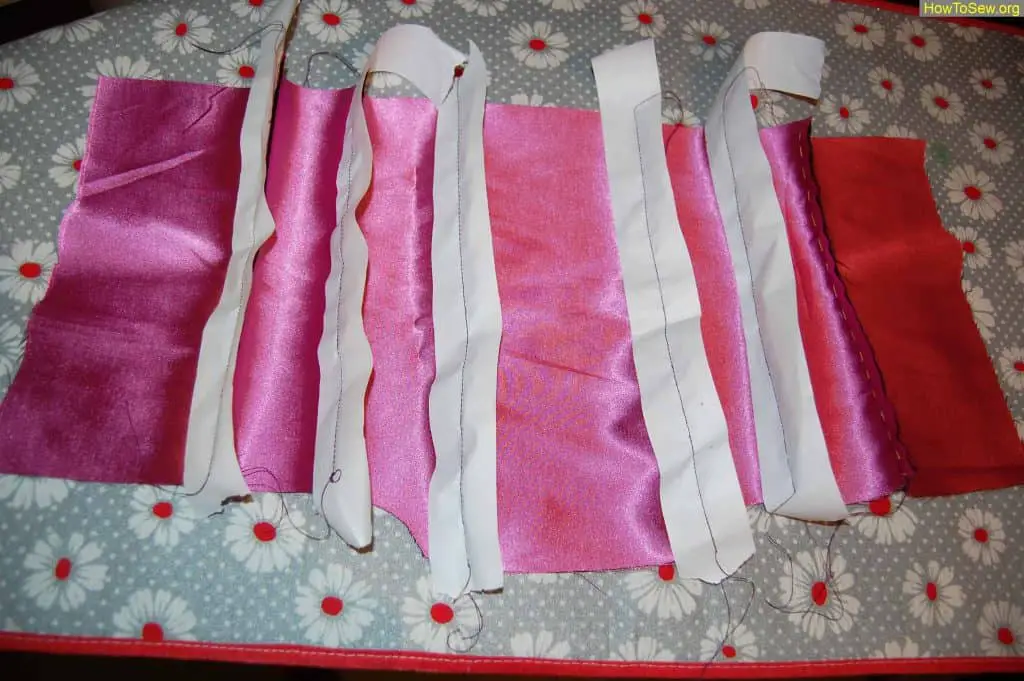
Third – we sew in the same way as the main fabric lining together with the gasket at the same time.
Fourth – we build to the edge of the 3mm main corset with threads in tone. Then, when decorating, this will help us a lot.
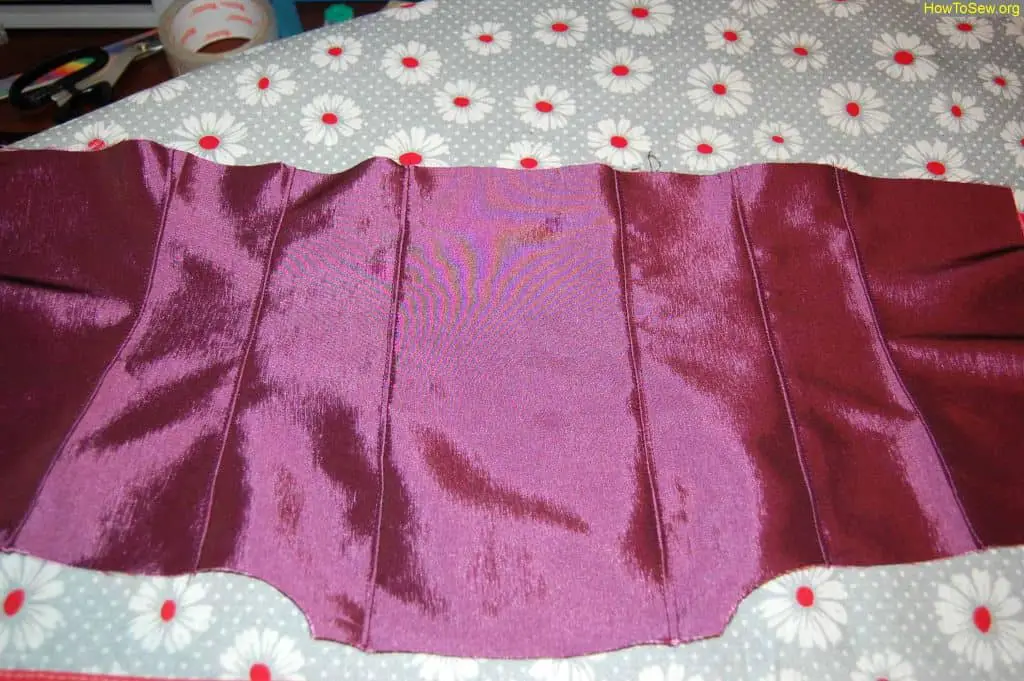
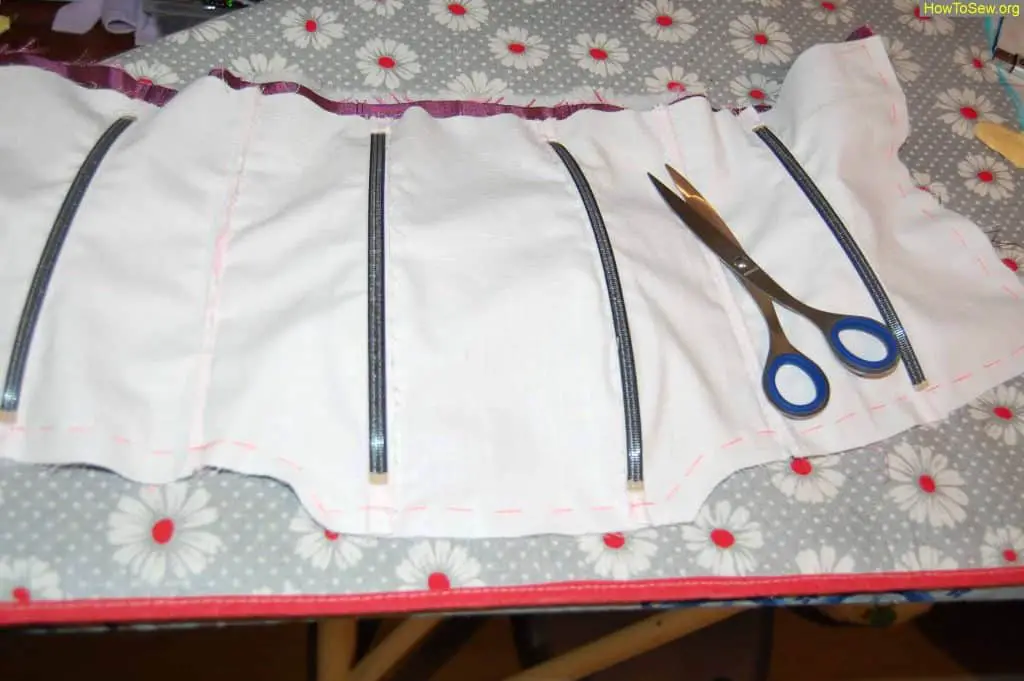
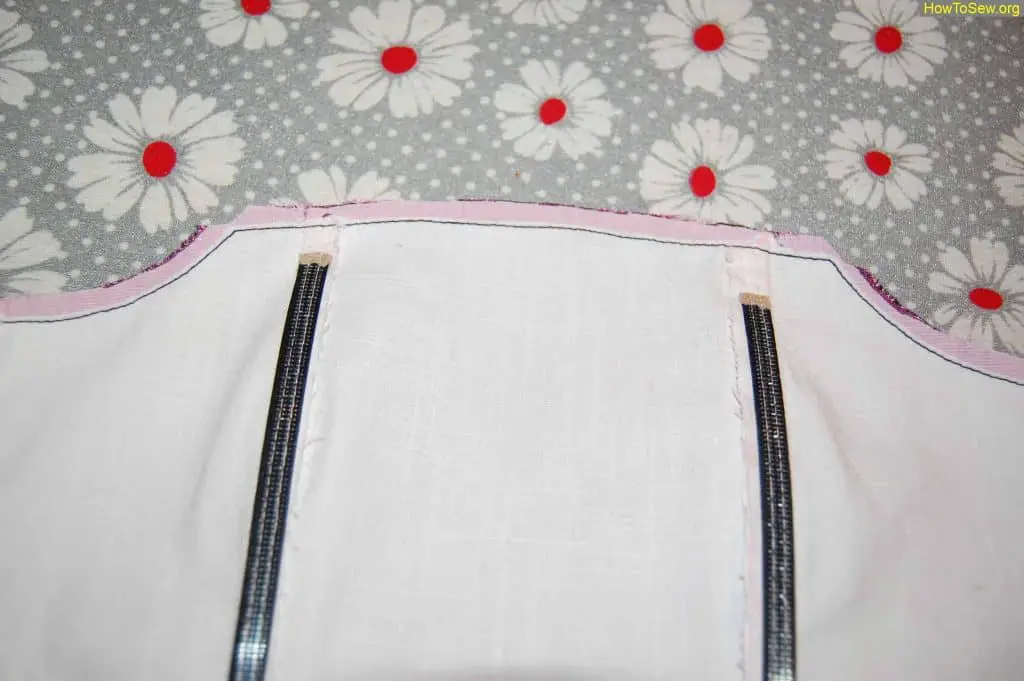
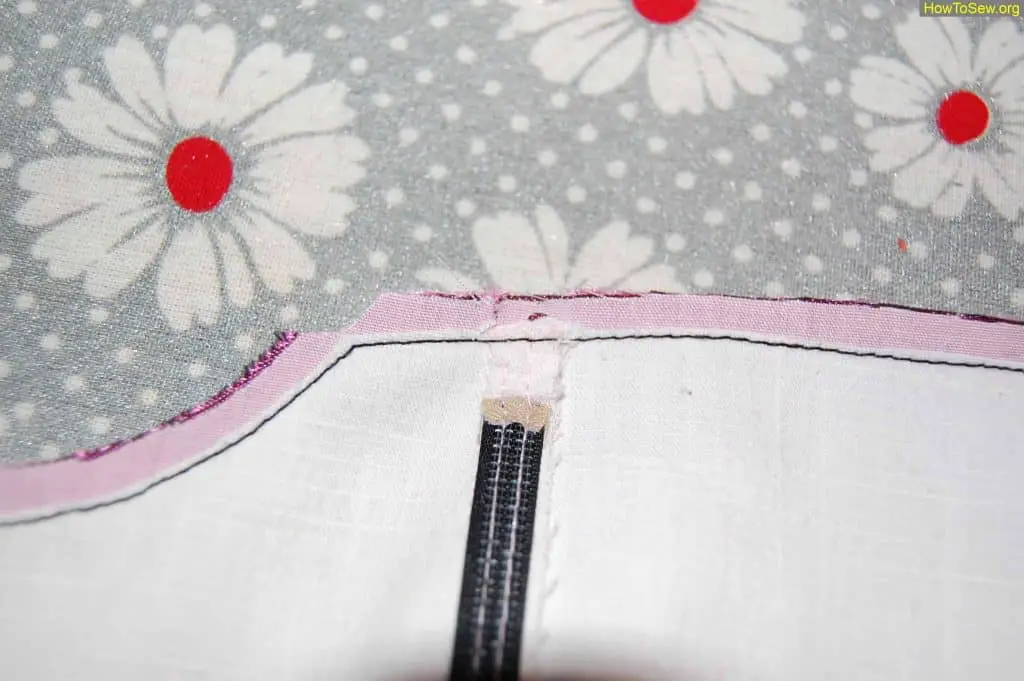
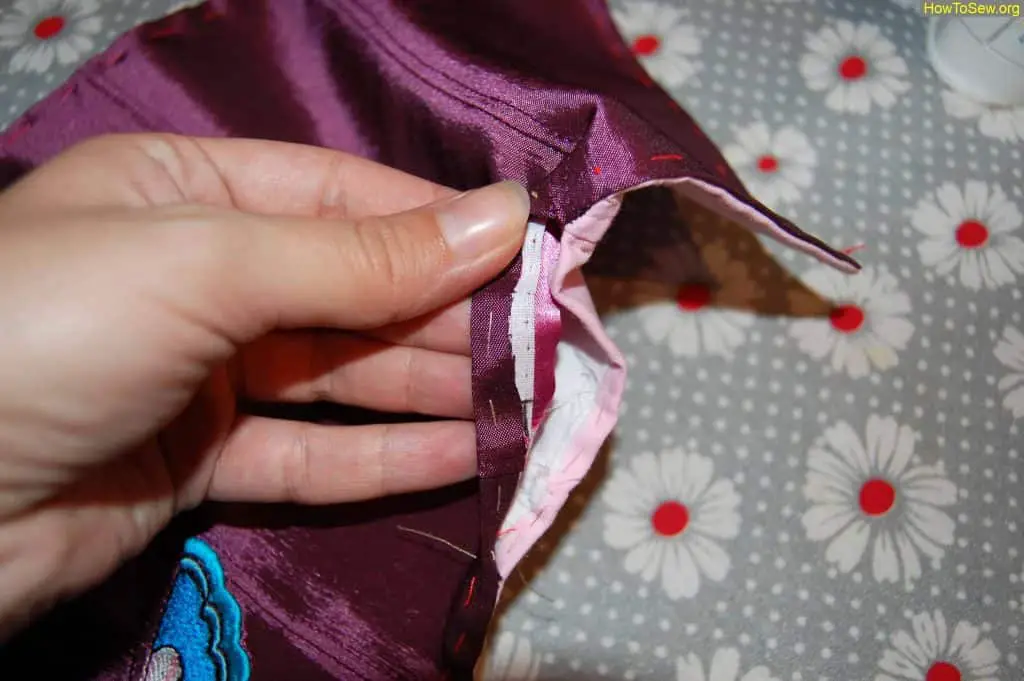
Fifth – you need to measure regiline for the four seams of our children’s corset. So that its ends do not reach the end of the corset somewhere by 1.5cm. This is necessary so that without any problems then turn our corset from the wrong side to the face. The ends of regiline should be scorched and wrapped with adhesive tape so that the sharp edge does not break through the fabric. Since we will have a complex decor on the main fabric, we sew regiline to the lining. First, to allowance, then turn over the corset and iron the seams.
Regiline needs to be sewn on your own. that is, if you attached veins of regilin, the arc should bend from you. And since we sew to the lining, it is necessary to do the opposite, so that when connecting the product we get the design “from ourselves”
Important!!! One more nuance must be taken into account: if your waistline is almost perpendicular to the waist in your child’s corset, i.e. a rectangle forms (like in my corset with butterflies), then the bones should be made only to the waist, even if the product lasts another 10cm . lower by “outgrowth”. Otherwise, when the child bends, regilin will press in the stomach. But if the seam of these parts diverges to the sides, and a kind of triangle forms, then the bones can be made almost to the end of the product (no one cancels 1.5cm for turning)
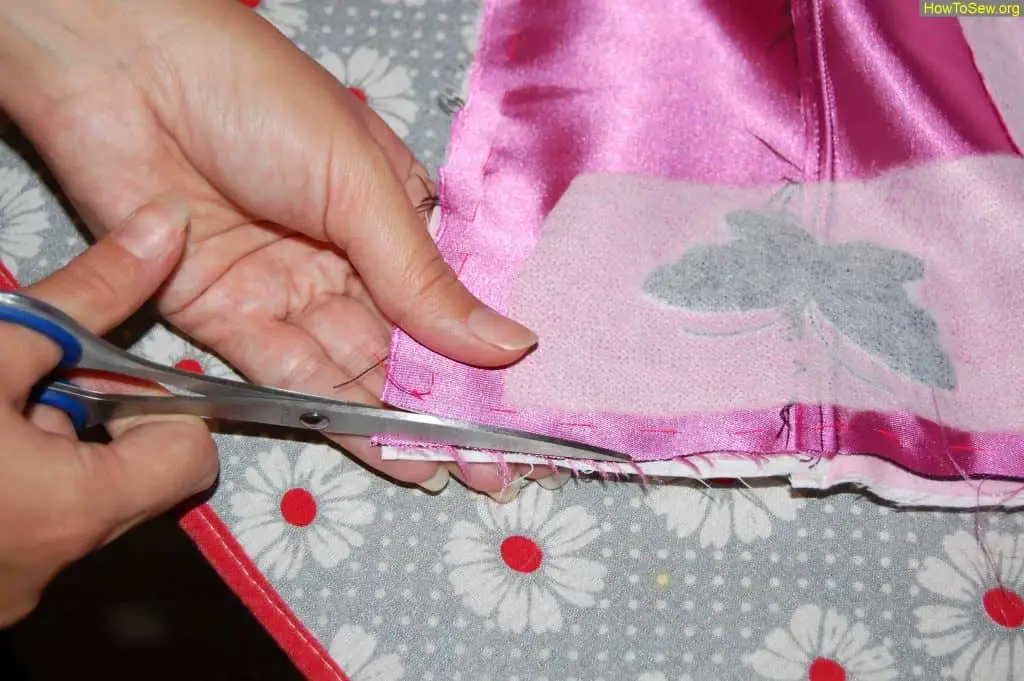
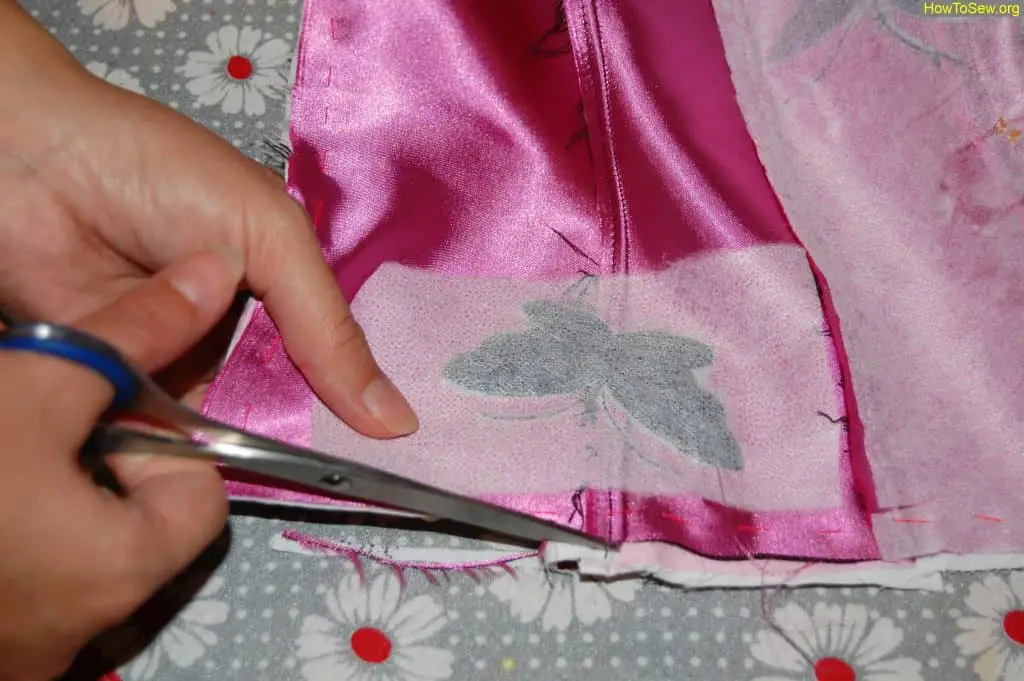
Sixth – we need to stitch the seams of our lining on the face to the edge of 3mm. At the same time, we will sew again regiline, which before that we sewed to the allowance of our lining. I also carved part of the gasket so that the seam was thinner and cut corners in all places.
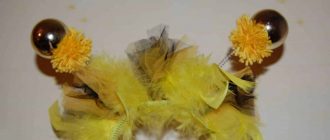
Now we make the decor of our children’s corset. I did the decor for my little daughter. We set out to sew a Mariposa costume. Here is the original:
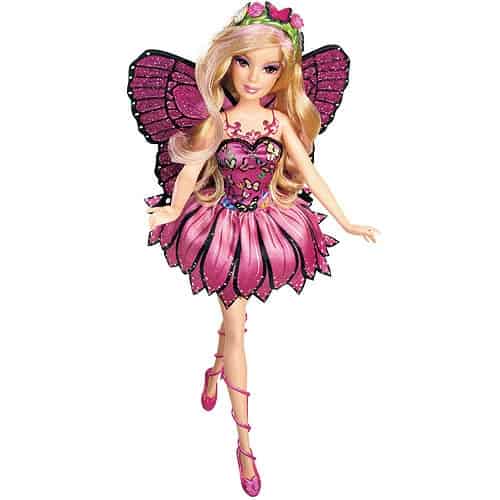
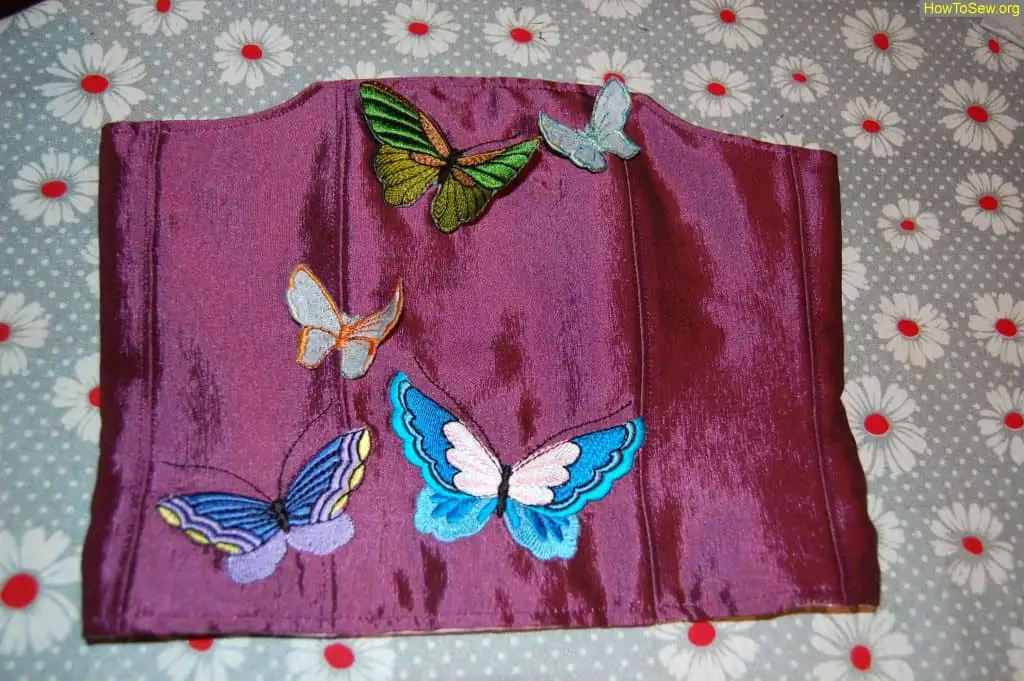
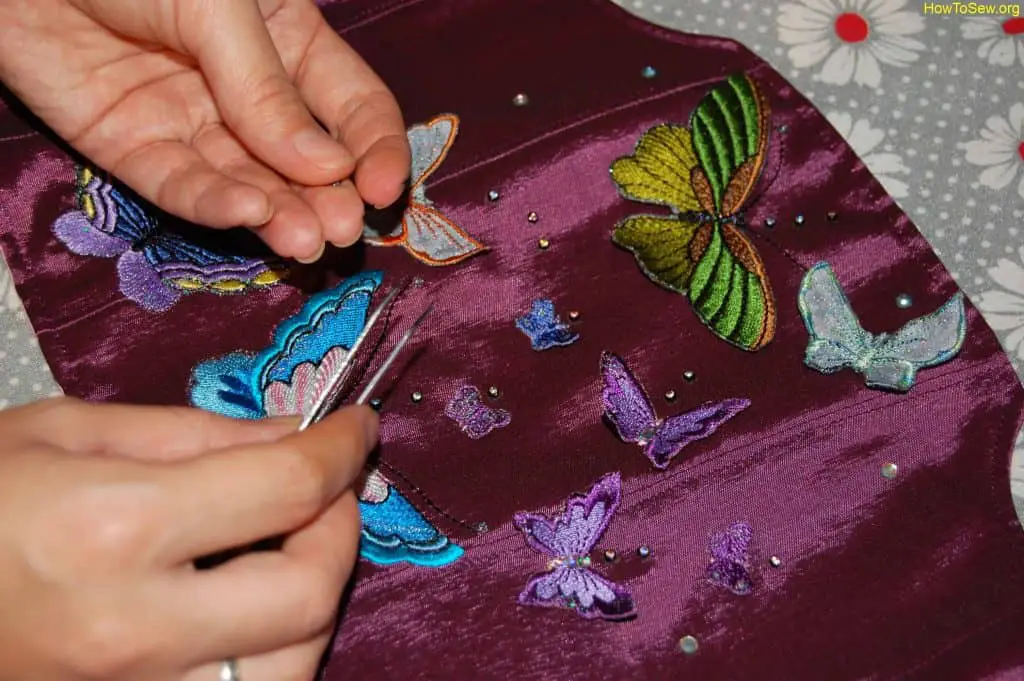
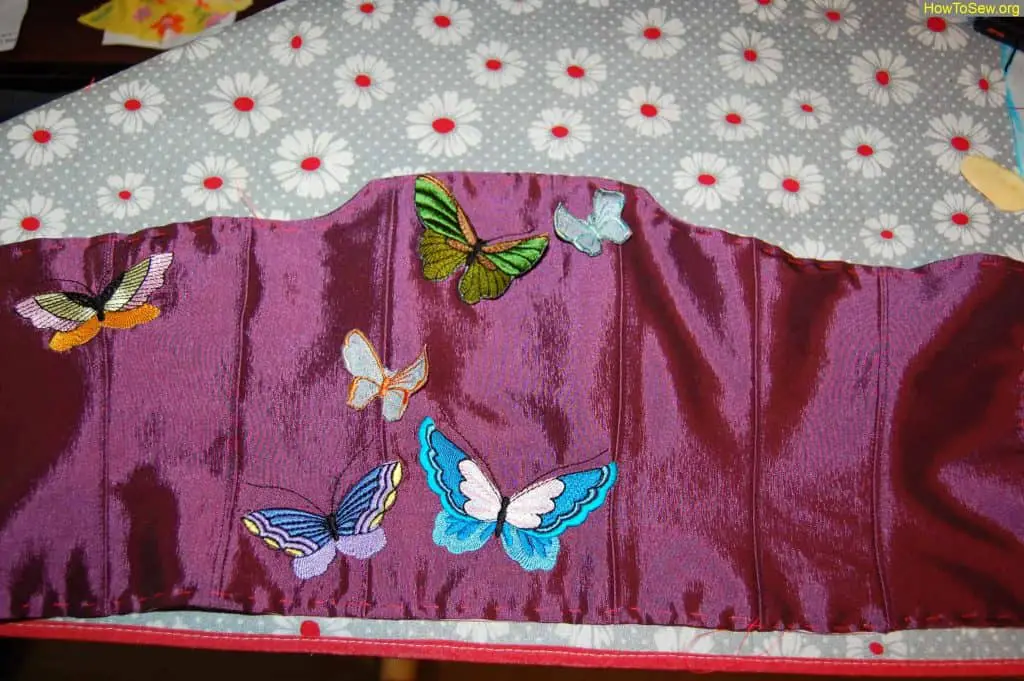
So the corset is decorated with embroidery on an embroidery machine. Embroidery butterflies, ordinary and 3D (these are those that are sewn to the product only in some places) Now I will describe in detail the decor process, and then we will return to sewing the corset itself.
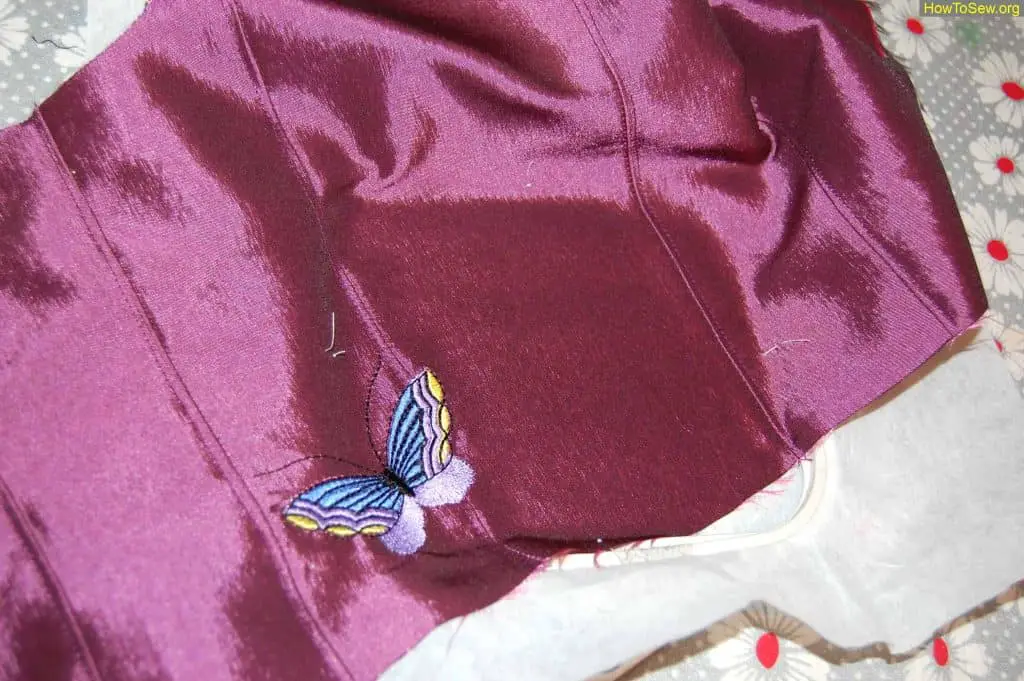
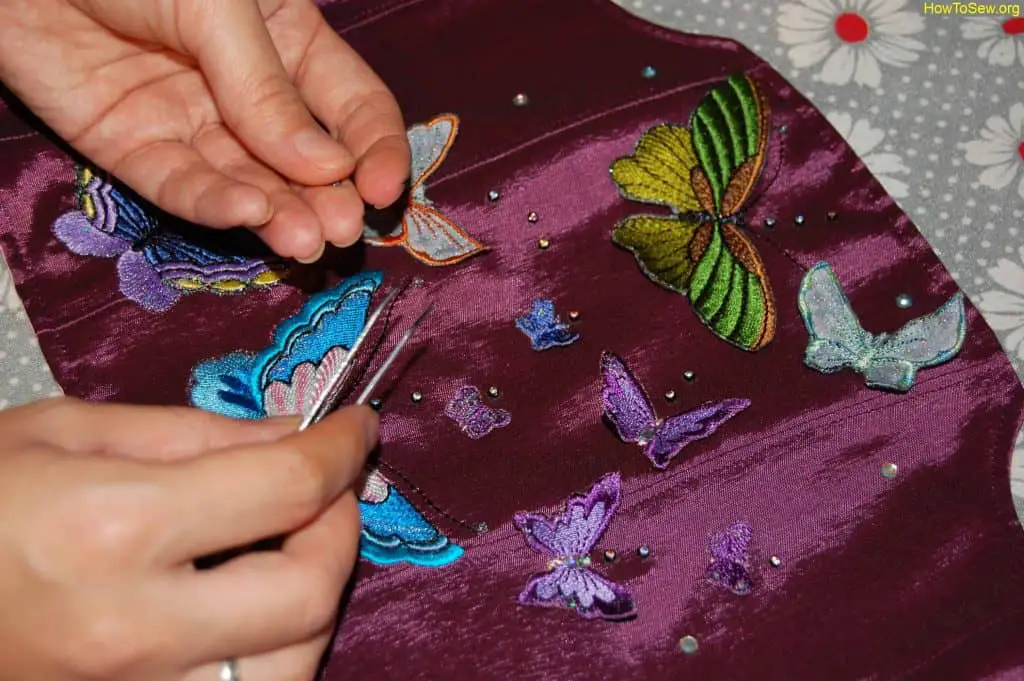
So we need to sprinkle our butterflies on our corset. We start with ordinary flat butterflies. We embroider them on an embroidery machine. I used different threads. Preferably very bright. The decor is taken from free here. If now he is not there, then I can share.
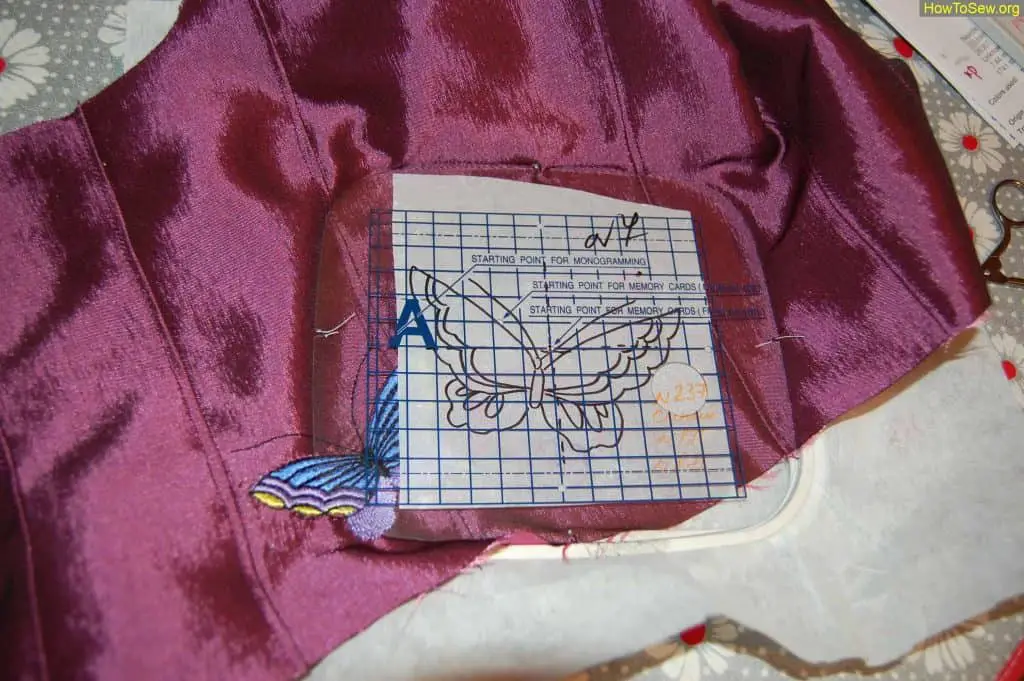
Each butterfly looks in different directions and is embroidered separately. They are quite dense, so you need to make sure that they do not find one on top of the other.
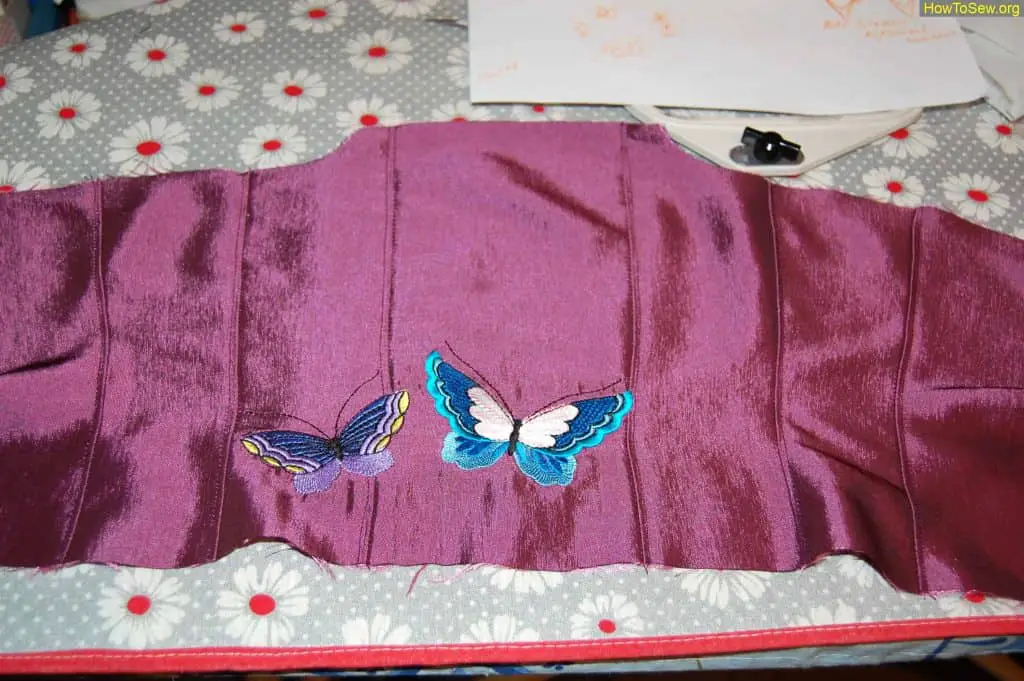
We mark them with the help of auxiliary drawings, which I made on tracing paper.
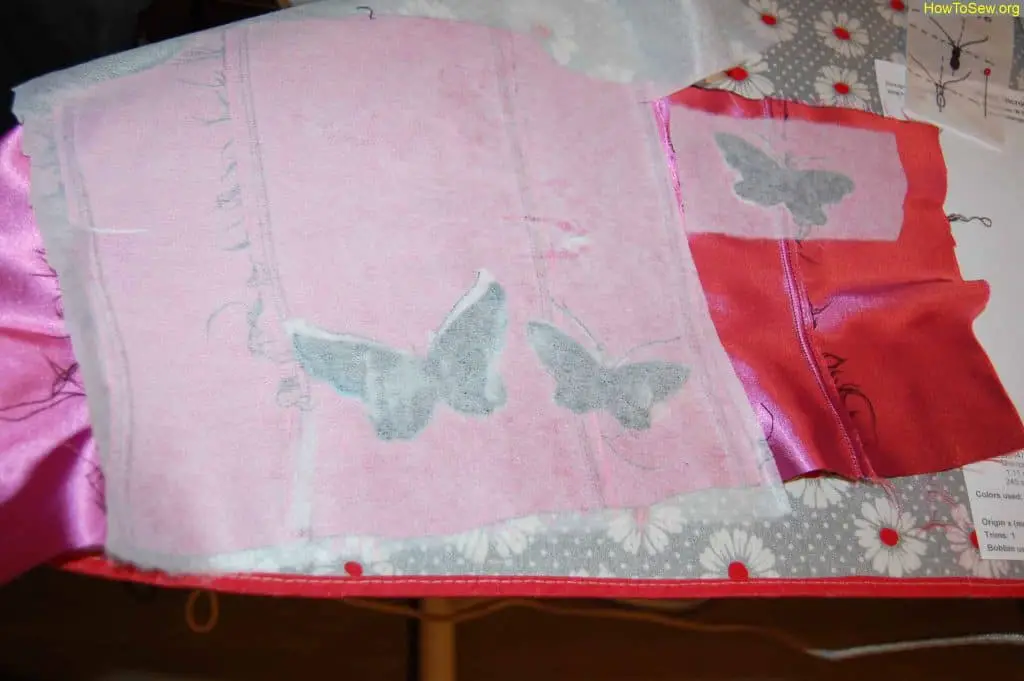
When embroidering on the hoop, I soldered only the non-woven fabric in two layers. And I stabbed the fabric itself with pins around the perimeter of the hoop. After embroidery, all the excess non-woven interrupted (it can be seen a little in the photo), then completely duplicated it in front of the Dublin.
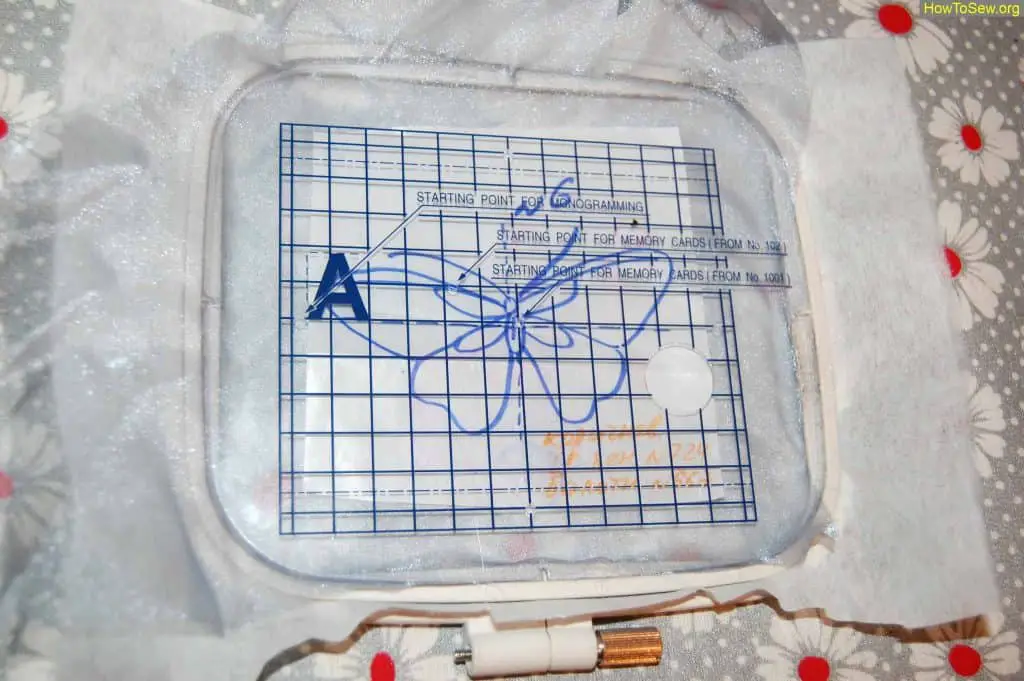
We turn to 3D butterflies: on a piece of organza we embroider a butterfly without a body. The threads on the inside of the butterfly should be the same as on the face. Let’s turn to 3D butterflies: on a piece of organza we embroider a butterfly without a body. The threads on the inside of the butterfly should be the same as on the face.
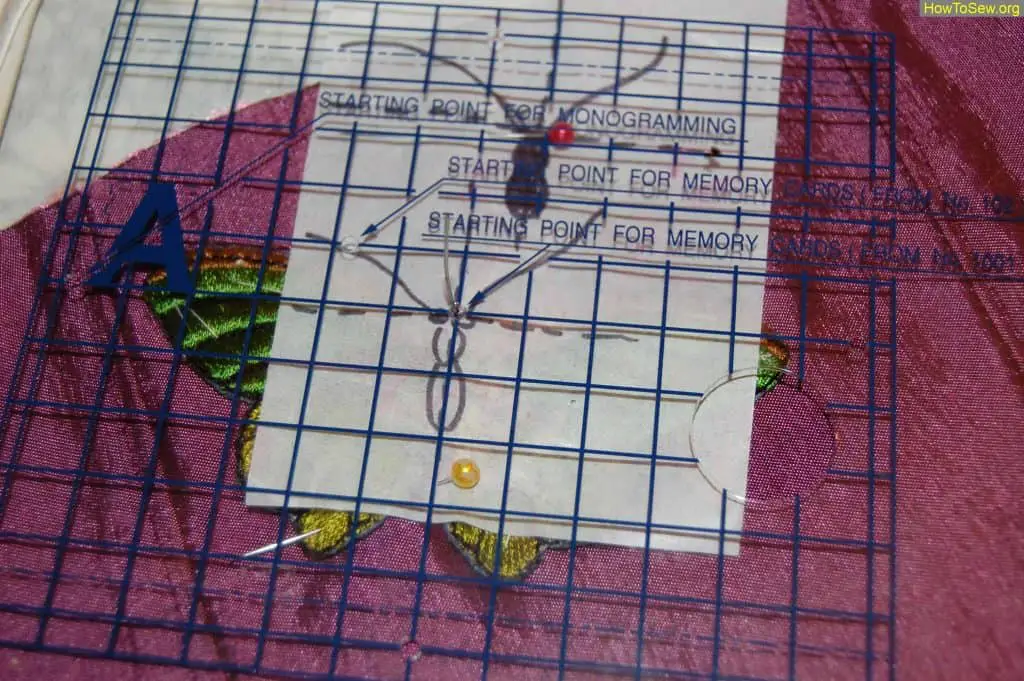
We apply our butterfly to the place where it will “live”; we find the center with the help of a stencil and a needle.
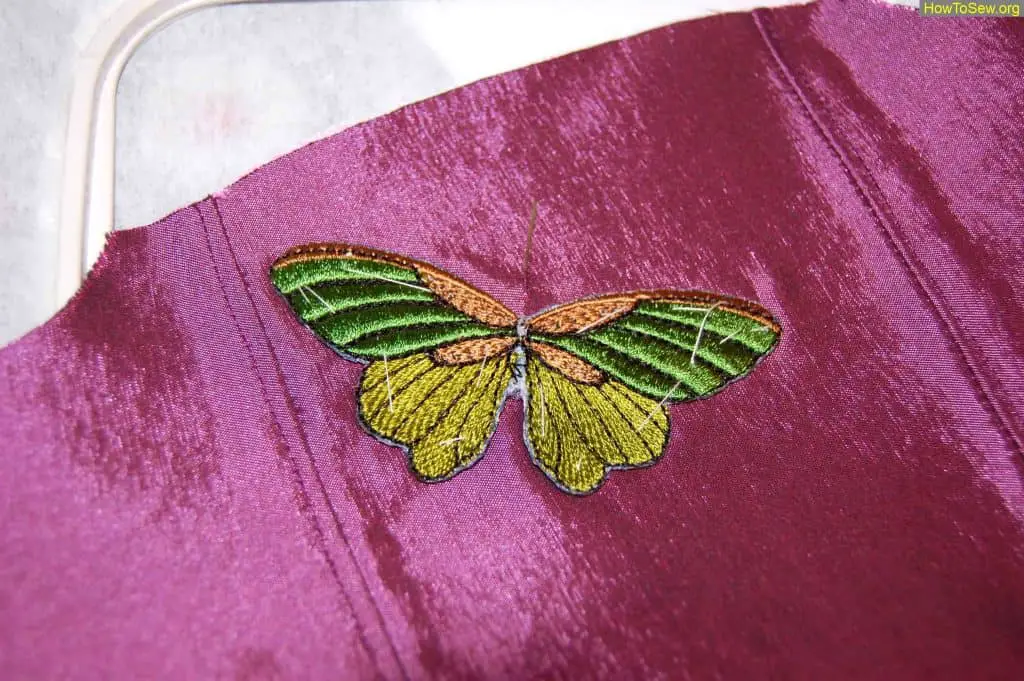
Here in this photo it can be seen that the butterfly is targeted to the corset, but the calf is not yet.
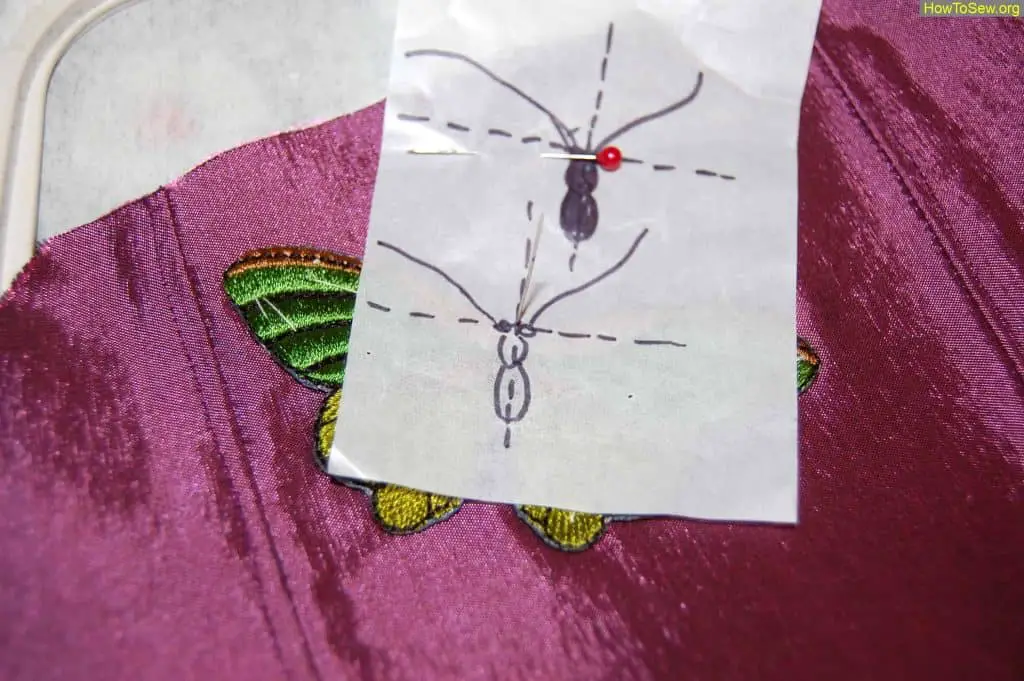
It is necessary to very clearly determine how to make a body. to do this, draw the axes and clearly set such a slope so that the wings stitch at the same time when the machine will embroider
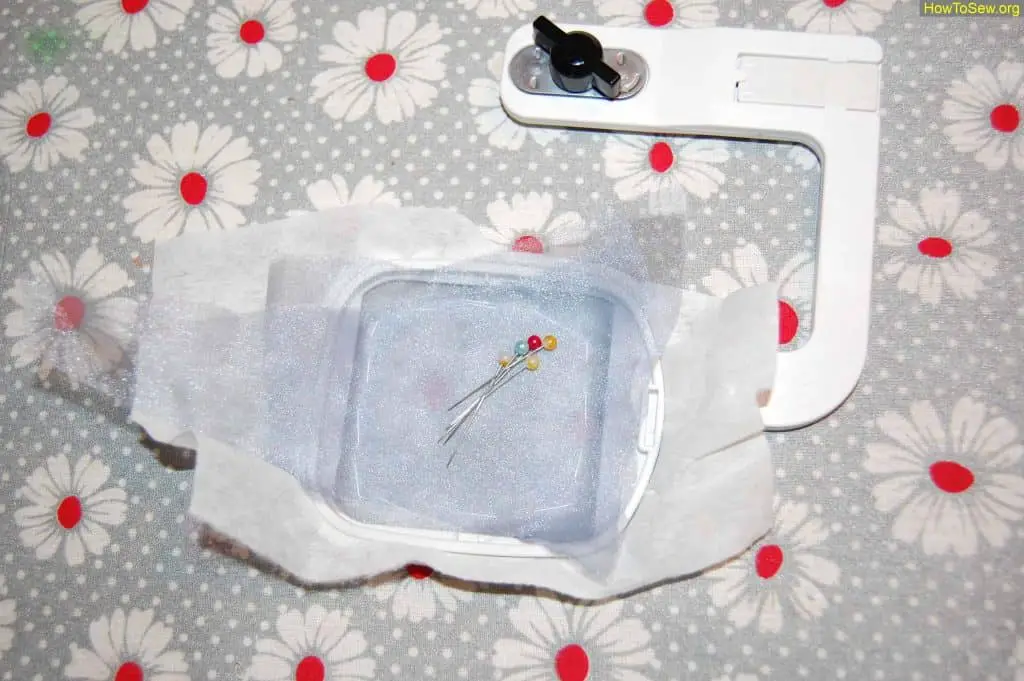
We also need to embroider other butterflies, medium and small. For this, small mini hoops are suitable for us. I still have many small pieces of organza, which are very useful in this matter.
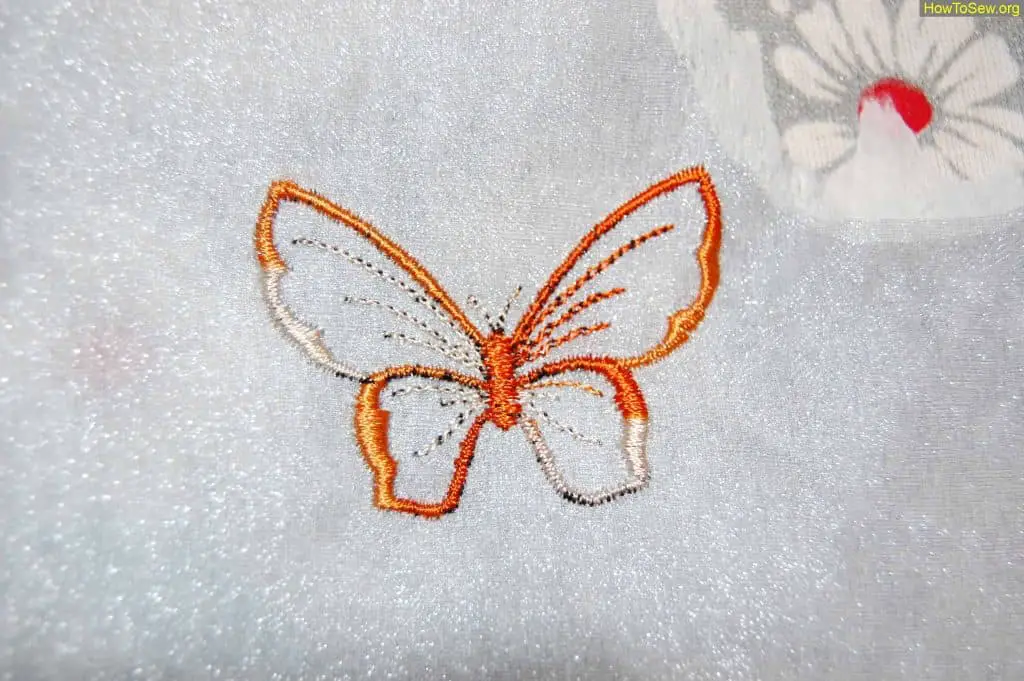
For this butterfly I used melange threads, they are section dyeing. The design of this butterfly is embroidered without interruption with one thread and without filling the contour. Such threads are very suitable for such a design.
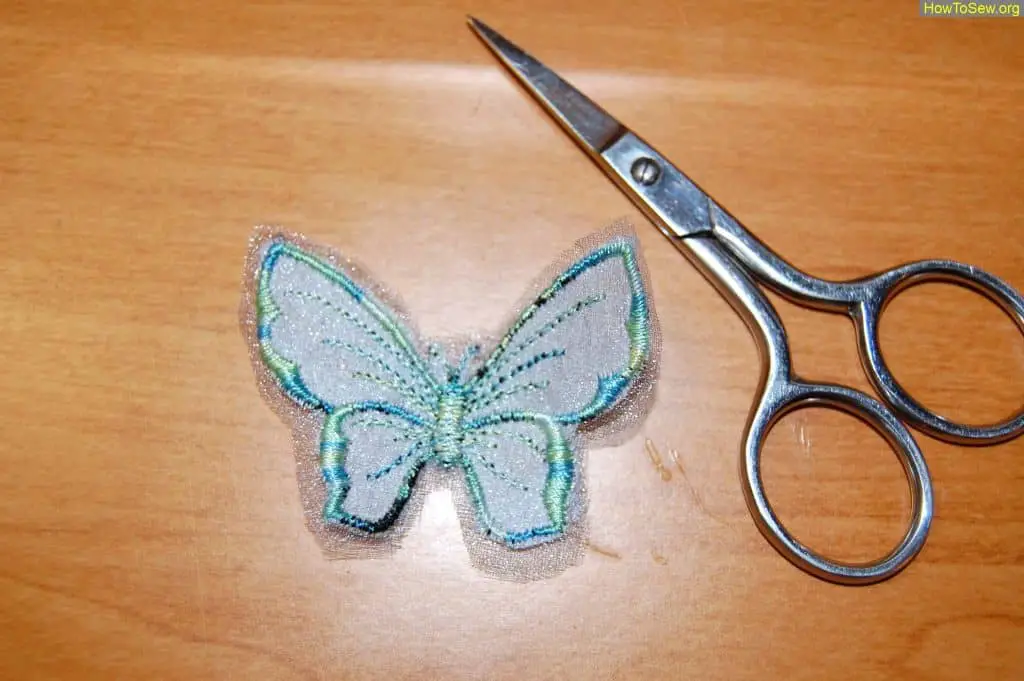
Now you need to tear off the tear-off non-woven and trim the organza, a little more than the butterfly itself. Now you need to tear off the tear-off non-woven and cut the organza, a little more than the butterfly itself.
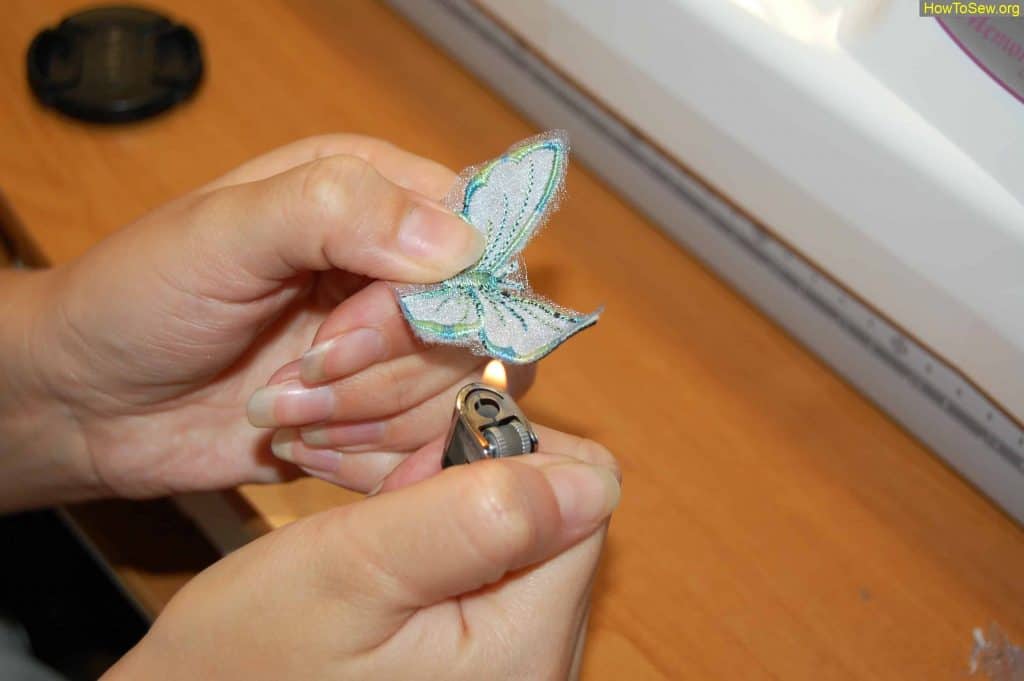
Now you need to singe the edges of the butterfly on fire. For this I use a lighter.
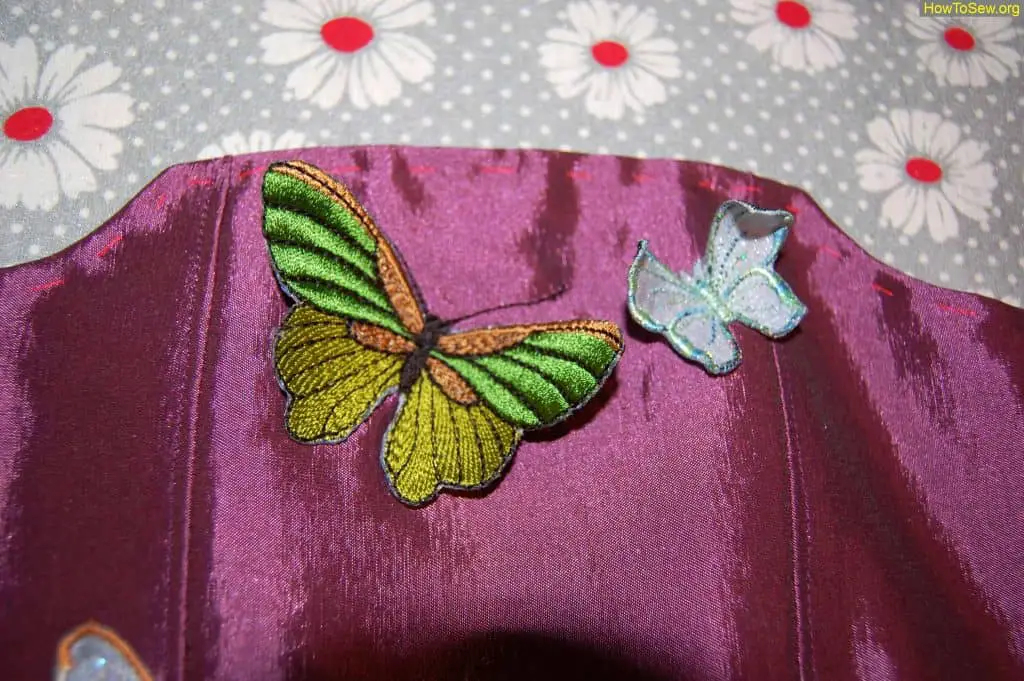
Sew our butterflies in different places. The bigger, the better.
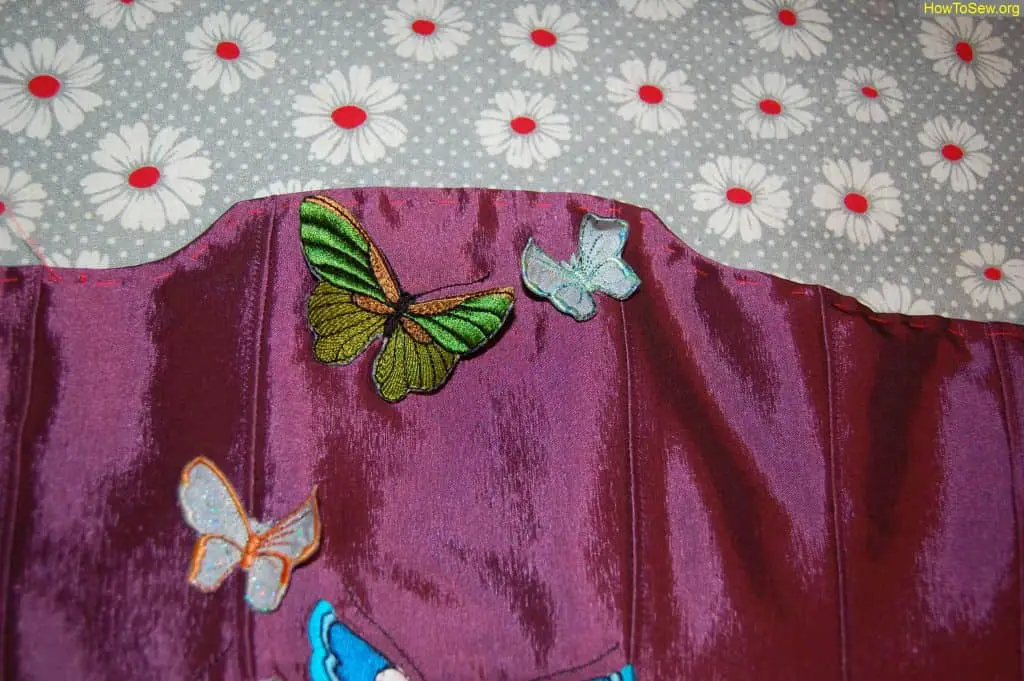
I sewed some butterflies not only for the body, but also for the wings. So that they do not puff up.
You need to decorate the entire corset with adhesive rhinestones at the back and front at the very end. To make it shine more, I also decorated each butterfly with a chameleon with acrylic sequins. I wrote about them in detail here
We return to the master class in sewing a children’s corset. We embroidered flat butterflies, prepared voluminous butterflies, now it’s time to sew a lining, make a place for lacing and a stitch.
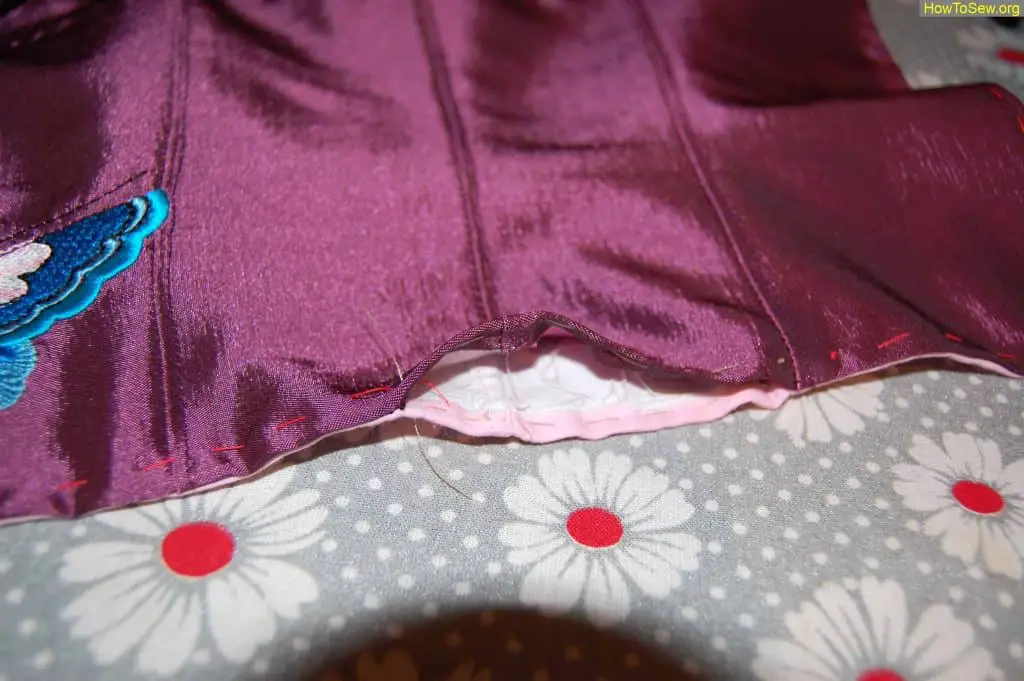
We fold the corset face to face with a lining and sweep, leave a hole for turning out. Customize parts to size, excess trimmings.
Now we sew everything except the hole for turning out. Sweep around the perimeter. You can iron a little.
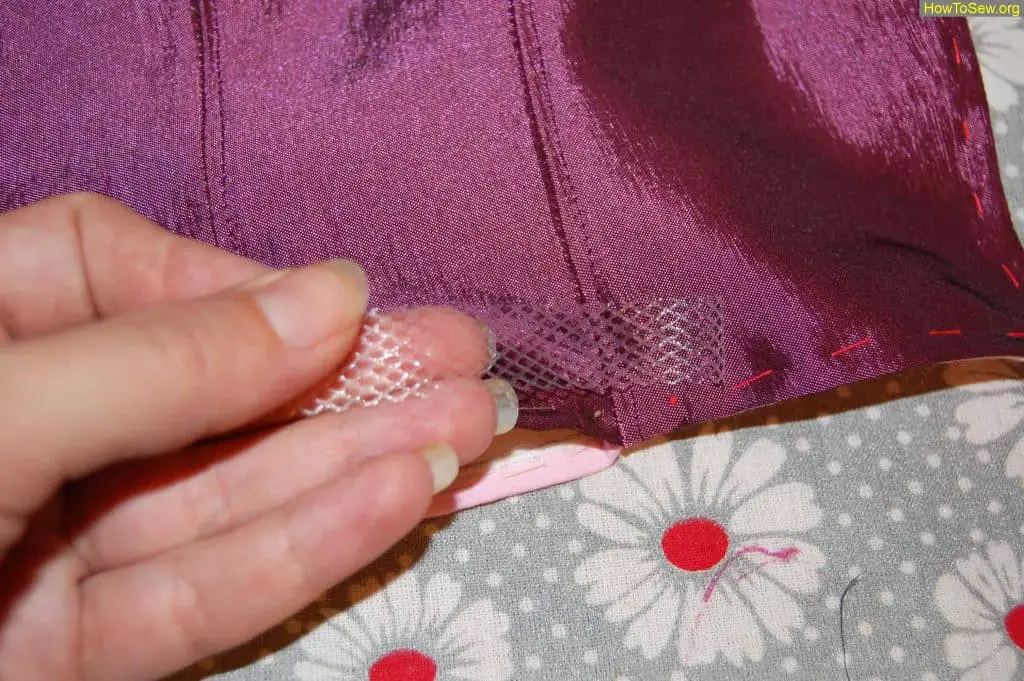
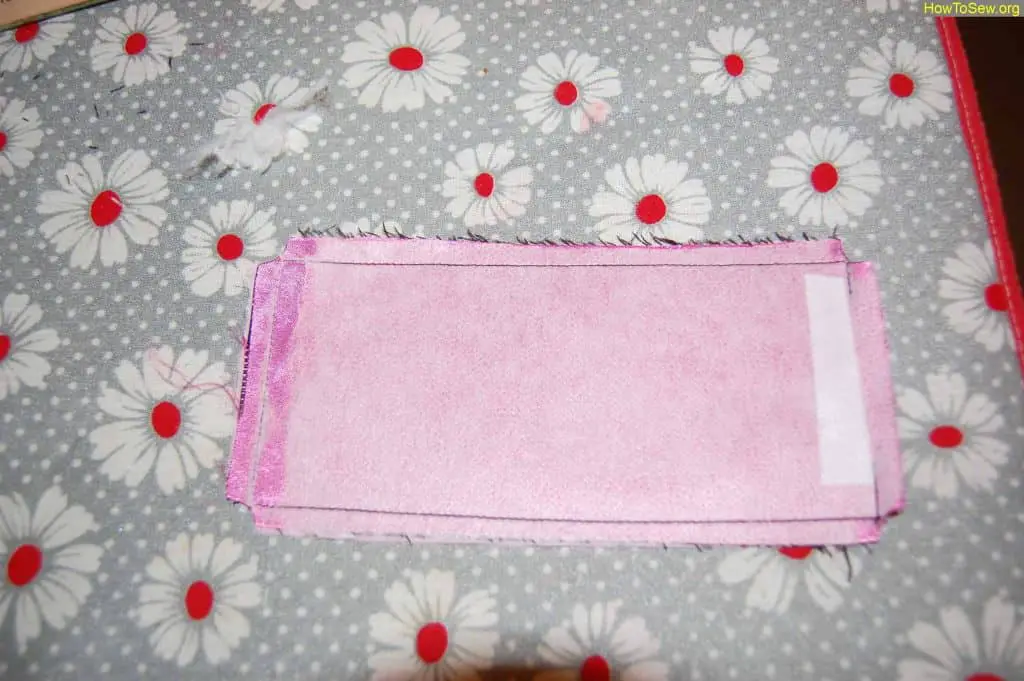
So that the eversion hole does not stretch, it must be glued with a dense adhesive. And do not forget !!! glue the same glue place along the edges of the corset, where holes will be punched and blocks (eyelets) for lacing will be placed.
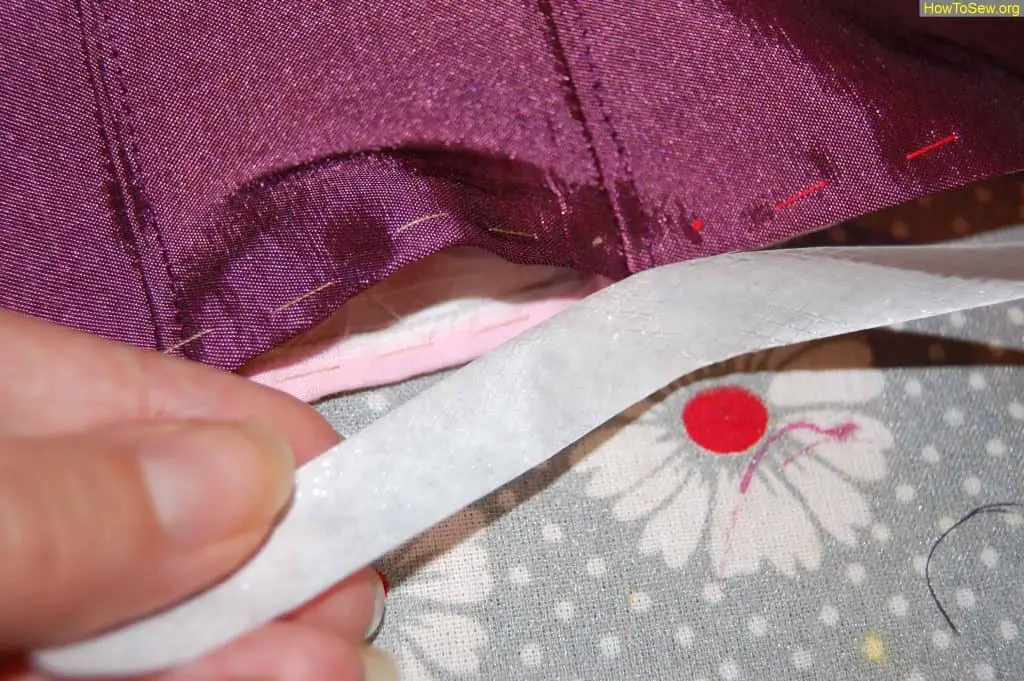
To make it convenient to stitch the eversion hole, I glued it with a glue web. It is sold per meter in stripes or as fabric in pieces. I sewed it with monofilament, because The main fabric is very different from the lining.
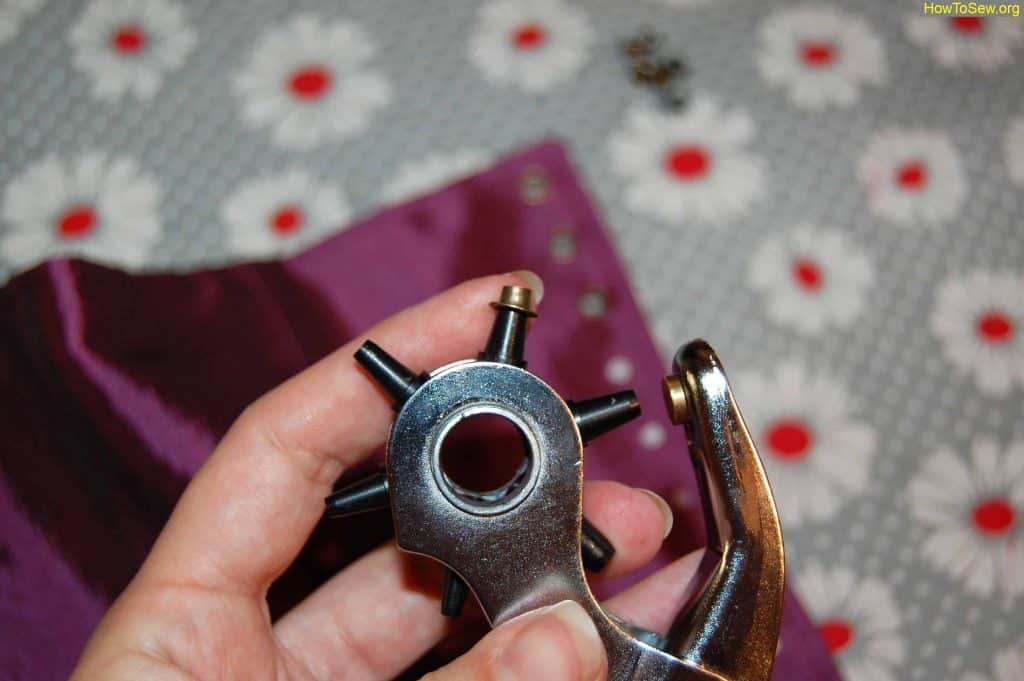
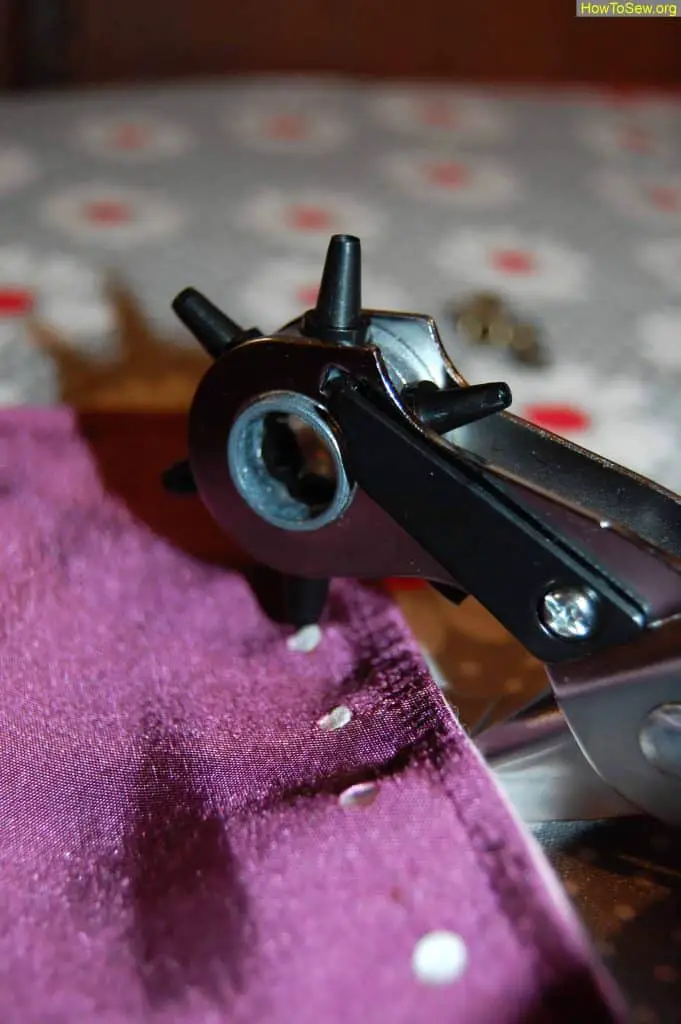
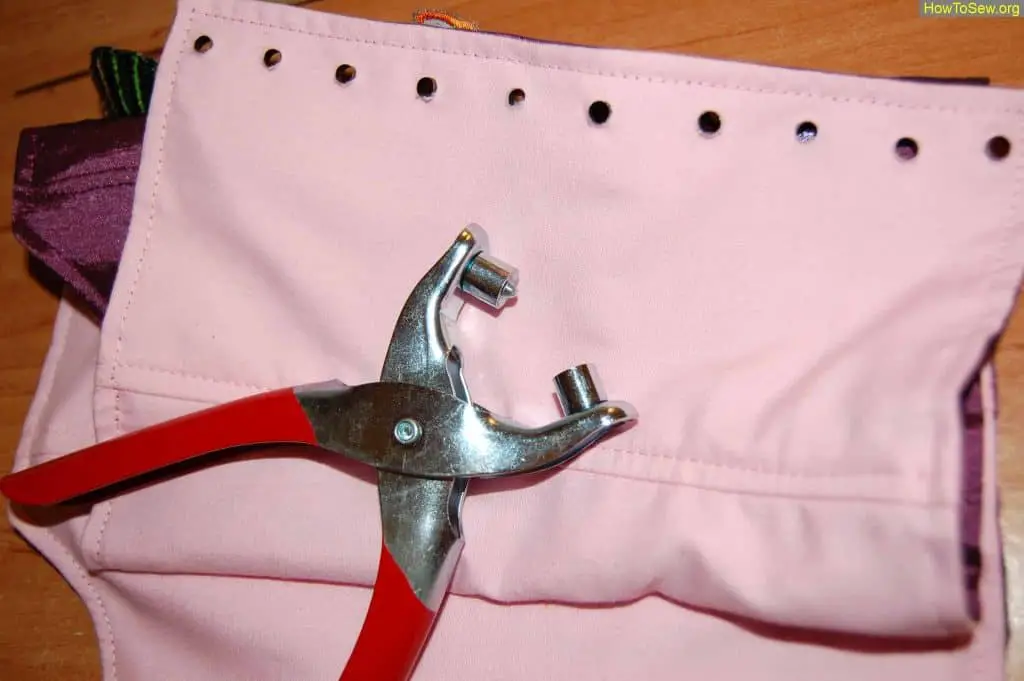
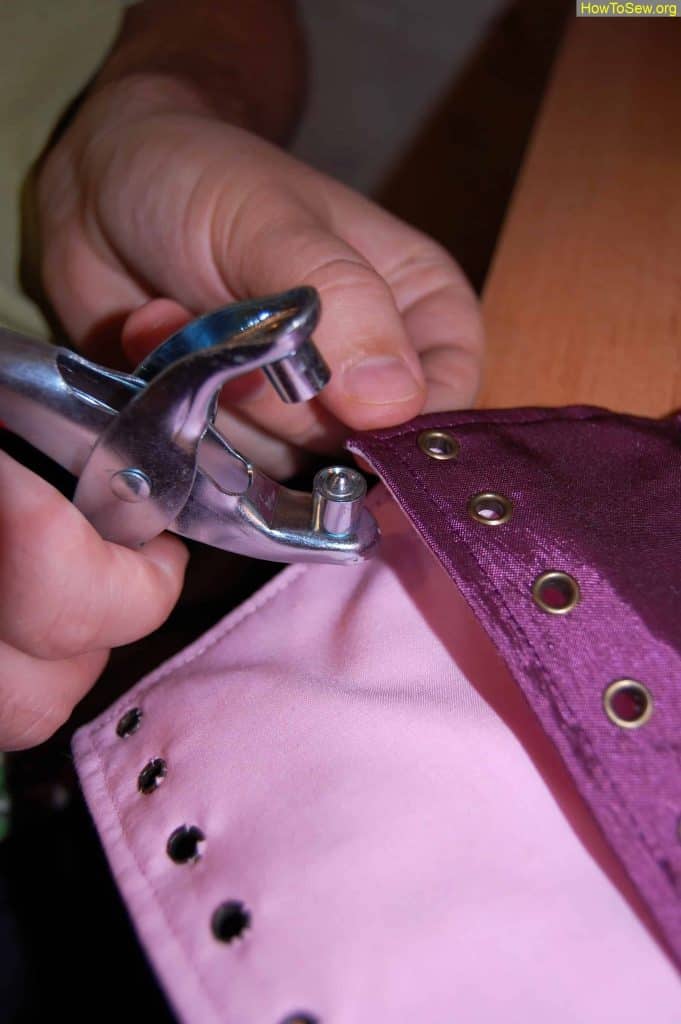
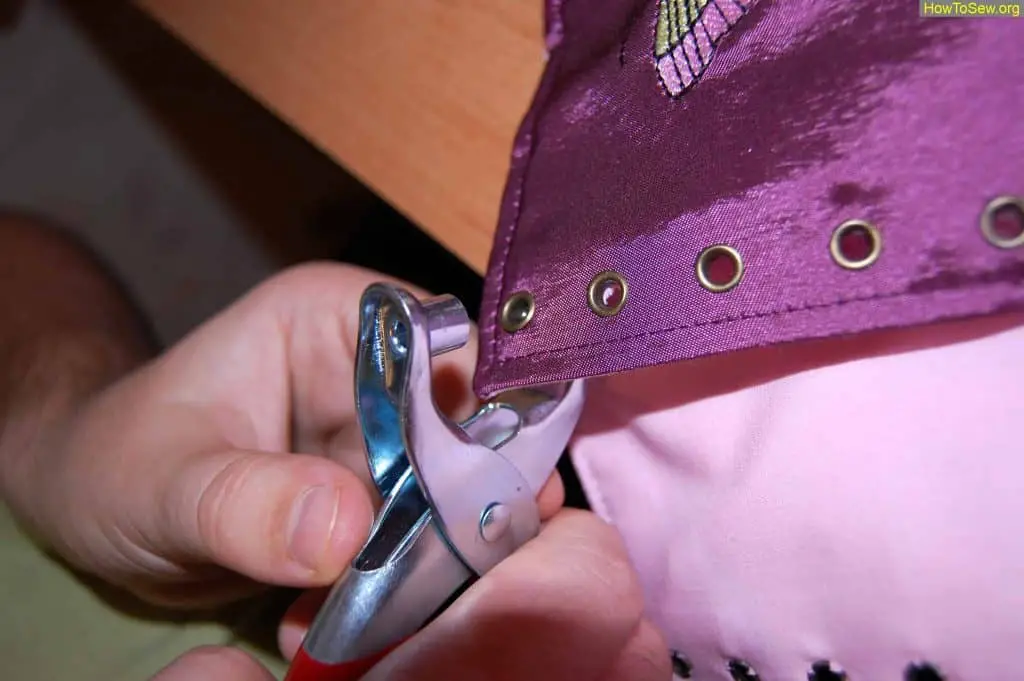
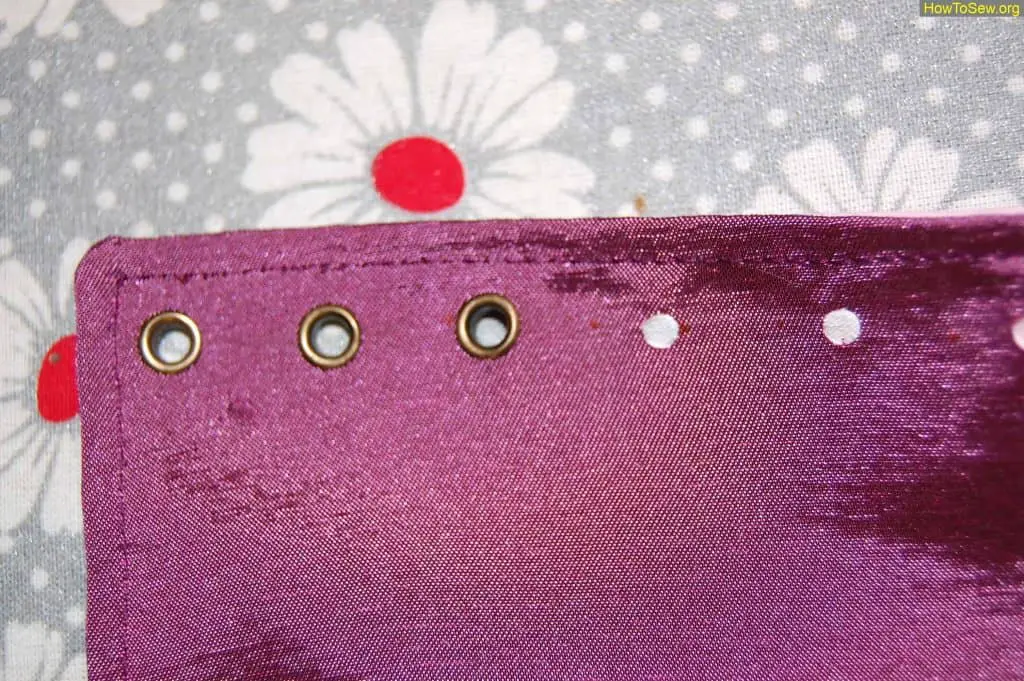
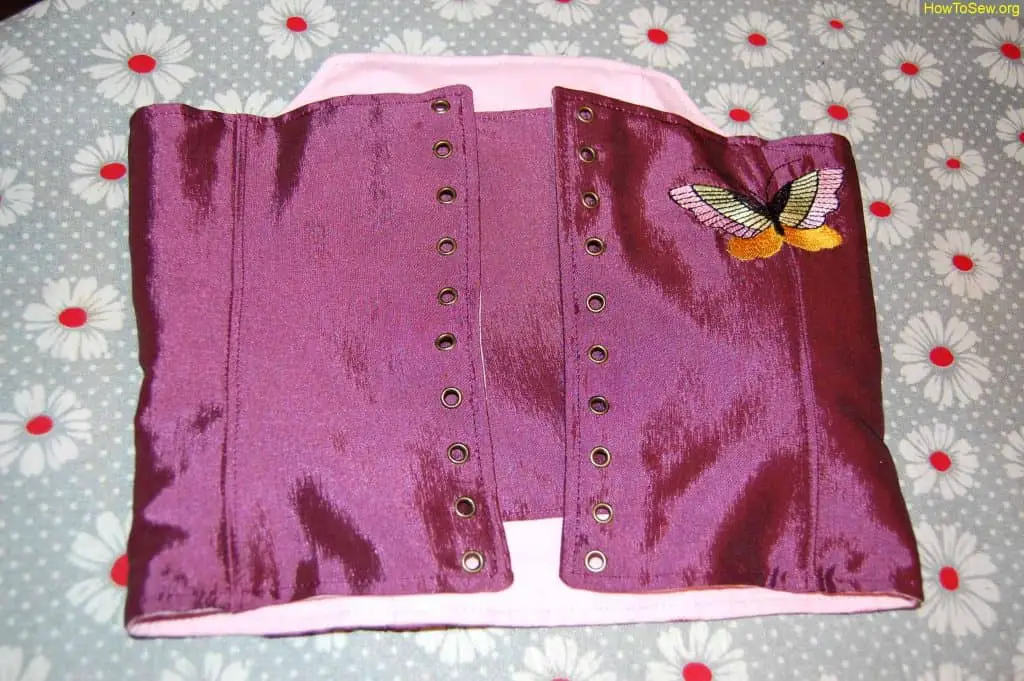
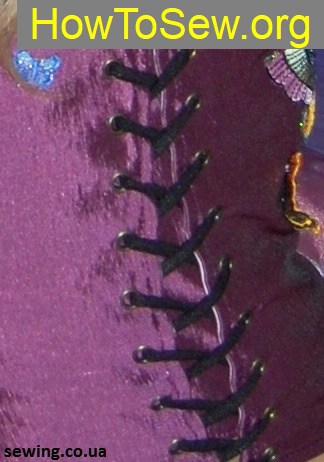
We put blocks (grommets). We take the blocs ourselves and measure which hole you need to punch, so that it fits well, but tightly. The main thing is not vice versa !!! And then quickly fall out of there. Then we punch holes in the designated places with a hole punch. Then with the device we put the blocks themselves. You can give it to the workshop. It is more difficult to do with such a hand-held device and without male power, it is easier with a special machine. But, not everyone has them 
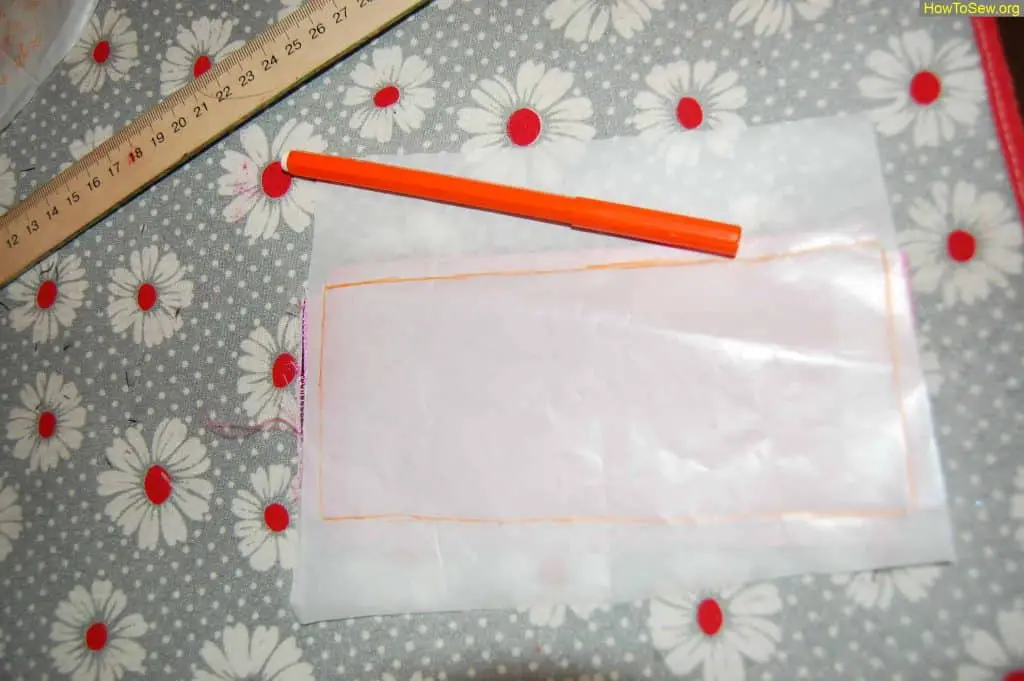
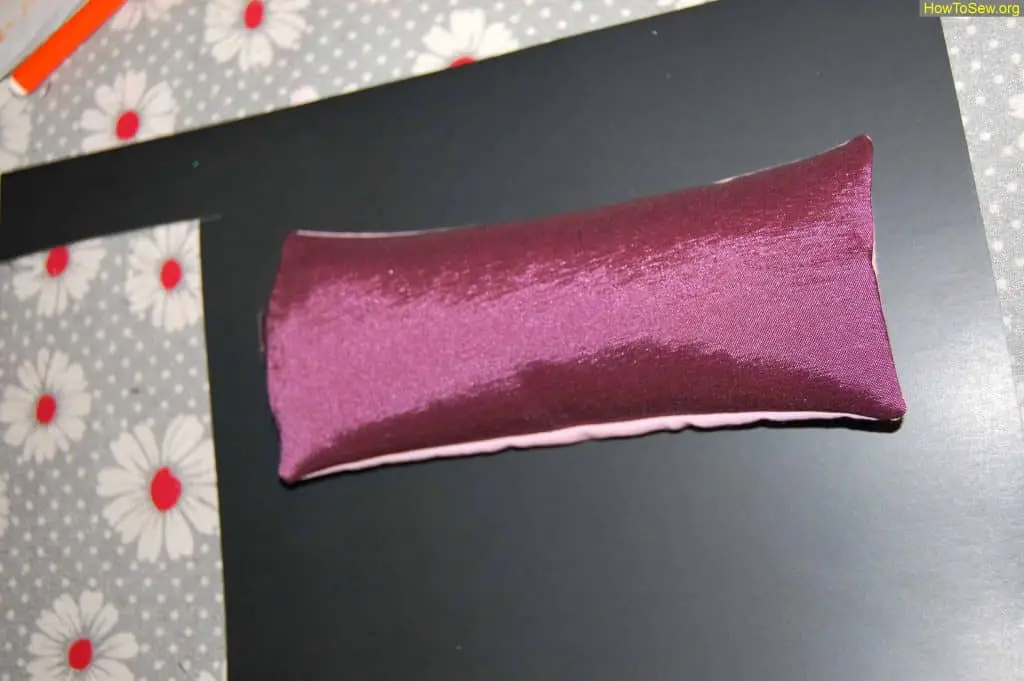
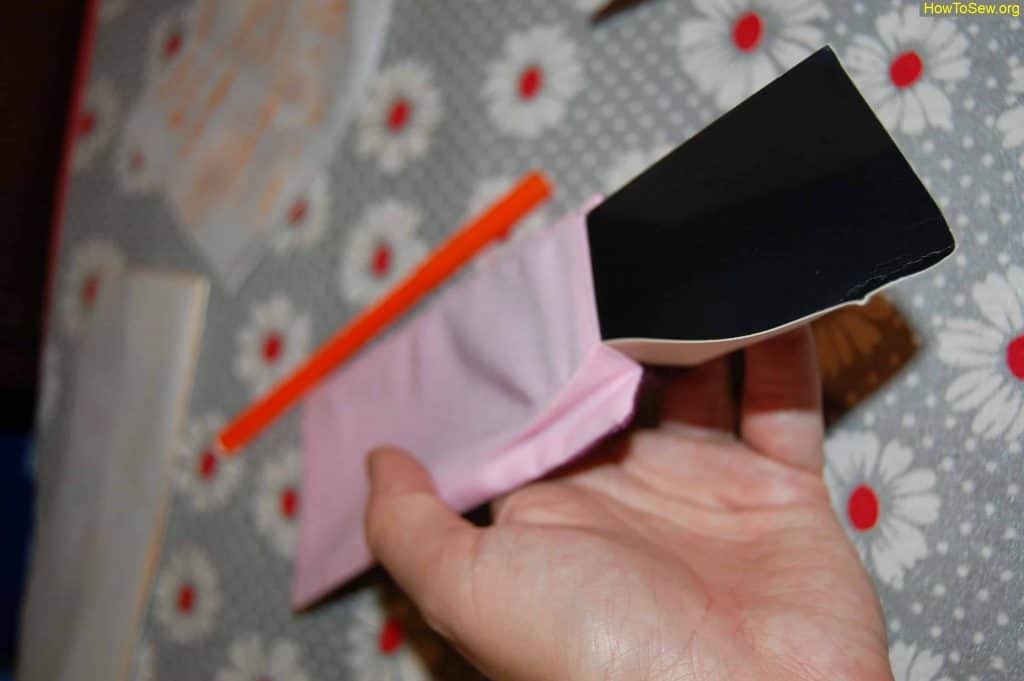
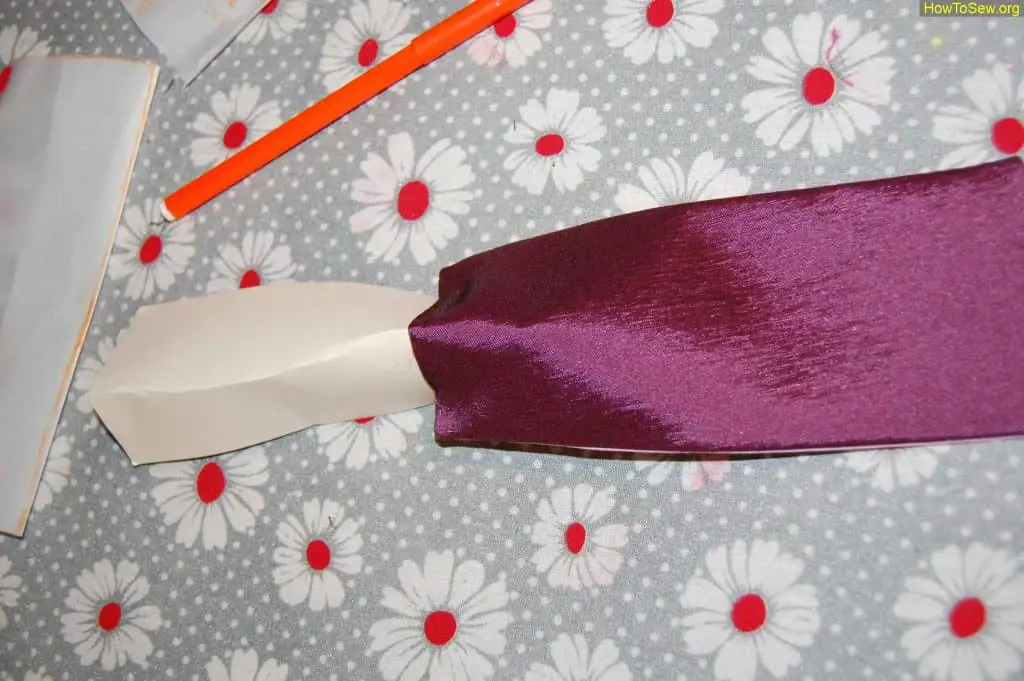
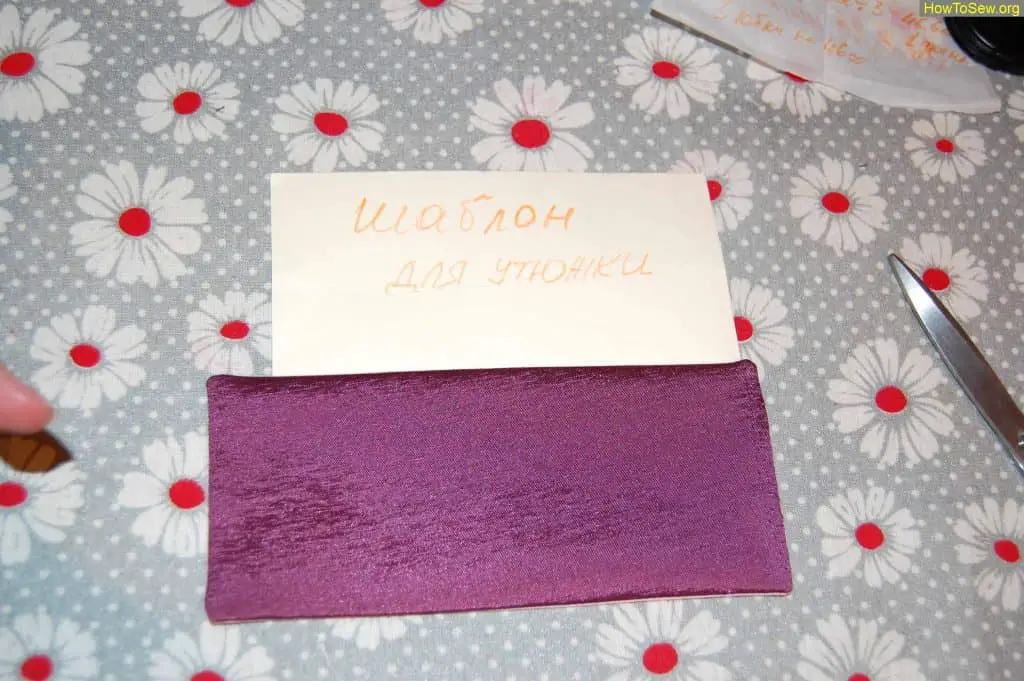
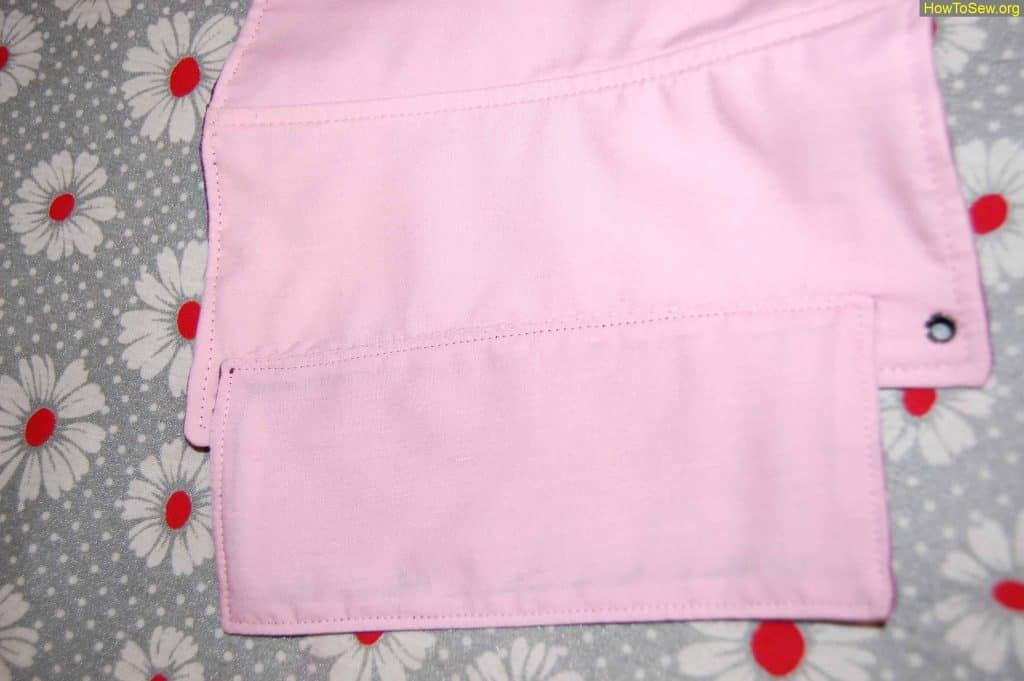
Now we will do the patu. This is the part of the corset that can be seen behind the laces. Of course, you can do without it, but it somehow looks more aesthetically pleasing. So, we determine how wide it will be. By the way, our corset will be able to “grow” later on to this width. It is very beneficial for children. You can bring this wardrobe thing for more than one season  We cut out, sew, leave a hole for inversion, cut corners. And here comes the fun part, I’ll teach you how to make a beautiful, smooth and, most importantly, without riffling the inside out. You need to make a template out of thick cardboard so that it fits perfectly in width with the corset’s pata (the height can be less, but not by much). To do this, take the tracing paper and circle the resulting rectangle after stitching. Then make a template from the blank, insert it into the hole of the already turned out stitch and level it. Then iron with a iron and allow to cool. Move a little and iron again. Put the load (book) and allow to cool. All!!! All angles are perfect, the sides are as even as strings on a guitar! After cooling down, take out the template and admire your work of art !!! To smooth bruises and sew with hand stitches to an already finished corset.
So we managed, the children’s corset is over. It remains to decorate with rhinestones and you’re done. Here’s what we got:
It remains to choose something for lacing and EVERYTHING. My advice! This is still a children’s corset, therefore, the condition for the child is that the lace must be elastic, for example, an elastic band. Now there are many beautiful gum. Hats round or flat swollen, in extreme cases a simple black flat 1cm. elastic. When we lace up such a corset with an elastic band, it will stretch along with the movements of the child, the corset will not hamper the movements and your daughter will not feel it at all.
I described in the next article how to sew a skirt for this corset.
