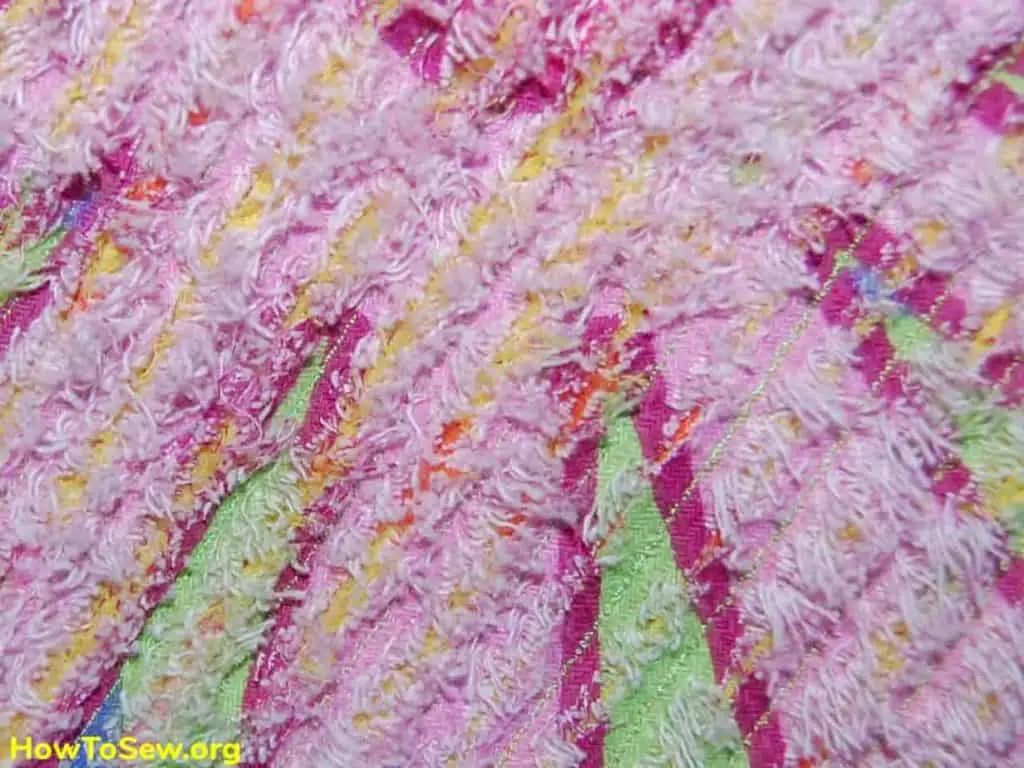
In the chenille technique, you can get a new color for a product, change its texture, and this is done quite simply, although your painstaking work is needed for a good result. I’ll tell you how I made a chenille jacket.
Sewing using the chenille technique is as follows: identical parts are cut out from multi-colored fabrics. Fabrics are best taken with a rare weave and contrasting colors. Waffle towels, flannel, chintz are ideal for this. In my case, the upper “main layer” is a cotton with a pattern, then a contrasting color flannel, it is plain and lining from light jeans. Total three layers of fabric.
The next step in the chenille technique is to cut each part three times from different fabrics and sweep all the cut paired parts around the perimeter.
Then we scribble the strips with a small zigzag at an angle of 45 * to the shared thread (in no case 90 *, otherwise the threads will crawl out of the seam). They sewed it, then with the scissors we cut the first two layers in the grooves obtained, with a brush for cleaning clothes we “clean” this is the chenille technique. The item is ready. Then we make all the details we need for the pattern and assemble the product. You can “cut” different shapes on the fabric, but then follow the lobar when cutting. The main thing is not to forget the rule – scribble at an angle of 45*.
Then, to close the stitching and insulate a little, you can put it all on the lining (flannel, fleece, etc.) But the jacket gets wet, so it will not work in the fall. The ideal weather for her is late spring with a breeze. My child just loves such a jacket. Here in the photo you can see the details of our jacket.
After each washing, the jacket only becomes more beautiful and fluffy, brush it and again like new. And the chenille technique doesn’t cost stains!
I must say that working with such equipment is a long time. But the result is worth it.
To process the edge of such a product, a cotton kiper tape is suitable, another name is rep tape. When stitching sleeves in armholes, I also use kiper tape and wrap a seam around it. It turns out of course thick (there are 3 layers of the waistcoat + 3 layers of the sleeve, totaling 6 layers). Well, let it not scare anyone, with a thick needle 90 everything is stitched well. Hinges welt. Naturally patch pockets are also treated with kiper tape. I don’t make chenille on the places of pockets, so that garbage does not collect excess in pockets.
Now I want to offer a master class on a chenille jacket in great detail.
So, any master class begins with a set of materials for manufacturing. In the master class, I took the following fabrics:
- The upper fabric I took a waffle-type cotton cloth. It was a bright drawing. Such a fabric is not tightly woven and therefore it is very well torn apart, simply by a light touch of a brush, which is very important for chenille technique.
- The second fabric took a very bright yellow cat. It is not visible at all, but a bright yellow “fluff” appeared in the seams.
- the third fabric – the base for the jacket, I took the orange-red jeans, rather tight. Very juicy color. This combination allowed us to create a very beautiful chenille, soft and fluffy. And most importantly – VERY bright and fun. My daughter wore this jacket with great pleasure.
- the fourth fabric is a thin cambric of light color – it was used for lining.
Below I will describe in detail the entire process of tailoring a jacket using the chenille technique:
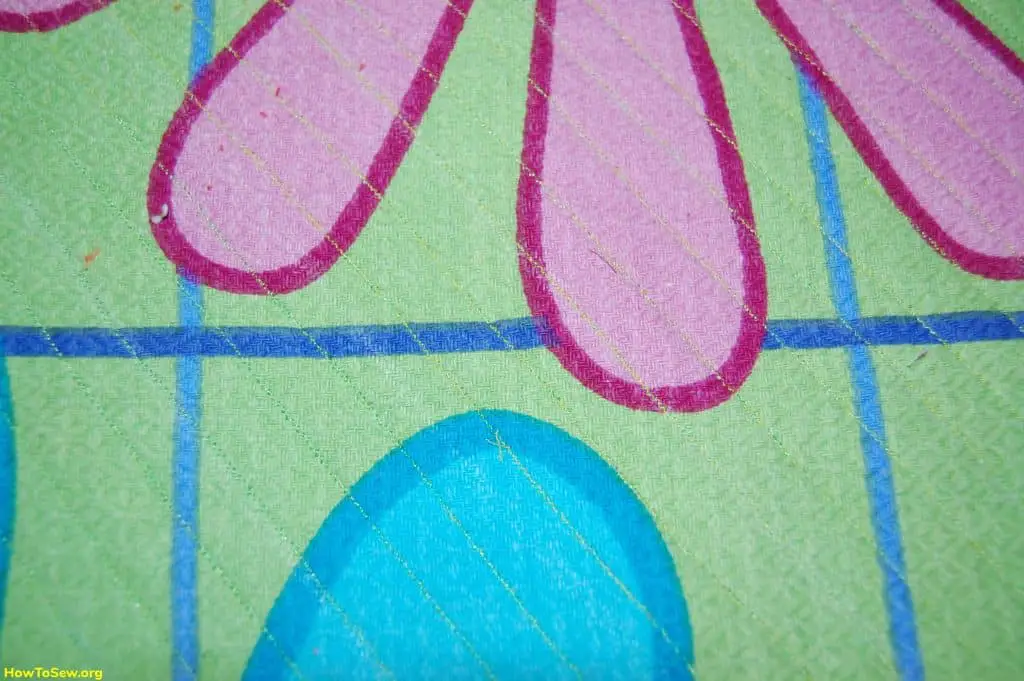
First, you need to cut out the details from all layers of fabric. I cut on a shared. I have three main layers for chenille (it was mentioned above) and one lining layer. I sewed a vest in three layers: I made side and shoulder. Then she smoothed them in different directions and scribbled (a very thick seam is obtained, so if it is unstretched it will be more plastic. In the vest you need to measure strictly the diagonal at an angle of 45 degrees with respect to the length and grind the strip of the desired width with a small zigzag (I took 1cm) and more.
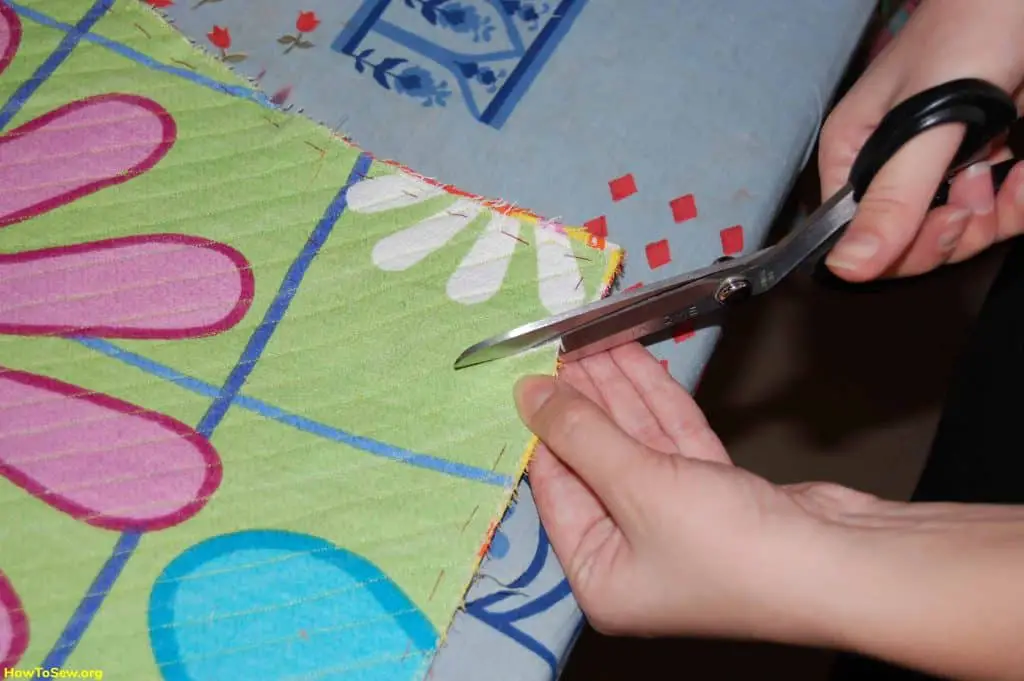
Then we start making the chenille itself: you need to take the scissors and cut through the two upper layers of the fabric without hitting the base. You need to cut everywhere along the stripes.
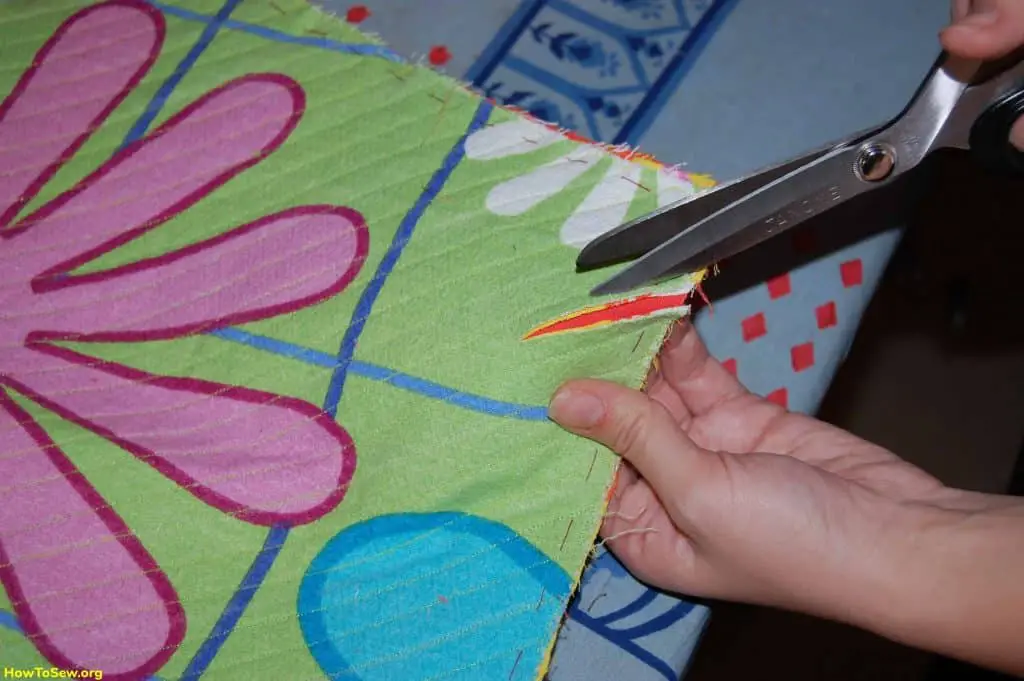
Be sure to make sure that the main fabric remains WHOLE. This is the main condition of this technique!
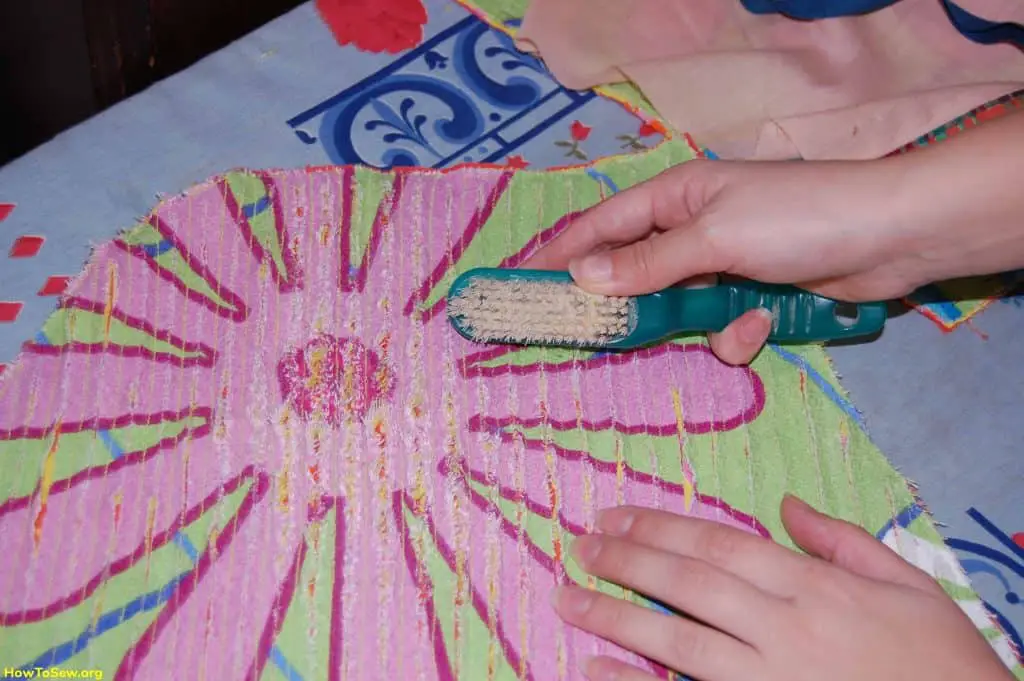
Then we take a brush, small or large, which is convenient and make our chenille fluffy.
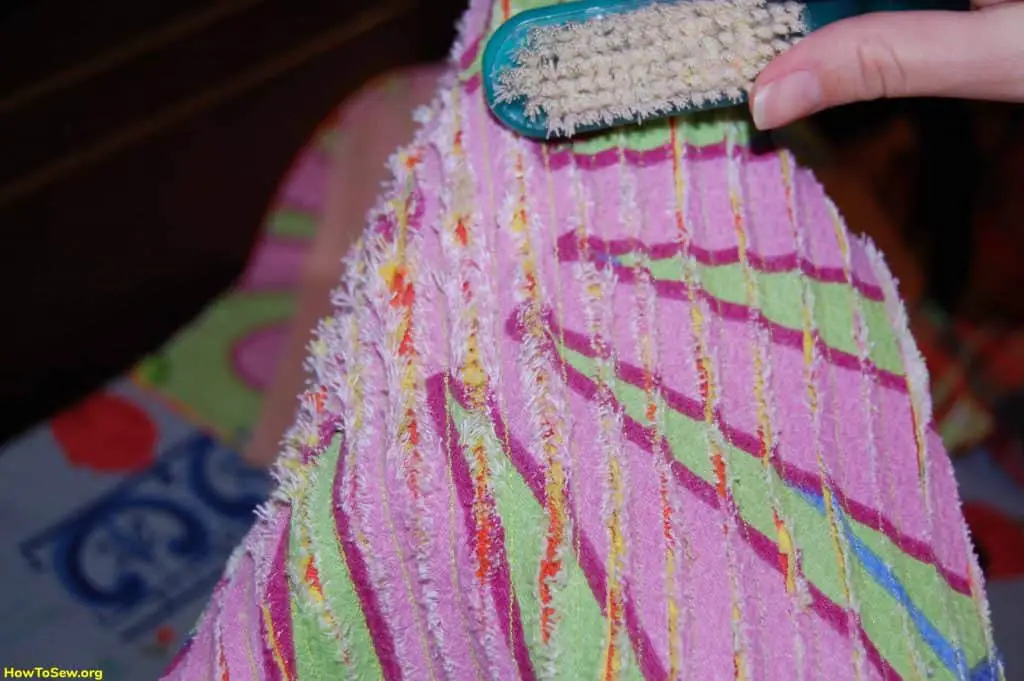
The more energetically you rub your chenille with a brush, the more fluffy it will become. And after washing, everyone will get just a magical thing. She will be like colored fur. If all the recommendations described above are fulfilled (a line at an angle and precisely with a zigzag), then you can safely put the jacket in the washing machine with other things, the threads from it will not climb.
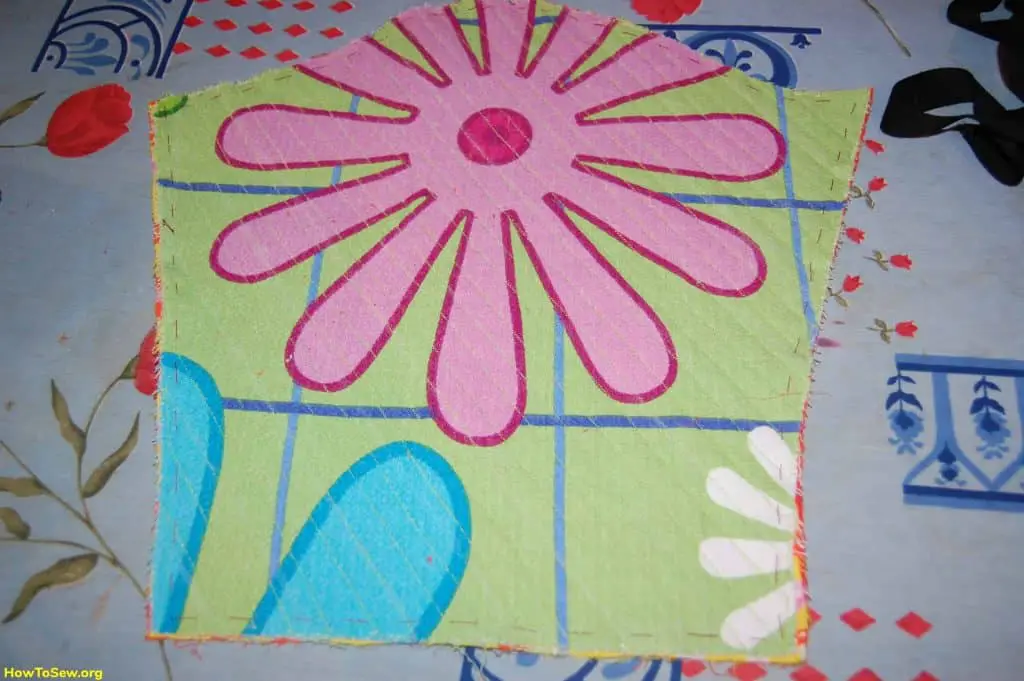
The vest is ready. Now we turn to the sleeves of our jacket using the chenille technique. I cut them out separately. The sleeve head is very low. This provides freedom of movement for the child. My daughter was very comfortable in this jacket. I quilted my sleeves like a vest.
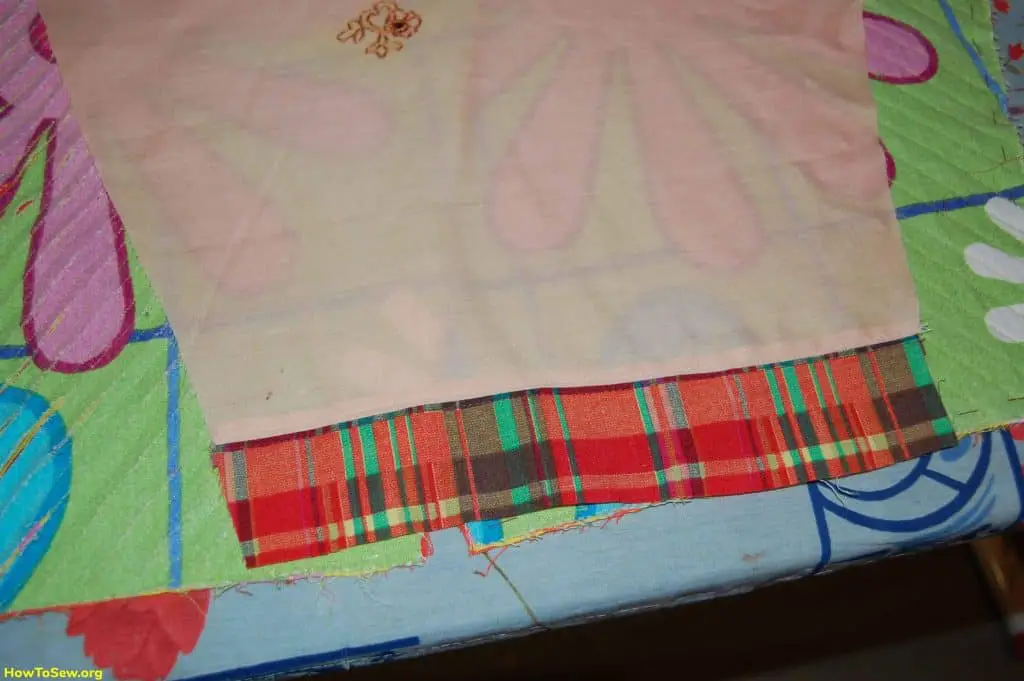
The lining is light, but at first we wore sleeves on the lapel, so below I sewed a colored fabric. It is not easily soiled and is more suitable in color to the front side of my jacket.
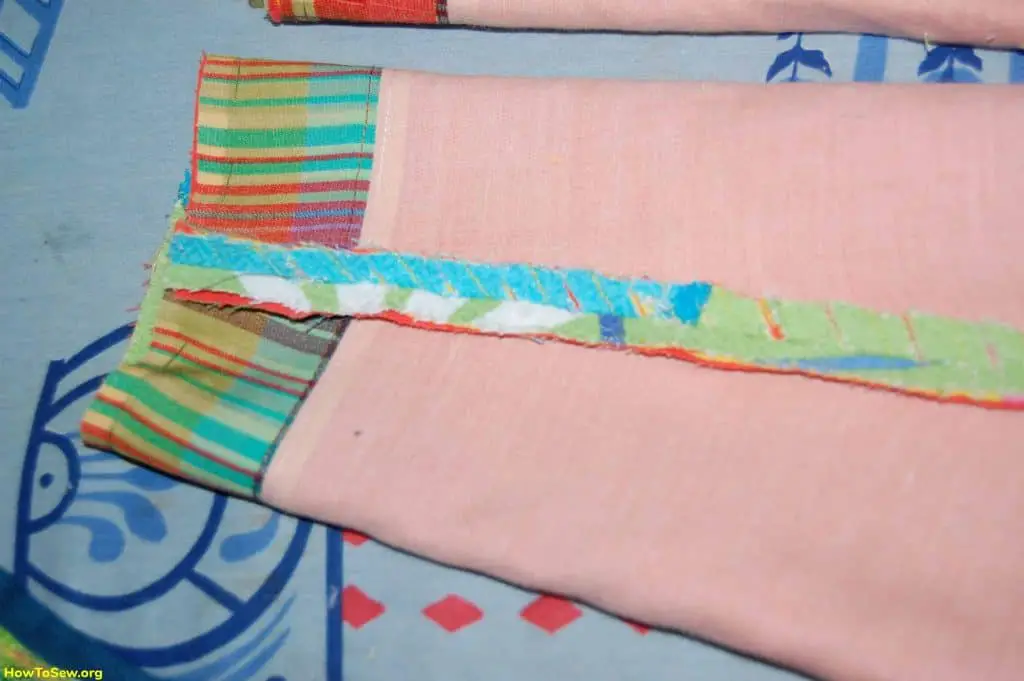
I sewed the seam of the sleeve along with the lining. Flown down and around the dusk so that the fabric does not move out and does not move anywhere.
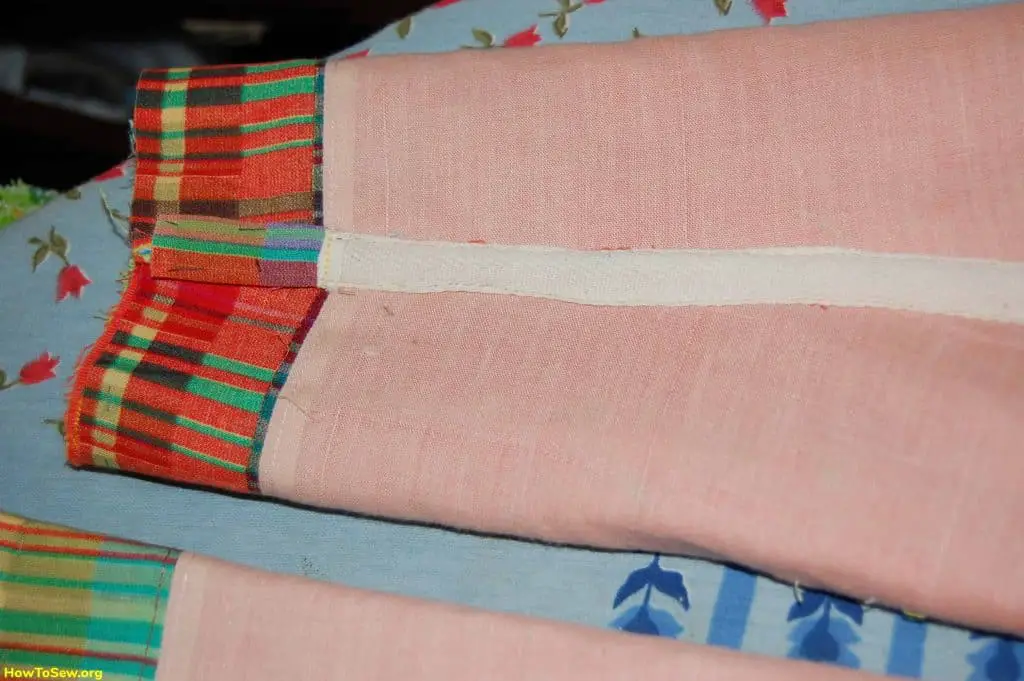
Then I covered this seam with a strip of kiper tape. At the bottom of the strip, hemmed the same fabric as on the cuff. Sewed on a typewriter. It was very uncomfortable. The sleeve is narrow. For myself, I decided it was better to take a thin needle and hem everything by hand.
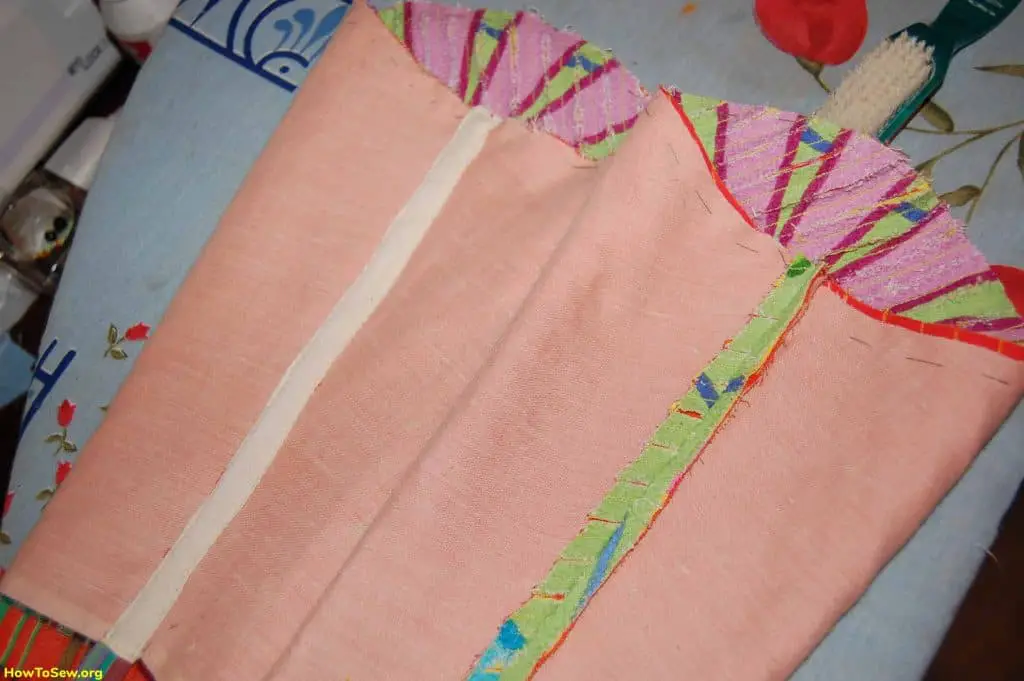
These are my sleeves. One is ready, the second is not yet
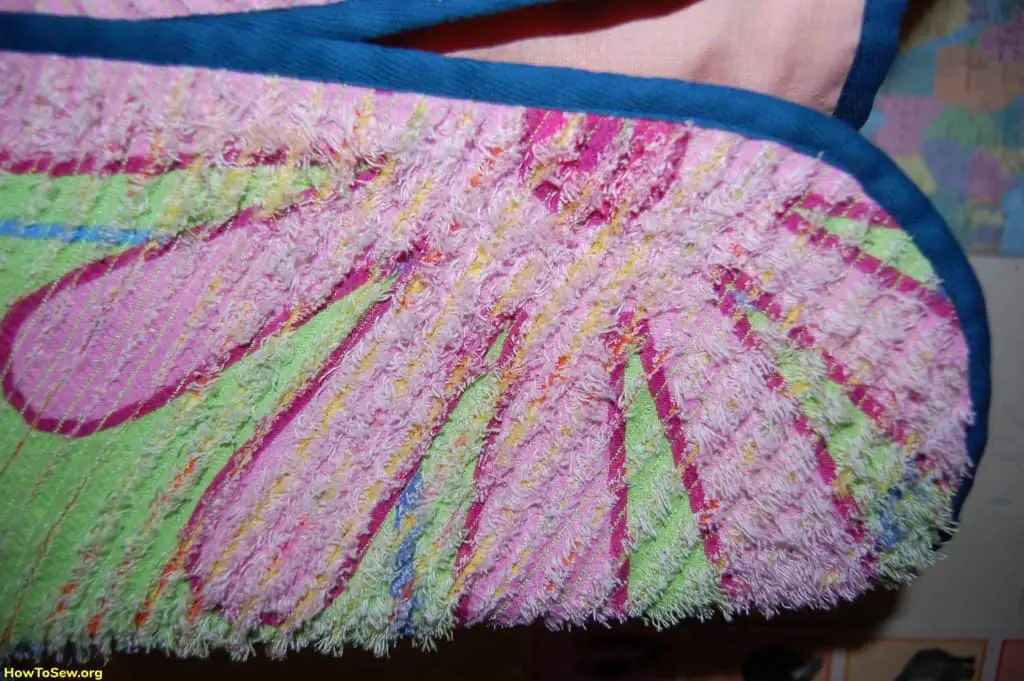
It is time to talk about the edges of my jacket. As you can see in the photo, all the edges are processed with a blue tape. To hide the “insides” of my chenille, I made a lining – a vest made of lining fabric. She put it in the main chenille vest. I swept the lining on the sleeve circumference, the neck, along the sides and back.
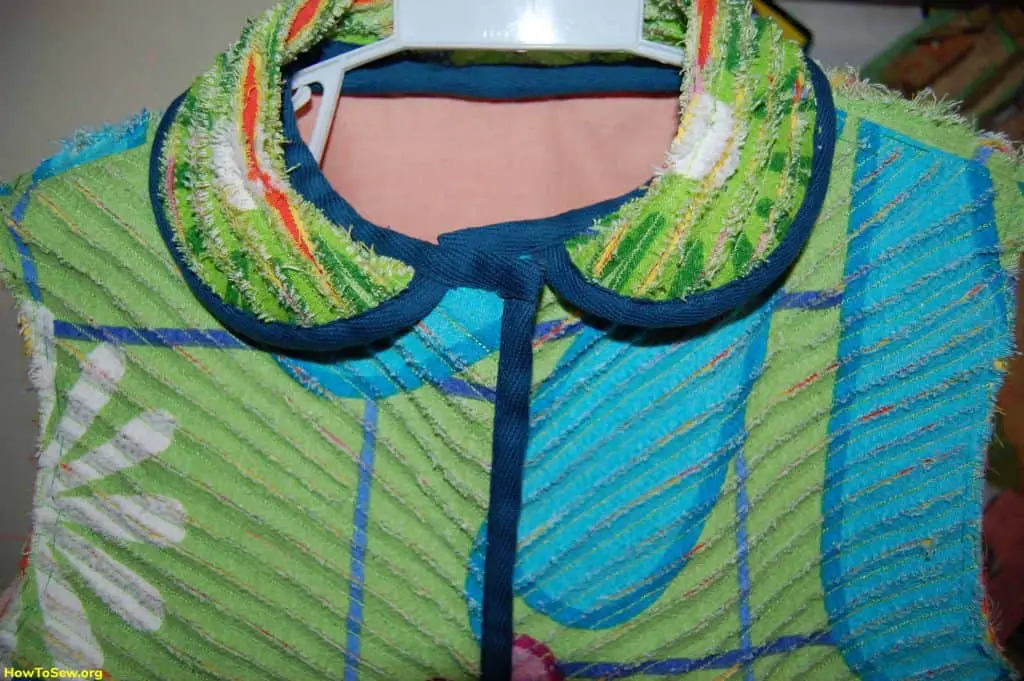
I also made a collar separately. It is quilted, cut and slightly frizzy. And then it is edged with the same kiper tape. After that, I sewed it into the neck. I also sewed the stitching seam with a kiper tape.
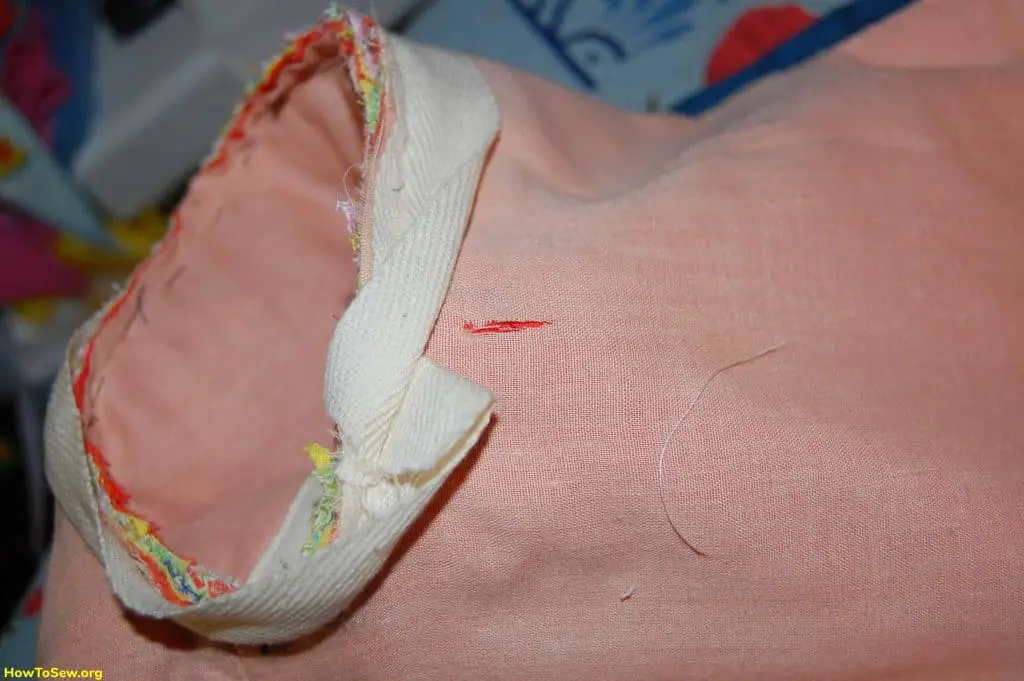
And the last thing is to sew in sleeves. It turns out many layers of fabric. All layers are natural and pierced very well with a thick needle (I took No. 100). My typewriter coped with the task well, I have done it well. To close the threads of the vest and the sleeve itself, I edged everything with a light kiper tape. Then I put the buttons and made welt loops. All loops are vertical. (I like vertical loops, I often do just that) Buttons are large. And fasten fast and beautiful buttons you can choose.
Conclusion
So we made chenille with our own hands. As in my opinion, this is not difficult. Painstakingly, yes. But not difficult. Chenille technique is very unusual and beautiful. Things are warm and soft. Daughter says – I’m like a fluffy kitten.
