The easiest way to build a free fitted face mask pattern taking into individual anatomical features. It is also very handy for making a kids face mask out of fabric.
Warning:
This pattern is for making non-medical masks. I cannot give you advice on regulatory issues related to face masks. For information on how to select, use and maintain a non-medical mask, please consult the World Health Organization’s page on masks or your local authority.
To construct the free face mask pattern you will need:
- piece of paper;
- pencil;
- line;
- the person for whom you are sewing the mask.
Building the homemade face mask pattern
- Ask the person for whom you are sewing the mask to put their face to a sheet of paper and trace the profile carefully. Mark the position of the ear.
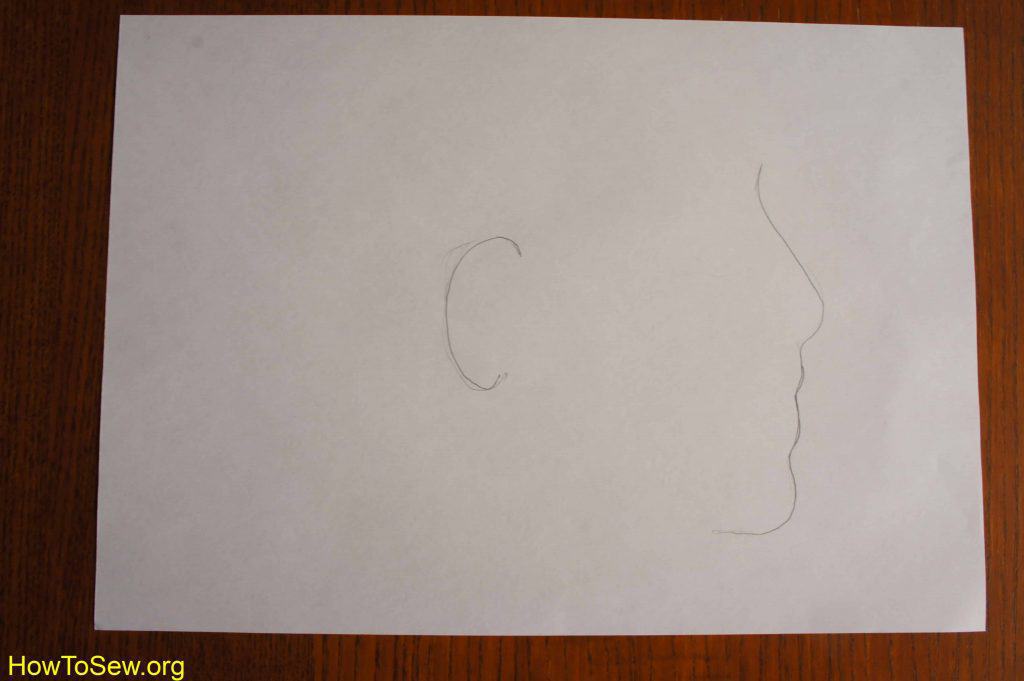
- Make two marks – the top and bottom of the mask, and connect them with a smooth line.
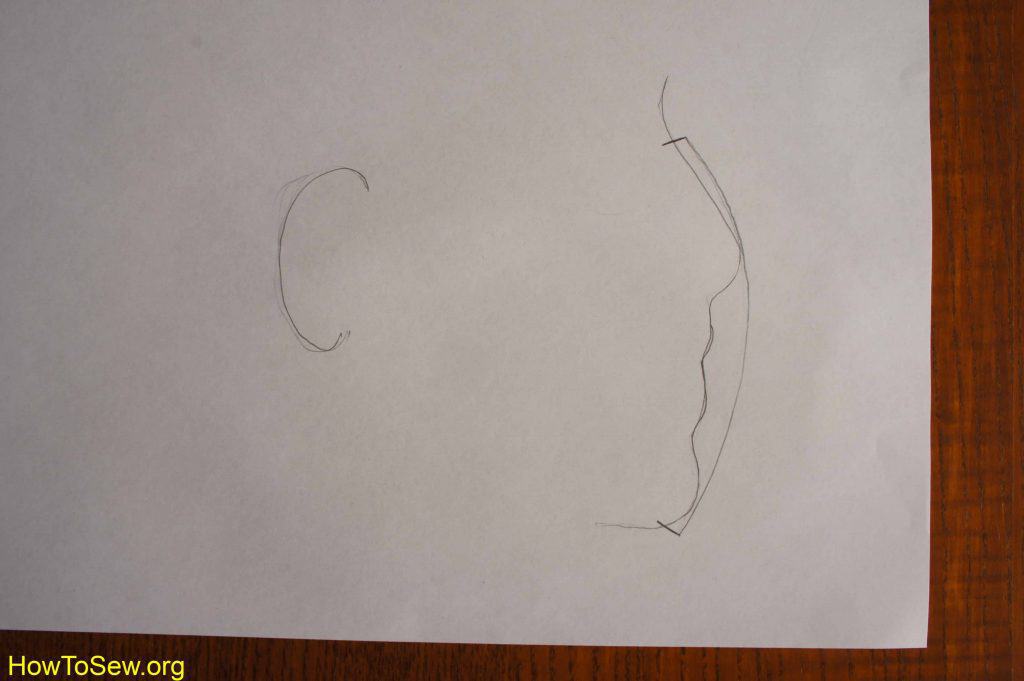
- Near the ear, draw a line to the side of the mask. The top point is slightly above the middle of the ear, the bottom point slightly below the ear.
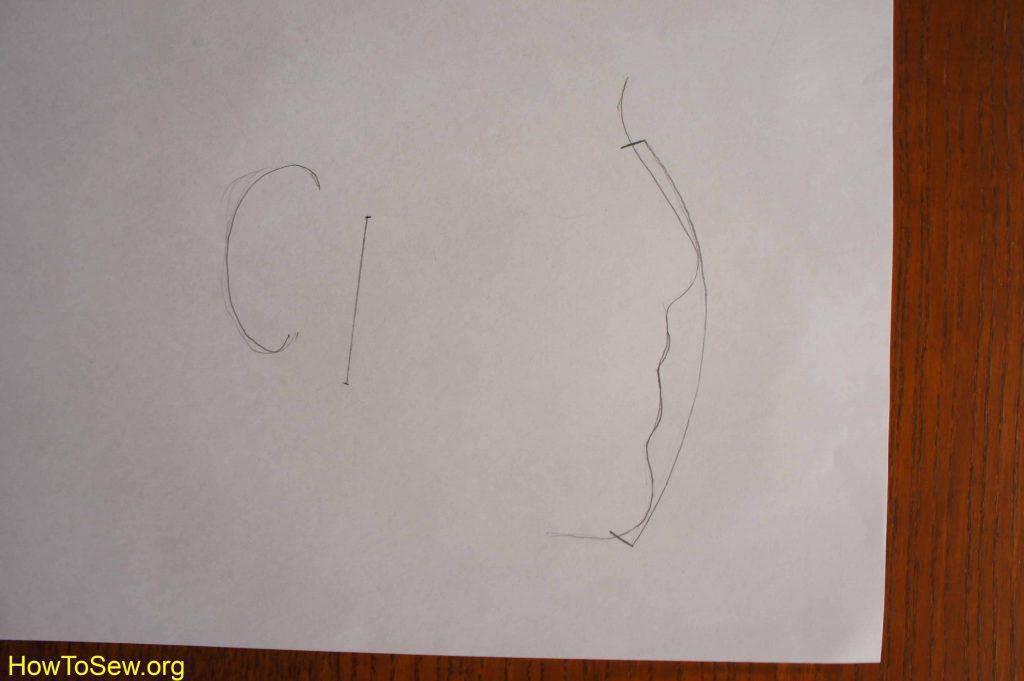
- Connect all the points, draw the top with a curve (higher in the nose area, lower closer to the side). The bottom line is almost straight.
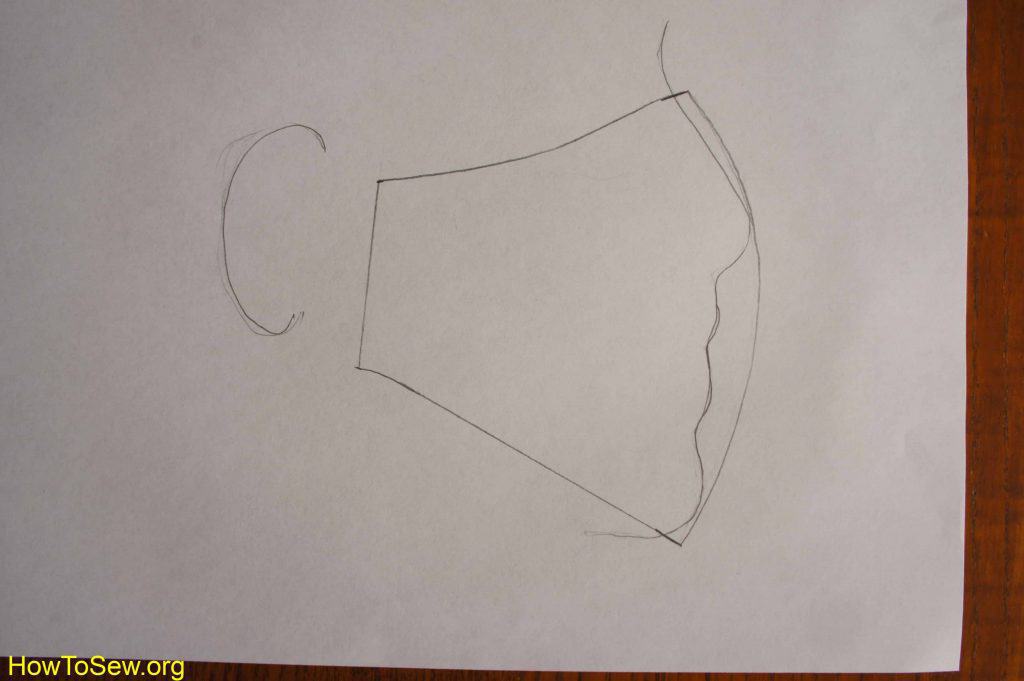
The pattern is ready, you need to cut it out.
How to sew a fabric homemade fitted face mask
To make the mask you will need:
- Dense fabric for the outside (e.g. corduroy);
- natural, soft fabric for the inside (e.g. chintz);
- thin elastic band or thin ties;
- sewing machine, thread, safety pins, hook or thick needle.
If you don’t have a sewing machine, the mask can be sewn by hand, a needle will be needed.
- Cut two mirrored pieces from heavy fabric and two from thin fabric. Leave an allowance of 1 cm at all seams. And on the side for folding 2.5 cm on the top pieces and 2 cm on the inside pieces.
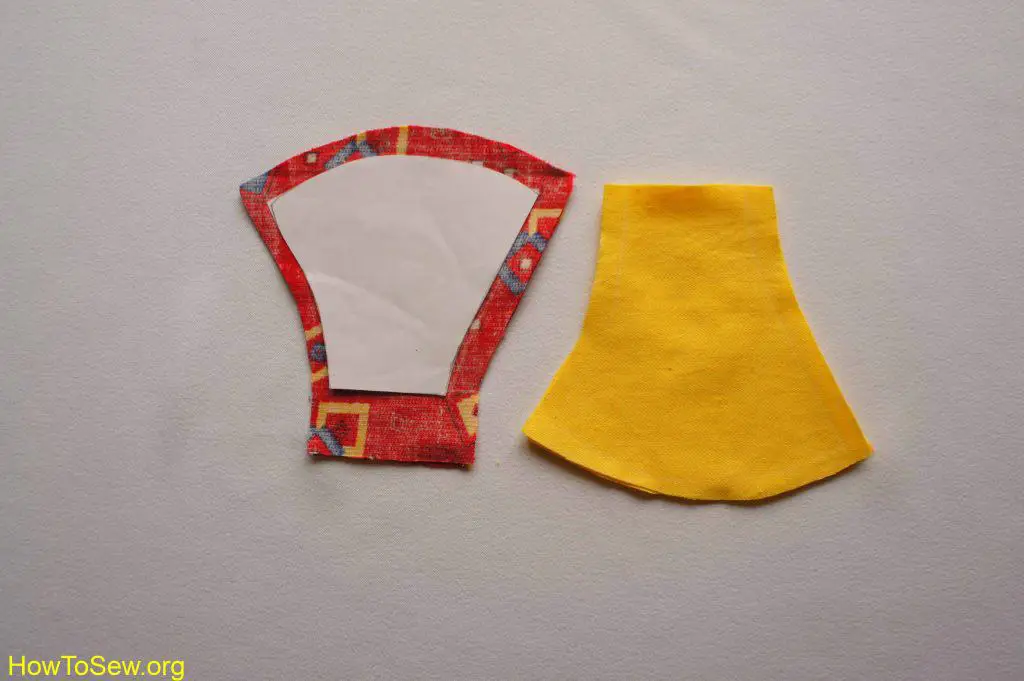
- Sew the middle seam on the outer piece, preferably by stitching the seam allowances together (folding them out and stitching them onto the piece). Sew the middle seam on the inside piece.
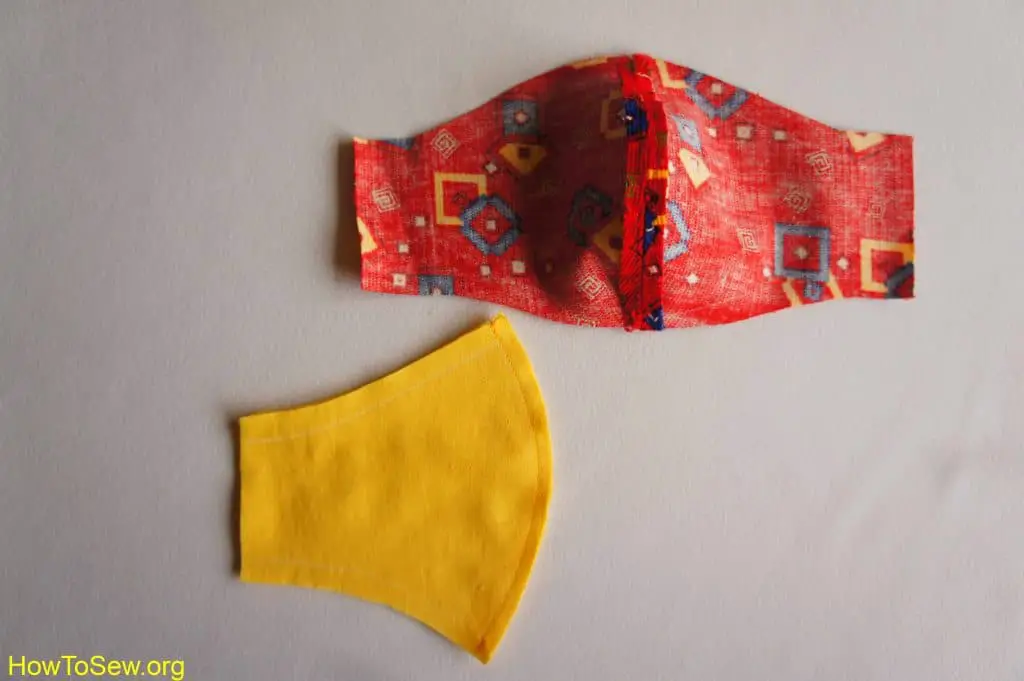
- Fold the two parts together with their front sides facing each other. Note the alignment of the top and bottom edge (it is easy to mix up the small mask). Pin the parts together with pins.
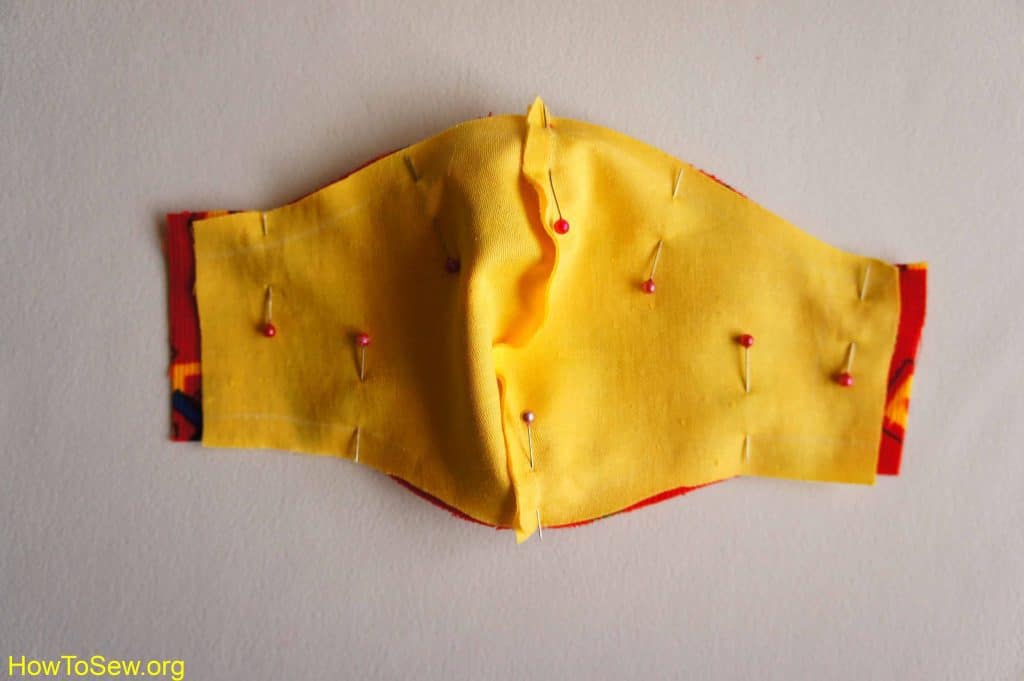
- Sew the first seam along the top edge and the second seam along the bottom edge. Leave the side edges open.
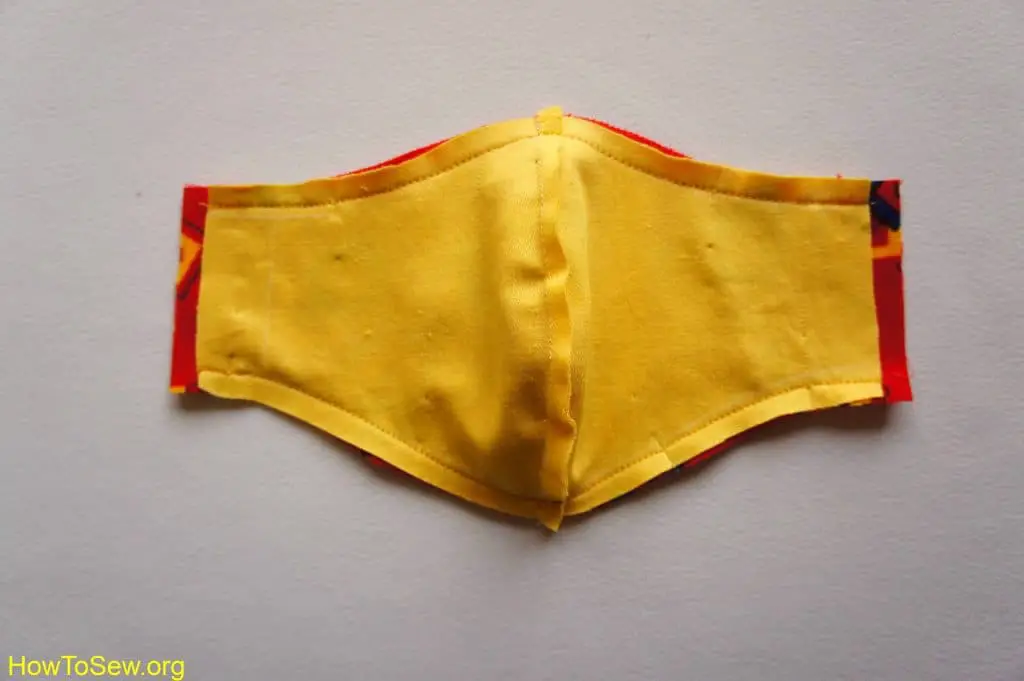
- Carefully turn the mask out onto the front side through the side cut.
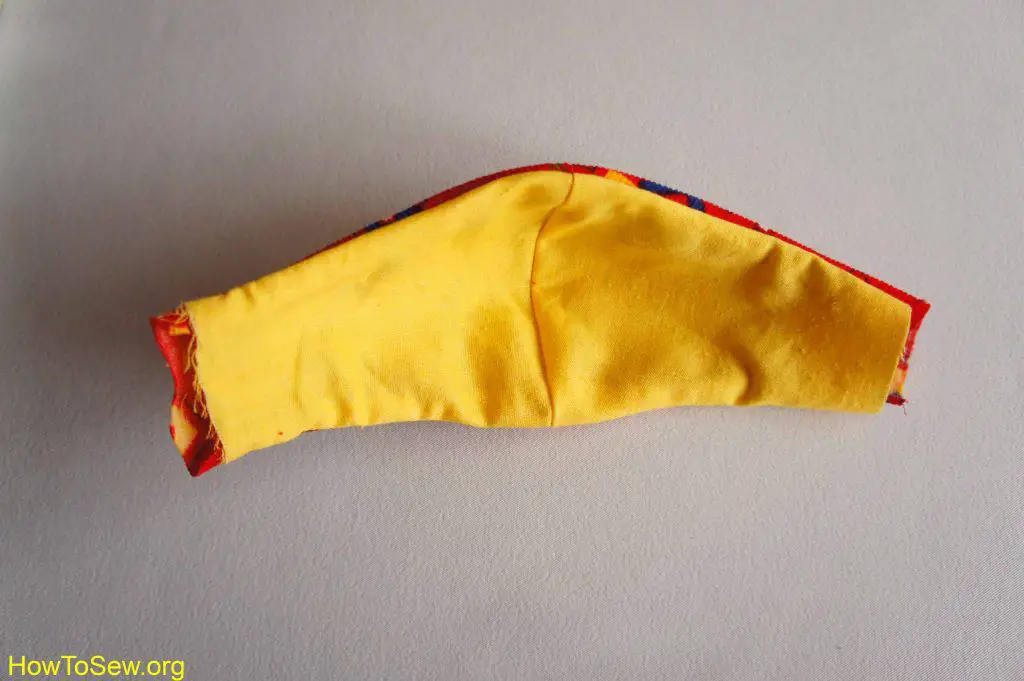
- Tuck the side edges into the inner piece, first 0.5 cm and then 1.5 to 2 cm (the distance depends on the thickness of the elastic band you will use). Stitch close to the fold. Be sure to use tack stitches at the beginning and end of the stitching.
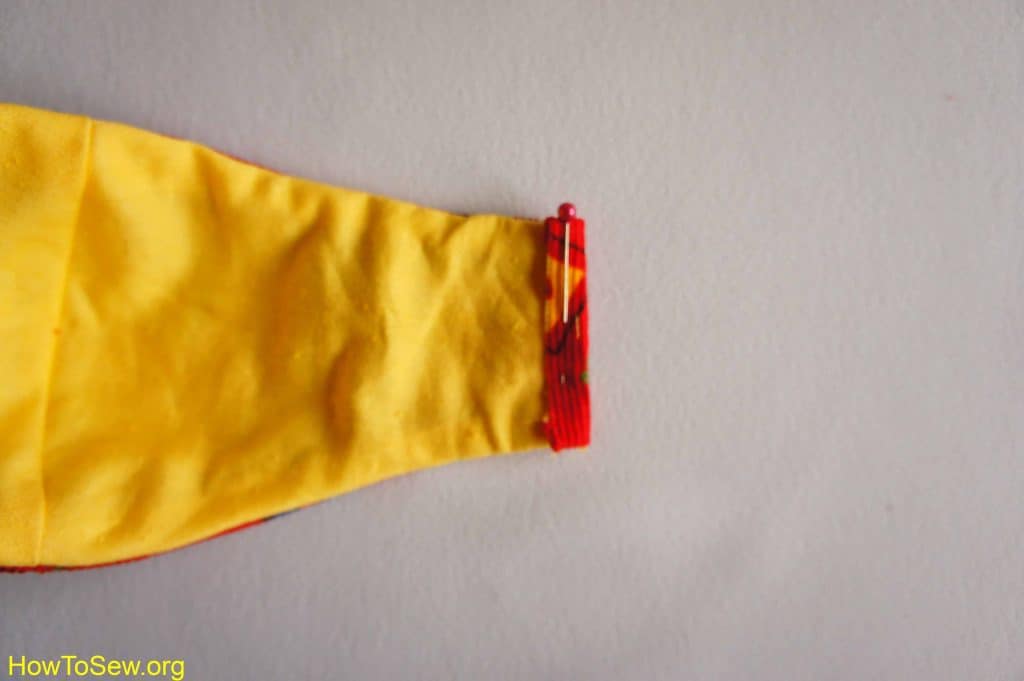
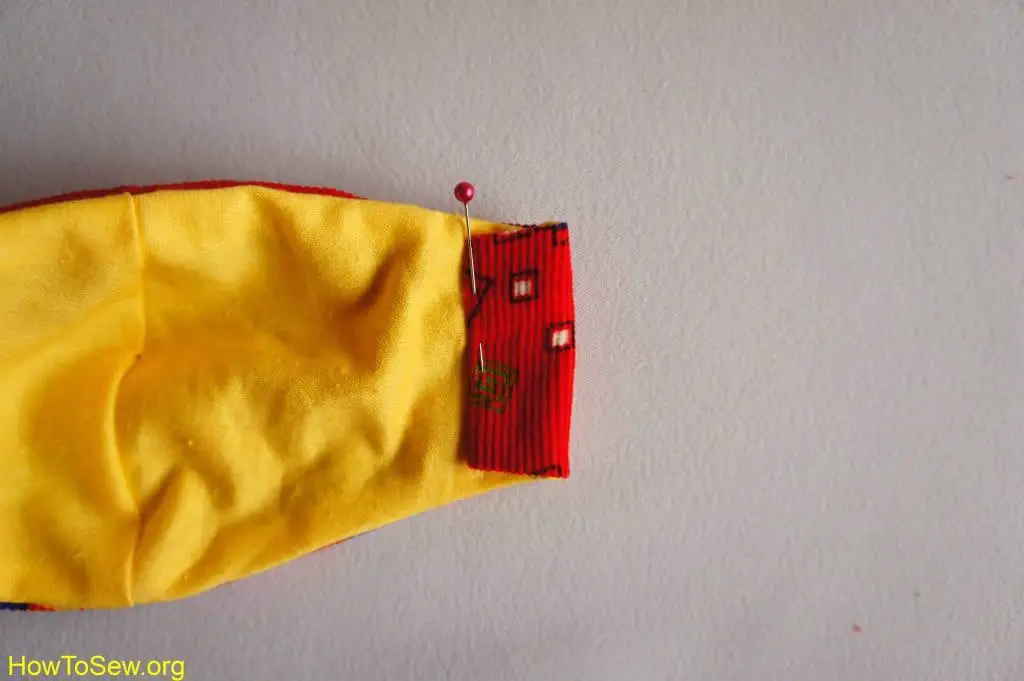
- Use a crochet hook to pass the elastic band through the hems, choose the length you want when trying on, tie the elastic band and hide the knot under the seam.
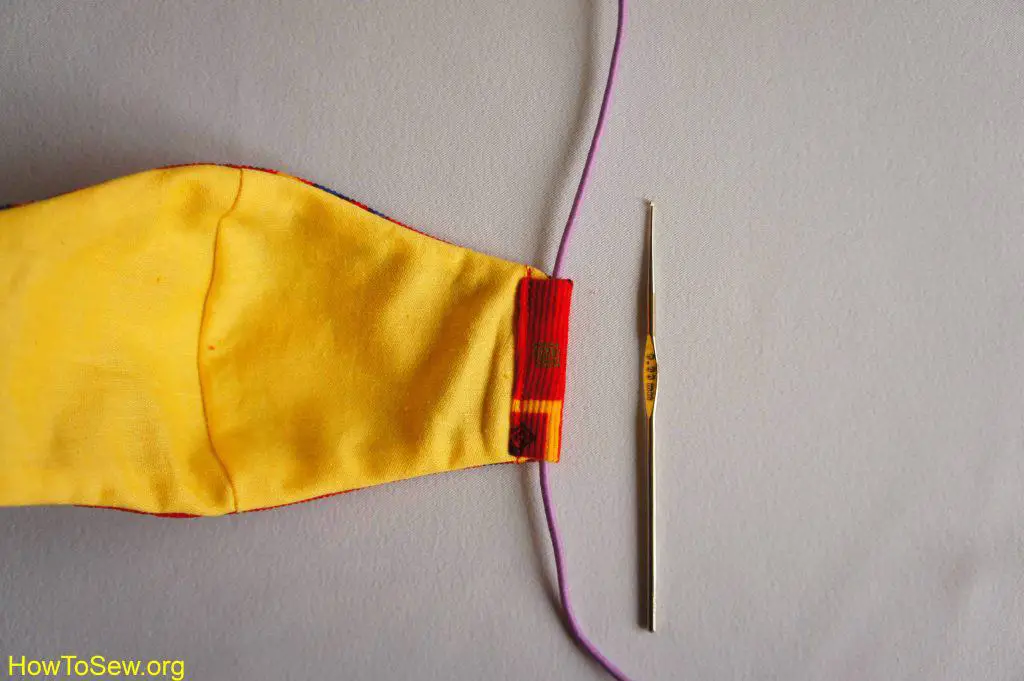
Two tips for fabric kids face mask pattern
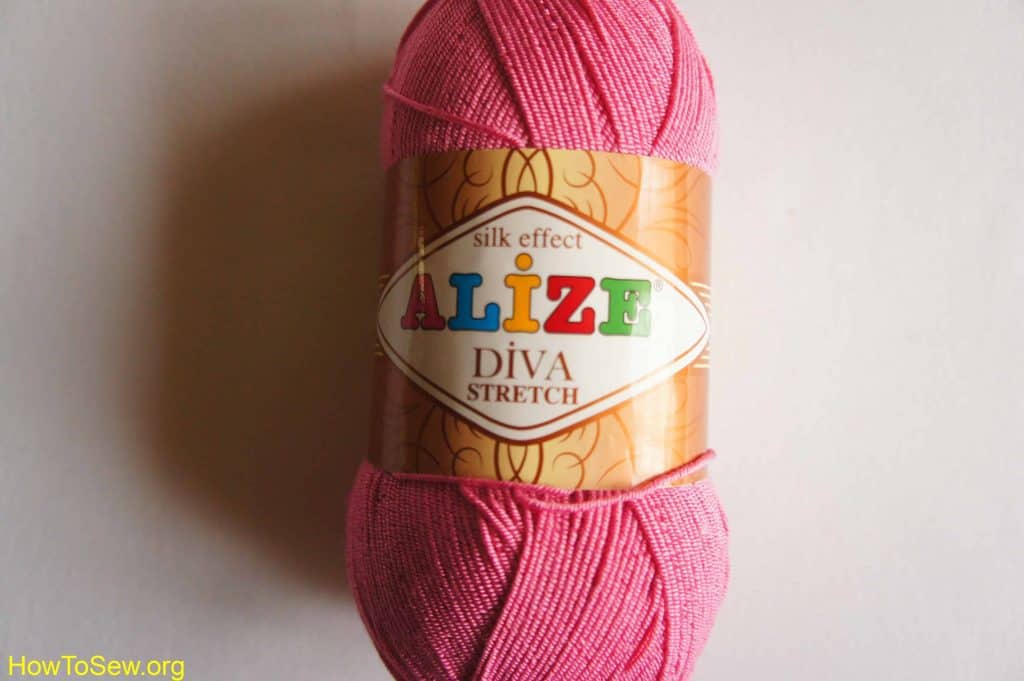
- The usual elastic bands for a baby are quite coarse, you can use a stretch yarn (such as Diva Stretch). Make a chain of air loops and use it as an elastic.
- If thin elastic bands are not available, it is convenient to use ties rather than elastic bands.
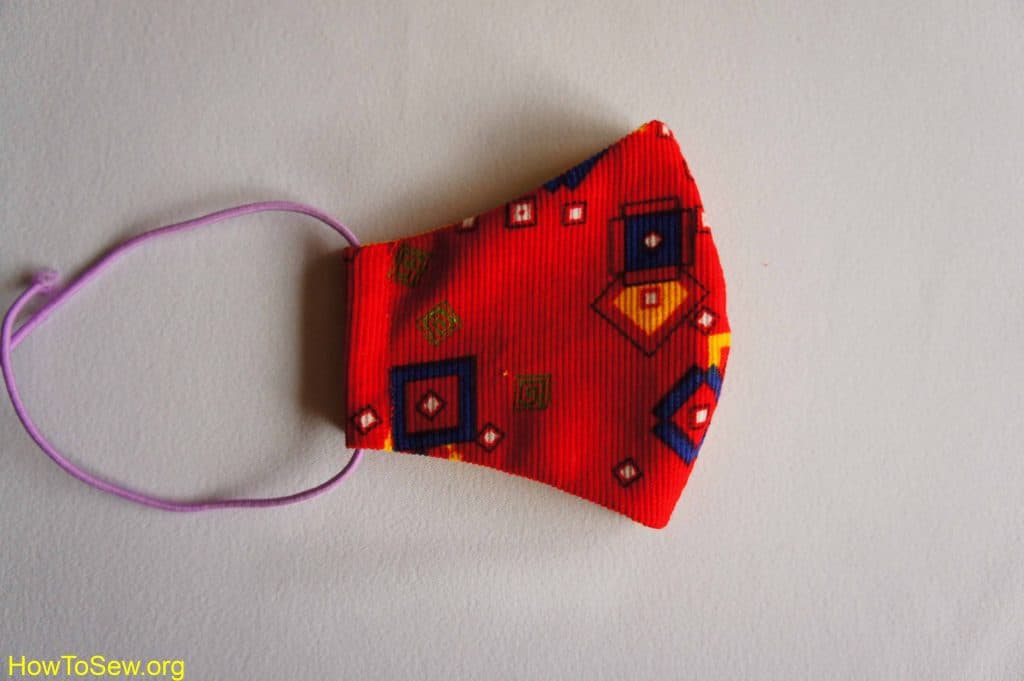
Conclusion
The fabric fitted face mask pattern and the mask itself are ready. You can make your own perfectly fitting fabric mask. Or use the same pattern to make many masks in different colors. I hope you have found this workshop useful.
Local authorities – non-medical masks information
- USA: Center for Disease Control
- United Kingdom: GOV.UK
- Canada: Canadian Government
- Germany: The Federal Institute for Drugs and Medical Devices
- Spain: Ministry of Consumer Affairs
- Italy: Ministry of Health
- France: French Government
- Netherlands: National Institute for Public Health and the Environment
- Poland: Polish Government
- Japan: Ministry of Health, Labor and Welfare

