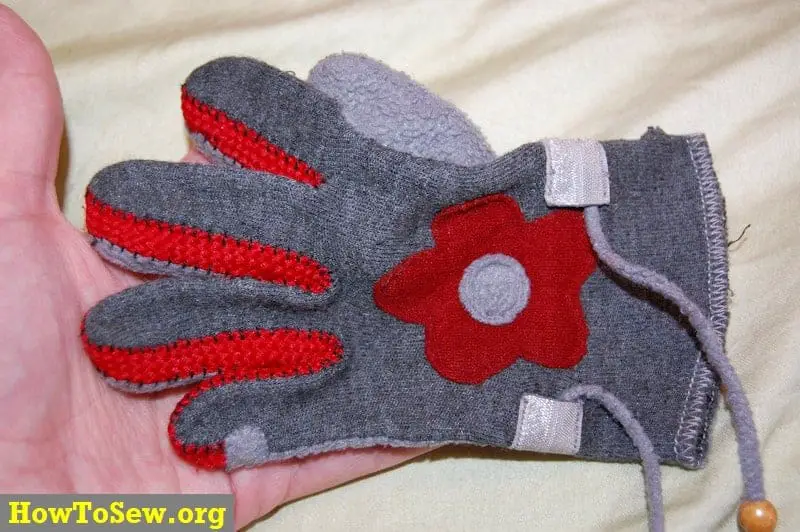
They’re making acrylic knitted gloves for kids now. They’re not very warm and can sometimes even cause allergies. My daughter didn’t really like wearing these winter gloves. That’s why I thought maybe I could learn to sew the gloves myself. And I did it! I’ll tell you and show you in the pictures how to sew gloves with my own hands. They’ll be warm, made of cotton and they’ll be very comfortable to wear.
Gloves require very thick knitwear. If you need warm gloves, then you should also buy fleece, lace (or fleece strip), a contrasting fabric for applications. Here are the photos of gloves for the off-season or not very cold winter:
And now the story itself:
First, it is necessary to make a pattern of gloves according to their own sizes. It is necessary to circle the whole hand of the child, with the fingers pressed against each other.
Second, mark the place of your thumb and measure its length.
The third is to take turns arranging the fingers, marking the depth of each finger and making marks. Connect these marks at the top and bottom.
Here’s a picture of a glove pattern:
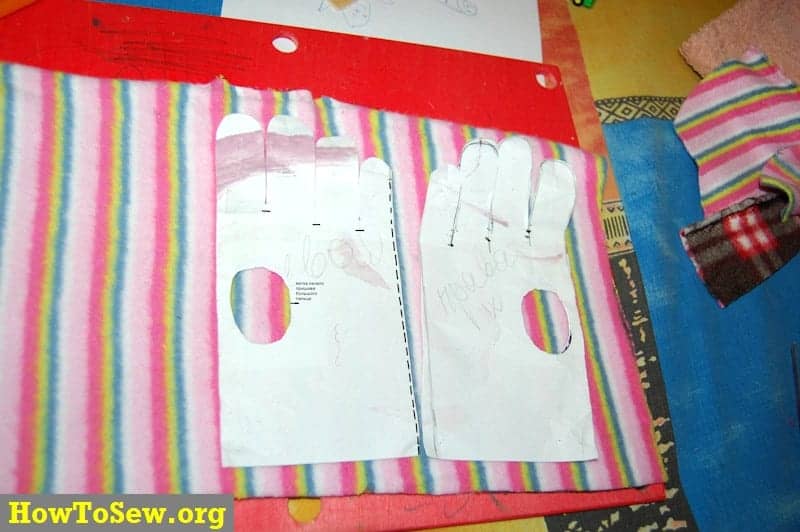
In the fourth – put the fabric on the fold (edge of the little finger) to circle the pattern of the gloves. In the photo, I marked the place of bending with a dotted line.
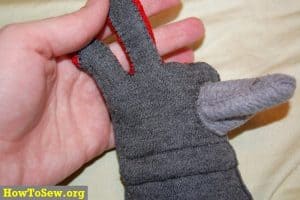
Fifth is to cut through the side where the palm is an oval hole. Stitch in this hole with a pre-arranged stitched thumb.
Here is a photo of a thumb pattern, I took it myself, looked at adult winter gloves for a long time, took a little in my own way and got a good pattern. You have to sew your finger starting from the mark in the middle (in the photo at this place I put a mark), combining the suture of the thumb and the mark.
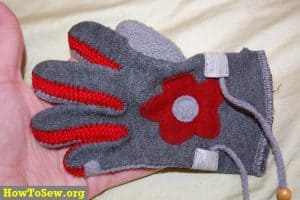
If you want to sew the application on the gloves, you need to sew it on the back of your hand now.
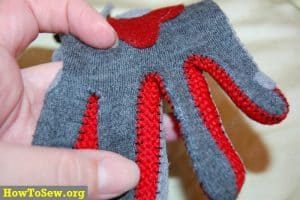
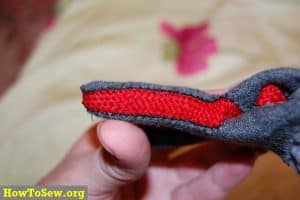
Then sew a lanyard around the perimeter of all fingers (you can use a fleece strip). These gloves use a flat shoelace. I sewed it by hand with a thick thread. First I sewed it to one side, then to the other.
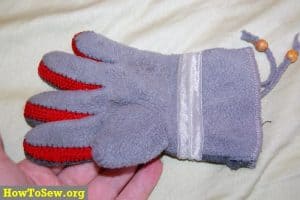
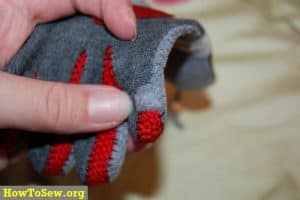
The photo shows the front of the glove. The second photo shows the inside of the glove.
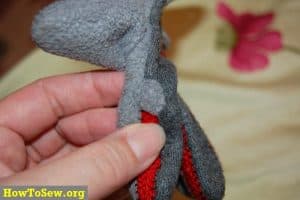
The last thing to do is to unscrew the glove. If the baby’s fingers are small, the gloves are small too. That’s why it’s hard to turn them out. I suggest this way – with the blunt side of a pencil or something like that to help turn out the gloves.
For winter gloves to hold better, you can make cuffs, as they do on jackets. To do this, cut out a narrow strip of fabric and sew into a ring, roll in half and sew to the glove. Sometimes I put in a sandpaper.
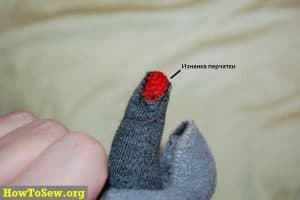
Another technical point is where to hide the tip of the sewn red laces. If it is not processed and fixed, it will break down badly. But then there is another problem, the processed edge is very prickly, it can not be left for nothing. It will scratch and interfere with the child. So I decided to sew a little application on.
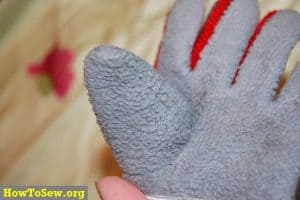
When I sewed the gloves, I took a lot of pictures. Like the face and the inside.
As I said, I hand sewed my daughter’s winter gloves myself. I only sewed the application on the sewing machine. Here they are: Let your hands be warm and cozy. Wear them for your health!
I also found a free mittens cutout followed by a tailoring workshop. I sewed these mittens for my daughter. Here’s the link.
