Spring is coming, everyone wants updates, new colors and styles. Our schoolgirls want new things, too. Today I’m going to tell you how to make a school polka dot sundress for a girl.
First of all, I will tell you about the fabric and fittings that will be needed to sew a child polka dot sundress. The fabric is natural wool of muted color, zipper inside 50cm. not detachable and edge of similar color, lining fabric. So here we go:
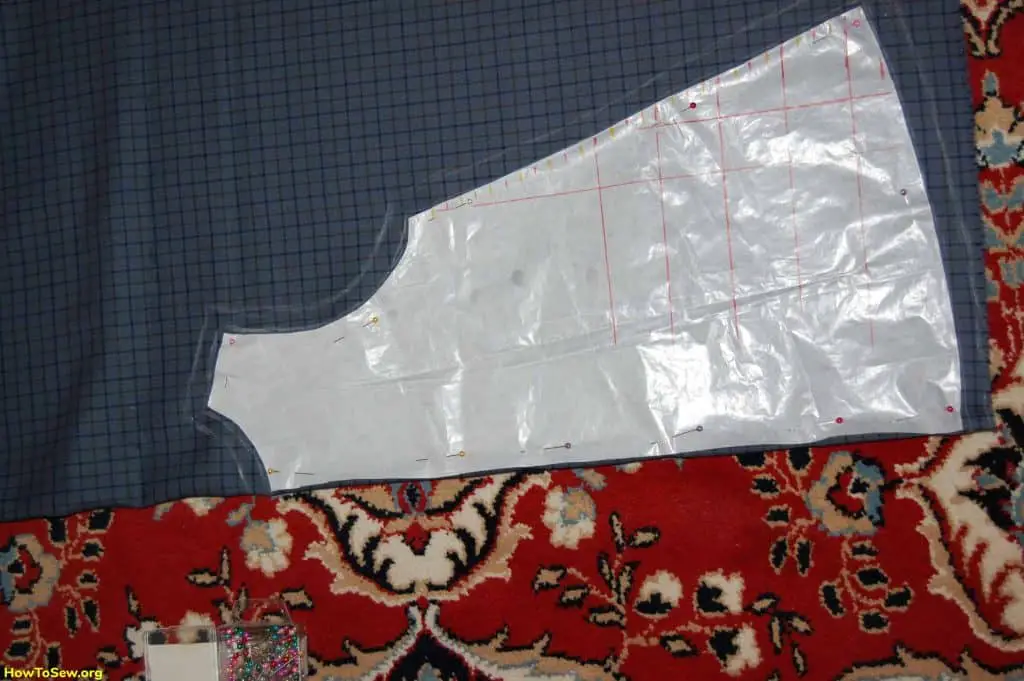
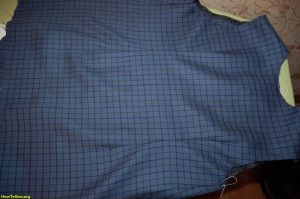
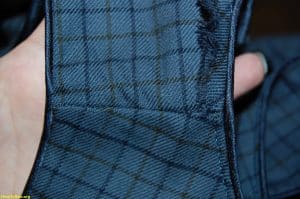
You need to open up the fabric, taking into account the pattern of the cell. I mark on a pebble a picture of the cell and combine it when I cut out the back. Here’s a picture:
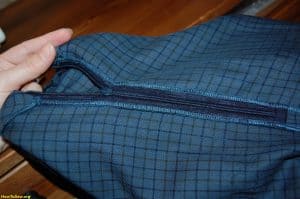
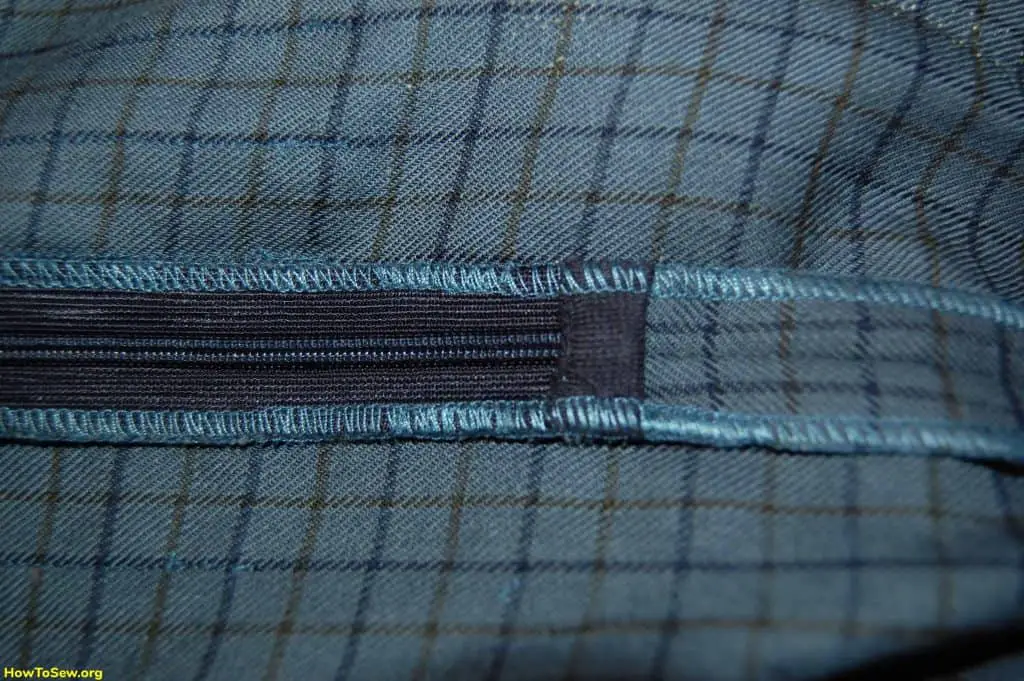
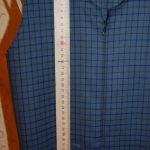
The front consists of two halves, and there you need to sew an inner zipper 40 or 45 cm deep. It’s also a painstaking job. You have to combine the polka dot 100%. It’s more aesthetic:
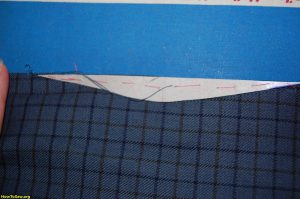
You need to do some dredging on the back. It is not difficult, you just need to mark clearly the top and bottom of the dart, the widest part – the place where the waist. Then you need to draw, combining the cell, and the template to line up the darts themselves. It is better to make the template from cardboard, so that it would be enough for two and it would not tear at the tips:
On a sundress for a girl you need a pocket, a handkerchief, a phone or something else you need. How to sew a pocket easily and beautifully I will tell you below:
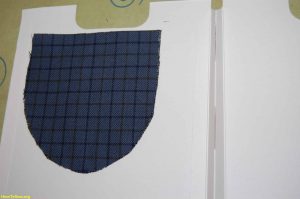
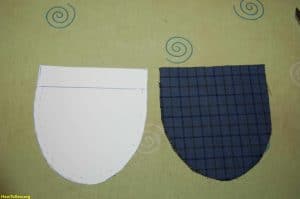
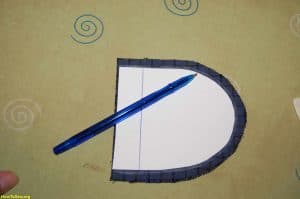
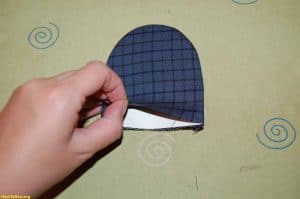
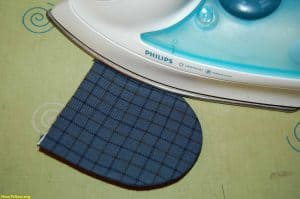
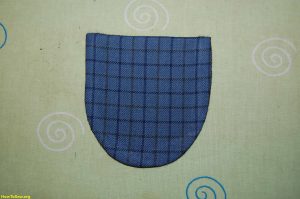
So we make a pocket template from cardboard, we really need it!!! We make two pockets out of wool and lining fabric, we make them face to face. We turn out and we insert a template – it is less on size of an allowance on a seam. Then we level well and we iron through wet gauze. We leave it to cool. Top turn inside (the basic fabric protrudes more, than a lining) and we remove edge. The pocket is ready!!! Admire 🙂
It’s time to sew the pocket in front of our sundress. I made it so that the polka dot matches the one on my pocket and on my girl’s sundress. We need to set up a place and put our ready pocket in:
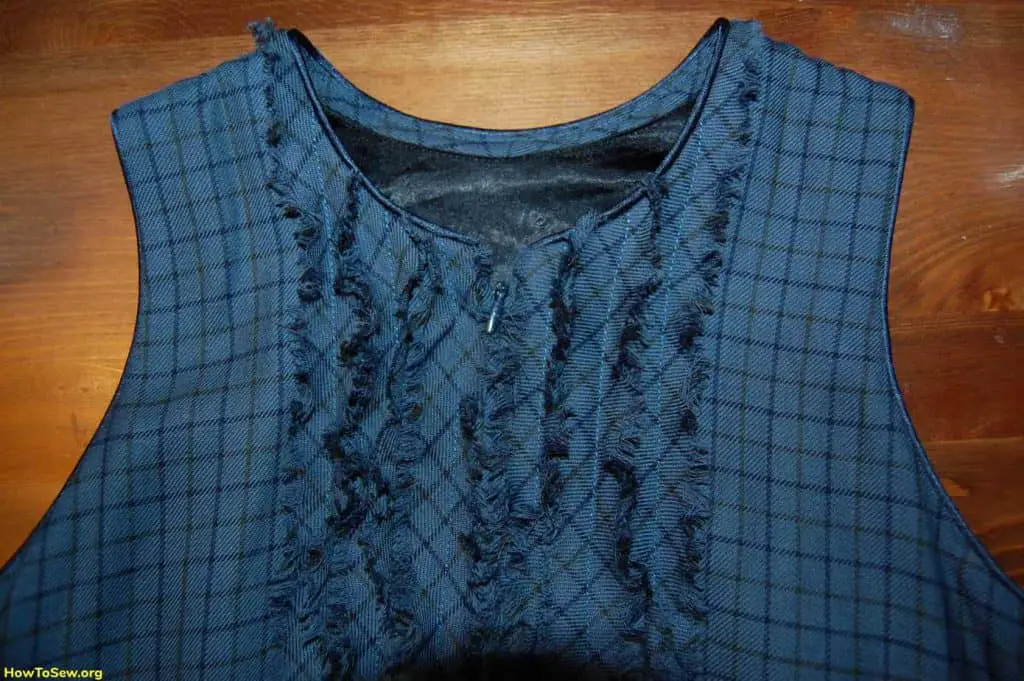
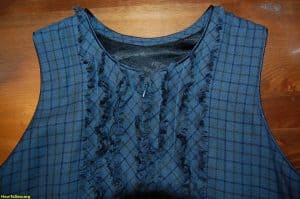
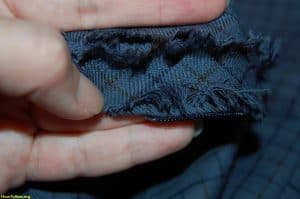
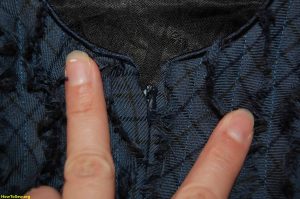
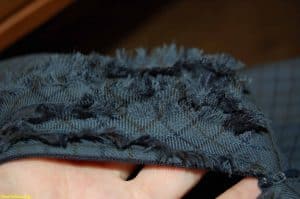
Then according to the plan, we do not need much catchy jewelry, because we sew a sundress for the girl who will go to school in it. So I decided to make ruffles on my chest from the same fabric and sew a similar color on the neck and armhole. No snappy, contrasting decorations. We have a “business lady” in charge.🙂
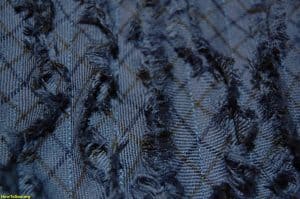
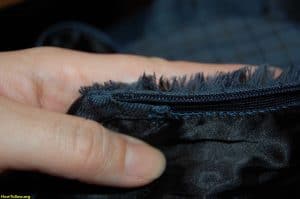
Strips of fabric 2cm wide are obliquely cut and broken at the edges. Each is sewn in the middle with threads in tone. Three strips of fabric on each side. The bottom is pre-treated with bending.
The zip is completely hidden by the decor.
So it’s time to sew shoulders and side seams. The next step is to sew in the armholes and the neck edge and sew the lining.
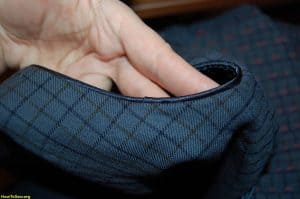
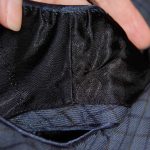
I made a stitch down my neck, and then I sewed a lining to it, and in the area of the armhole I sewed a lining with my hands to the seam of the cant:
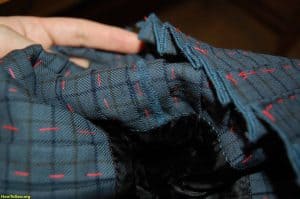
I made a pleated one from the bottom of the sundress. It’s long and painstaking. You need to calculate how much material is needed for the folds, my example is this: the finished fold 2cm. and the material on it takes 6cm. A sundress at the bottom is 44cm. So I have 44:2=22 folds ahead of me. Now let’s find out how much material we need on these folds 22*6=132cm, plus on allowances on seams. Same with the back of the sundress. So we found that we have a total of 44 folds and we need 2m of material. 65cm (not taking out a piece needs to be sewn and the seam to moisten to hide inside the folds).
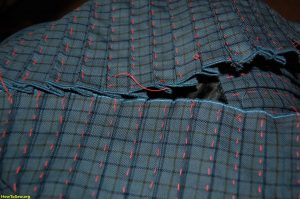
First I worked the bottom of the product on the overlock, then I covered each crease and manually steamed it with an iron. Letting each section cool down. You don’t have to put too much pressure so that the markings don’t get printed on the fabric. You’ll still have to iron the folds again without any hints.
Now we’re adding a harmonica to the bottom of our girl’s sundress. We take out the hints and gently iron with wet gauze. We give each area to cool down, and I put in addition each area under the press – good to use heavy books 🙂 Sew the lining with hand stitches and wear with pleasure! 🙂.
