Carnival is wonderful and fun. When thinking about the carnival, we always have a smile on our face. Almost every child and even an adult wants a carnival costume, presents himself as some kind of hero, dreams of dancing at a holiday and being the happiest. Parents can buy a costume for the carnival. But a creative mother will be able to make a sketch with her child and sew a costume for the holiday with her own hands.
How to sew a ladybug carnival costume
First thing is to sketch the costume. Discuss with your child all the details, color, style of the dress and additional accessories, wings, tail and the like.
The second is to choose the fabric from which the carnival costume will be sewn. This is a very crucial stage.
There are many points to consider:
- whether the fabric you want to buy will be able to realize your idea with a sketch,
- in what weather will the costume be dressed,
- will there be any other clothes on top, for example a jacket,
- how much money are you willing to spend on a suit,
- will you wear this costume again.
The third is to choose accessories for the fabric of the suit. Earrings, beads, tights and gloves.
The fourth is, in fact, to sew a suit and related items: wings, tail, make horns on your head.
Below, it will be written how to sew the ladybug carnival costume. This costume consists of a jacket, a skirt and a headhorn.
Red fabric with black polka dots is exactly what you need to realize the idea of such a carnival costume! The fabric for the dress is a thin Crêpe-satin, so the entire product is duplicated with a woven interfacing.
The table contains information on how to sew a jacket for a girl. I hope it will be useful for those who sew such a jacket with their own hands.
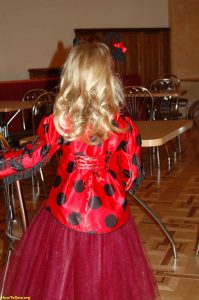
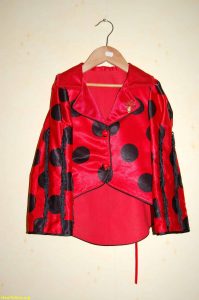
Look at what a ladybug carnival costume I got:
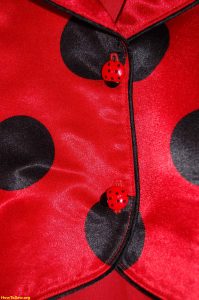
The jacket is fastened with decorative buttons:
Step-by-step instructions from beginning to end of tailoring the jacket:
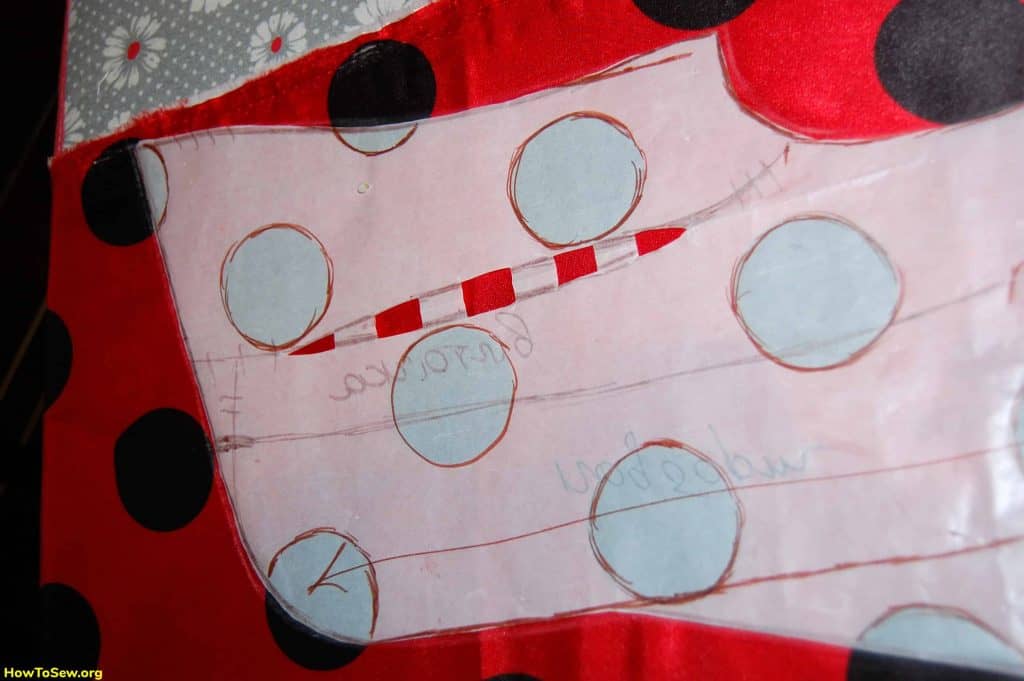
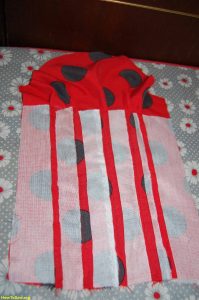
Photo 1 shows how a picture from one part of the front needs to be transferred to tracing paper. This is necessary in order to then, when cutting another part of the front, match the drawing as accurately as possible.
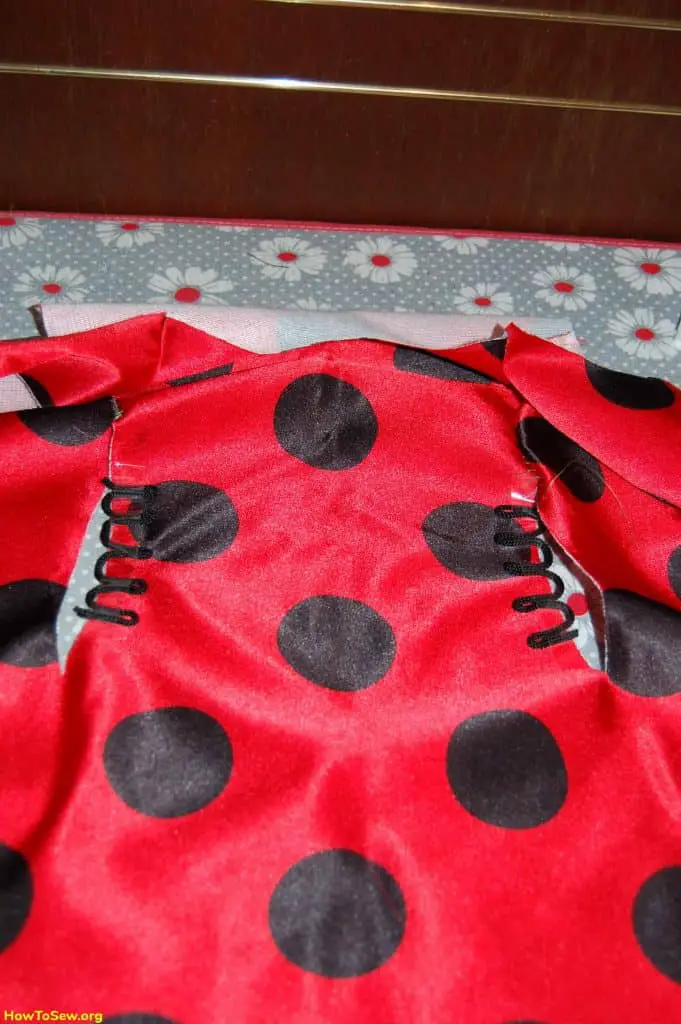
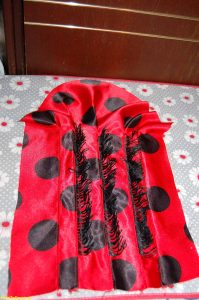
In the photo 2 the back of the ladybug costume.
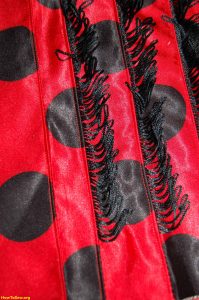
It is necessary not to cut the figure below on the back, where the peas are, but to make the side parts intact. It is necessary to cut only the recesses at the waist and lift them up. This is necessary so that they can insert loops from the cord.
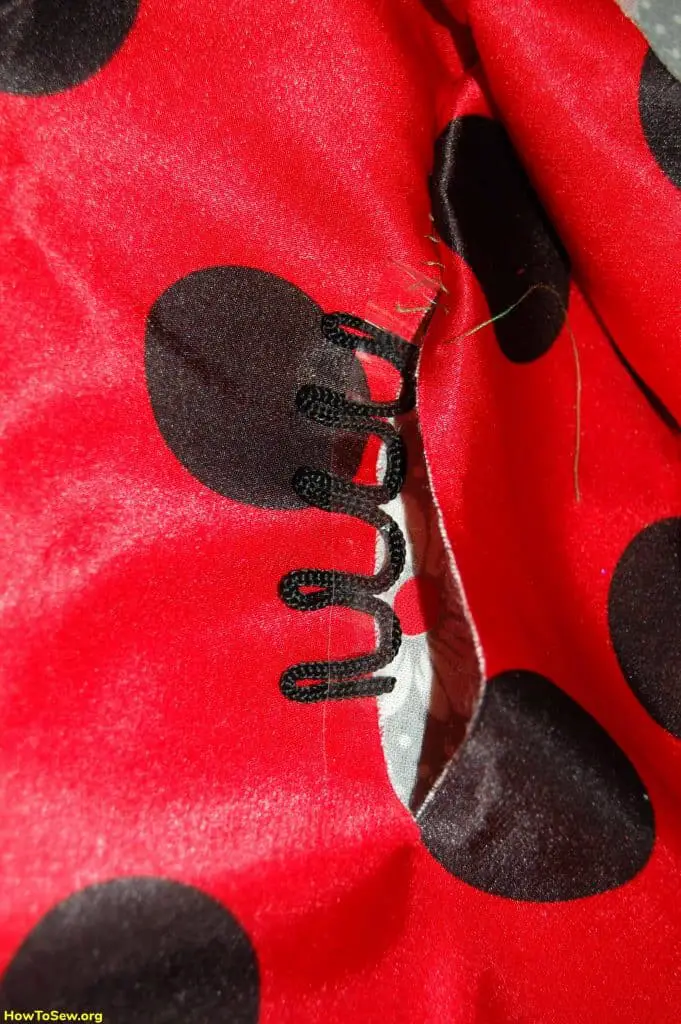
On a photo 3 and 4 loops on a back. They are made of cord, laid and fixed with adhesive tape.
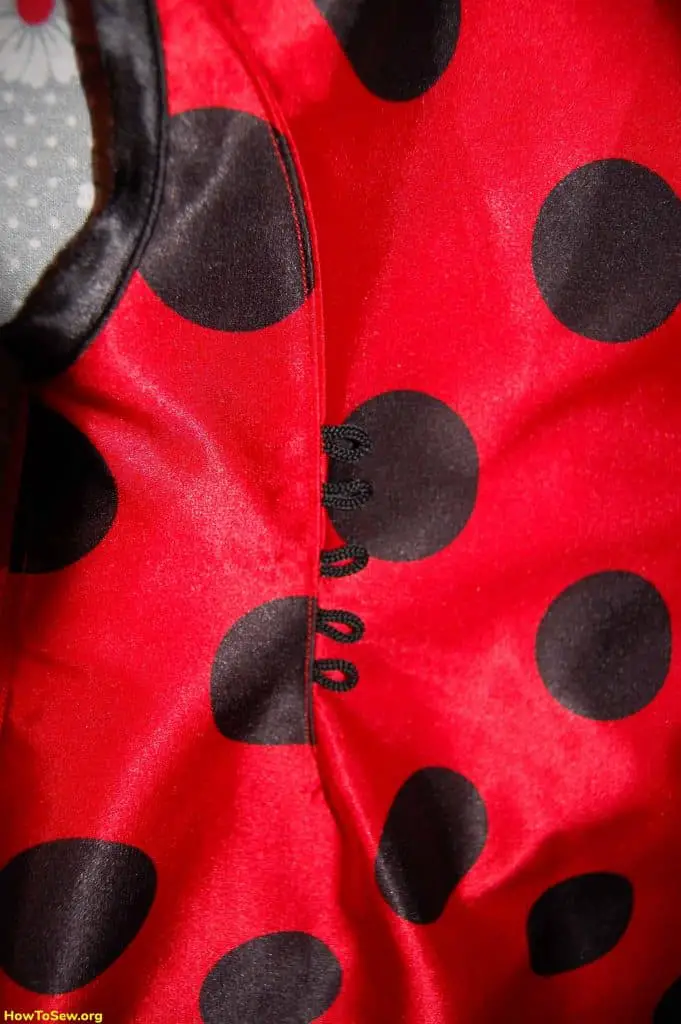
You need to cut a long cord and lay out as you need (4-5 loops). The beginning and end of the cord must be treated with glue.
Advice! Do not cut the loops into small pieces, but use a whole cord, then the loops will be much stronger.
Then sew the seam on the machine and the stitches are ready. Next – you need to iron the seam with an iron and lay a finishing seam on top.
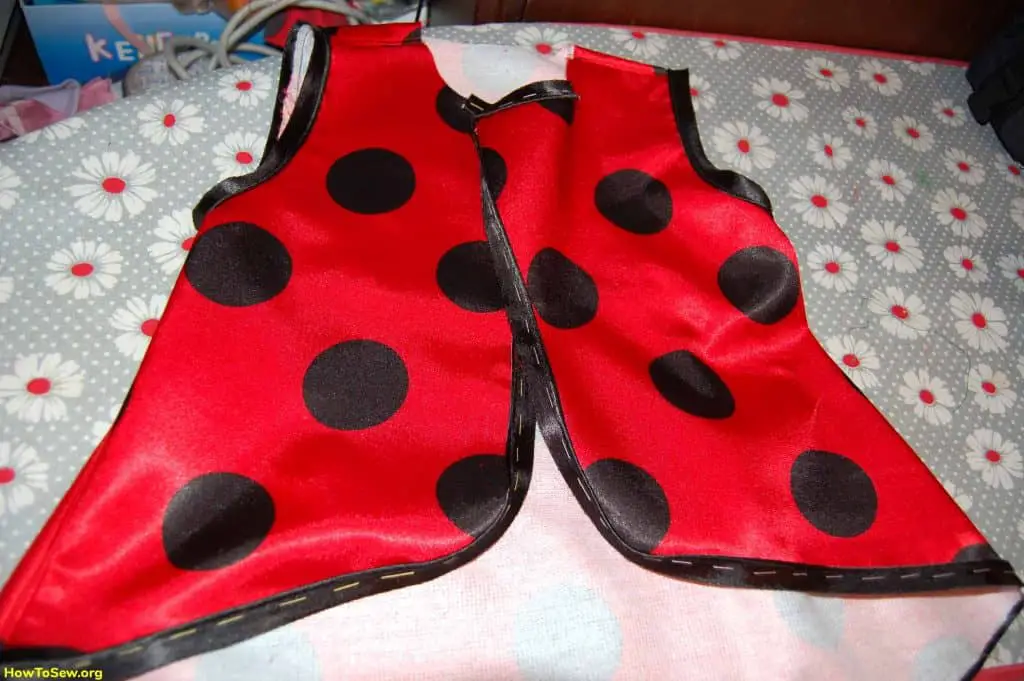
In the photo 5 the edge of the whole product.
Need to sheathe his edging. Also, the edging must be inserted into the armholes of the sleeves. This must be done before the sleeves themselves are sewn there. It is better to outline the edging first, and then stitch it with the help of a special foot for sewing in secret zippers and edgings.
Advice! When sewing, it is important not to damage the cord that is inside the piping with a machine needle!
To do this, you do not need to scribble very close to it. Leave 1-2mm.
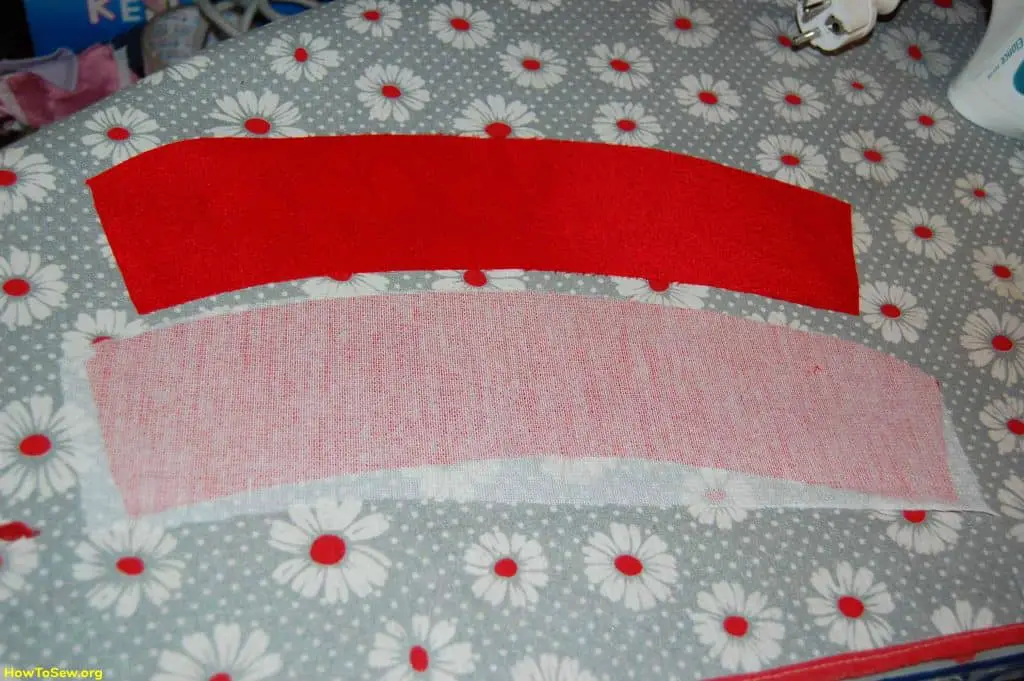
On the photo 7 a suit collar.
You need to take a plain red crepe-satin fabric and cut out the upper collar. The bottom can be cut out of any fabric.
The upper part of the collar must be duplicated, and the lower – no.
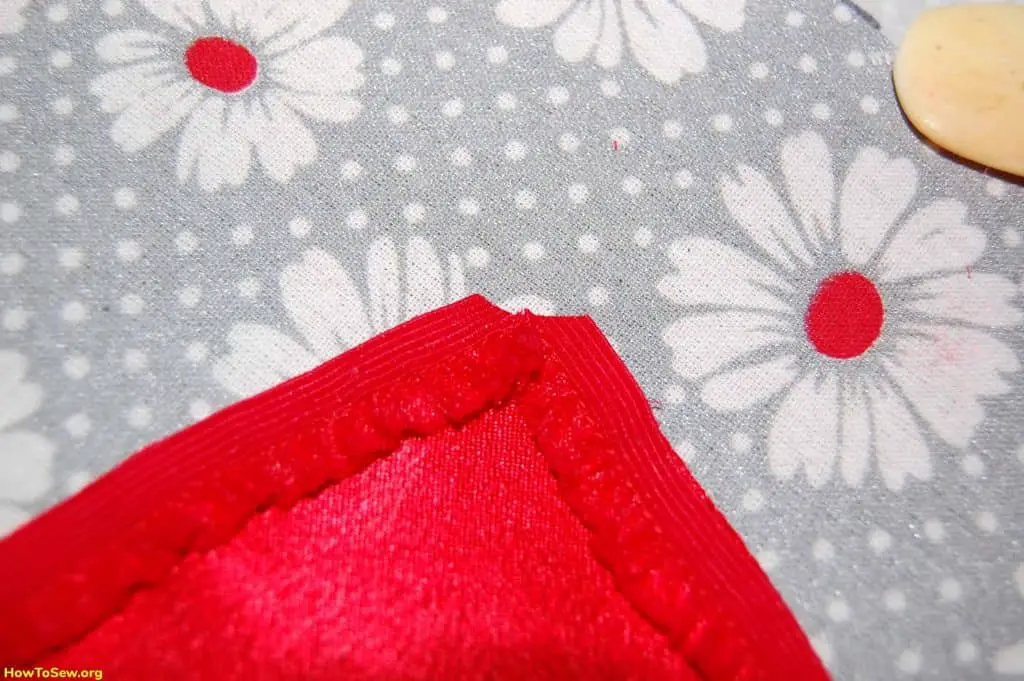
Photo 8 shows how to insert the braid at the edge of the collar. The corner of the collar must be trimmed in order to conveniently twist.
The photo 9,10,11 below shows what the sleeve of a ladybug costume looks like. The sleeve is simple and even. Although it looks like a leg-o-mutton sleeve. The following describes how to get such a sleeve.
A simple sleeve is increased in size by 3 times compared with a conventional pattern. Tucks (5 pcs.) Are made all over the sleeve, into which a braid is sewn – fringe. Pinches on top are not sewn on 10-15cm. Thus, the top of the sleeve becomes similar to such a leg-o-mutton sleeve. Tucks need to be stroked and laid the finishing line.
The bottom of the sleeve is edged with a black oblique trim.
When it comes time to sew the sleeve into the armhole, then you need to lay 6 large folds at the top and the size of the sleeve will fit the size of the armhole.
Here’s a front view of a polka dot jacket:
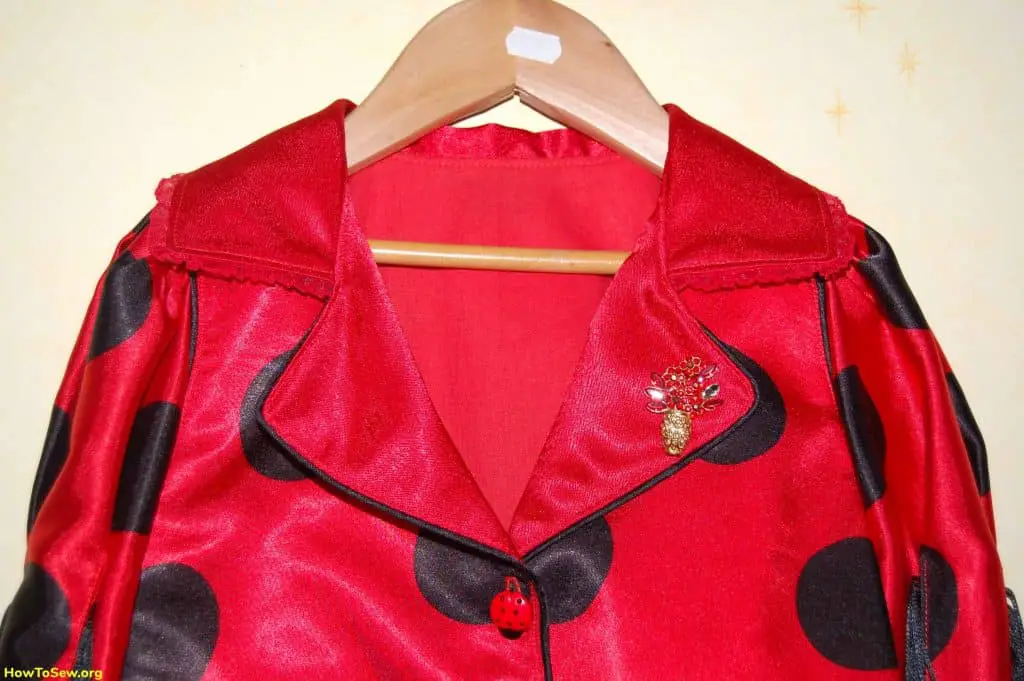
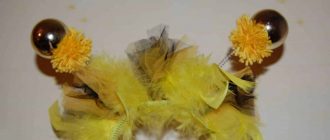
To this jacket I sewed a tulle skirt and made head horns.
