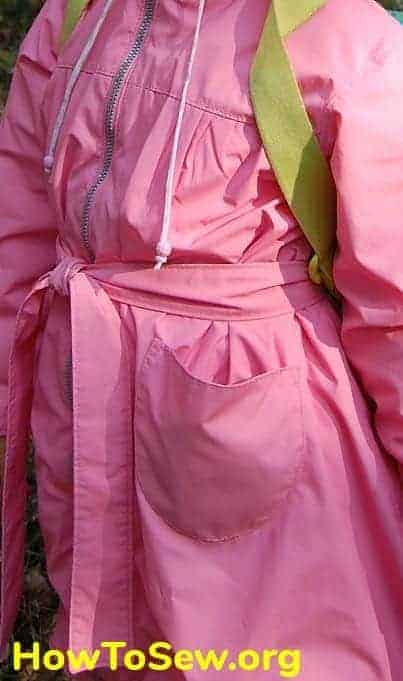
So spring came, and the sewing mothers begin to update the children’s wardrobe of their daughters and sons. And what kind of wardrobe of a young fashionable woman is not complete without a kids raincoat. Sewing a cloak for a girl is great, and also beautiful! Yes Yes! Not very practical, but still beautiful. Well, maybe someone has a milder climate, but we, where we live now, first have a long winter, and then spring comes abruptly, and immediately warm. We hardly wear off-season clothes, we just don’t have time. They say in Spain there is not. Likely we need to go there so that our cloak wander around …
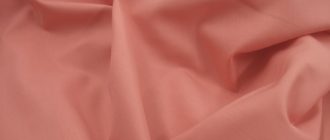
Our children’s raincoat is pink for girls. It is sewn from a thin pink raincoat fabric. The cloak itself is on a yoke, with round pockets and tied to a belt. Lined with fine knitwear. Light and airy. Fastens with a zipper. The collar is a high stand, the hood is fastened with three beautiful buttons. It was sewn separately for a small copy of an adult pattern, a very original style. The hood is a separate topic for conversation. I will talk about it below.
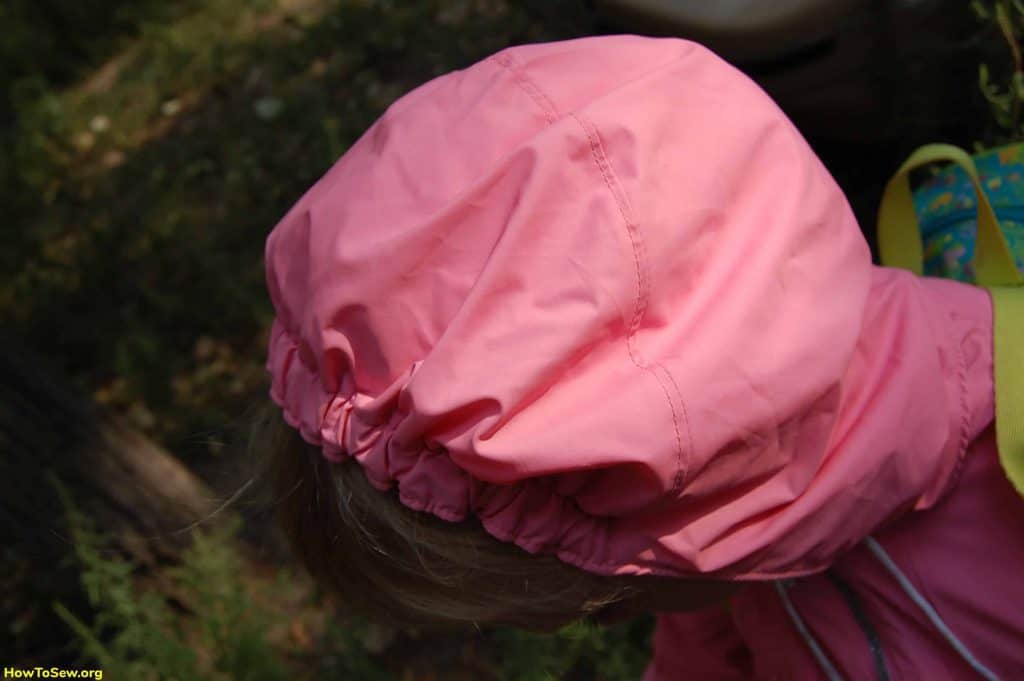
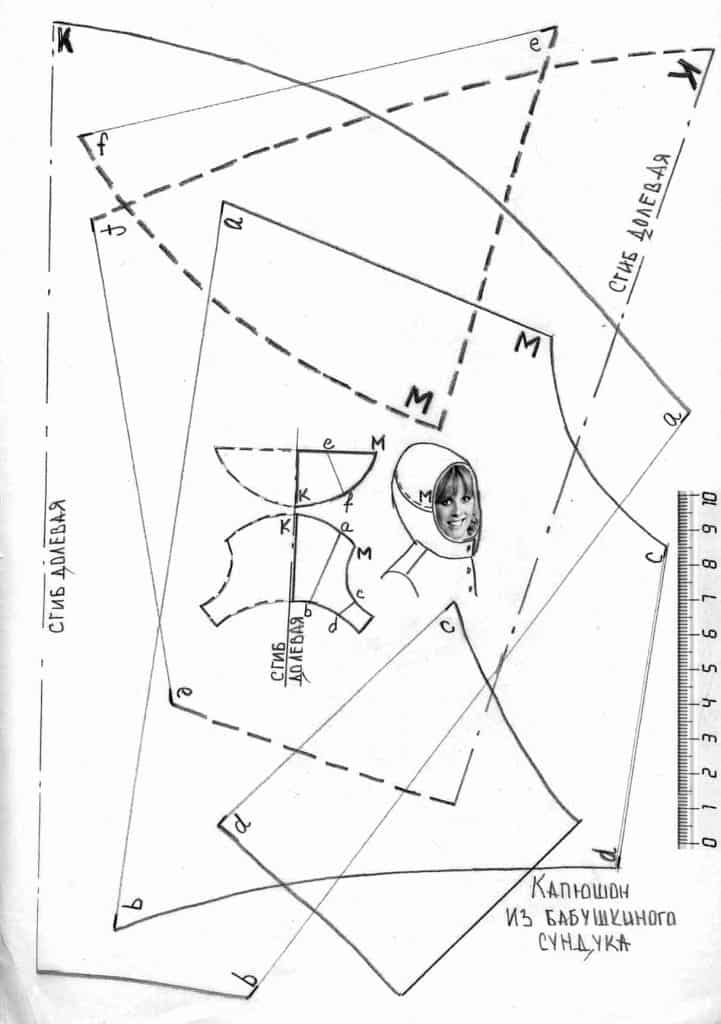
Below is a file with a pattern of the original hood. I found her on the Internet. For which many thanks to the author! Reduced accordingly for the children’s size and sewed it for our children’s raincoat. I want to note that, sorting through the old magazines of Burda, I came across a very similar hood in the magazine for 1969, number 11. There is exactly a children’s hood. Sports anorok children’s for the girl of 6-8 years, model No. 15. This is for those who do not want to remake the adult pattern in the nursery, you can look in the libraries for the magazine itself. So everything original, it’s just a well-forgotten old that Chinese masters of consumer goods hadn’t managed to “drag in” :)) I will post a hood pattern for everyone here:
I also want to tell how to sew a hood: it can be lined, like a jacket or without one. If it is lined, then you need to sew two identical hoods, one pattern from the main and then also the lining fabric (as a rule, hoods are not insulated with insulation, because the child will still wear one hat). If the model was conceived, then it’s time to make a hole for the string in the main fabric of the hood, it can be an iron block, a cringle or just a cut loop with a processed edge.
Then, combining the two hoods face to face, sew them around the perimeter, leaving a hole at the bottom in order to turn the hood onto the face. Sewn, pulled out the basting and turned the product on his face. The edge in the area of the face was well swept out and stitched in two parallel lines. Now we put in an elastic band, if you thought about the model. And do not forget about the laces. In my model of a children’s raincoat, the hood is assembled both on an elastic band and wearing laces. Therefore, before the cut is sewn, you need to climb inside and pull everything there, pull it and fasten it (stitch it with a machine line if necessary). Then it is already possible to sew a hole with threads in tone and stitch around the entire non-stitched lower perimeter of the hood. Attach a hood to the neck of the product and mark out loops. Make loops on the hood, and sew buttons on the children’s raincoat. Fastened … wear to your health.
I want to say a few words separately about sewing raincoat fabric as such. Each raincoat fabric is sewn differently. And buying it in a store you never know what kind of surprise awaits you. For example, this pink fabric for my children’s raincoat did not work well. The machine skipped stitches. Ie made holes in a raincoat fabric, but did not catch the threads. As a result, not stitched places were obtained, but holes remained. I changed needles: I put specials. for leather, for knitwear, I changed the threads: I put the usual ones, thin ones for embroidery, I also put thin paper under the seam … In general, I was pretty tormented with it.
This trend was only when I sewed two layers of one raincoat fabric, that is, the material was very thin. And when I sewed around the hem or sewn on my pockets, this was not the case. Conclusion on sewing such a “harmful” raincoat fabric: a new thin (No. 60 or No. 70) sharp (from the packaging) simple (not for leather or something else special) needle and a substrate of thin paper (paper for wallpapering, small rolls for stitches) – that’s what helped me and I finished this cloak.
I spoke about the “harmful raincoat fabric” not to intimidate my readers. Needleworkers who want to sew from raincoat fabric for the first time, you know – I once got such a fabric, and I sewed from raincoat fabric a lot :)) I wrote tips for my readers to equip them with knowledge. If a person is warned, then in a collision with such a problem he will not panic and throw things halfway, and your fashionista will still receive a fashionable cloak. So different she is this raincoat fabric …

